ZMR 250 3S to 4S Conversion – Motor and ESC Upgrade
Category : FPV
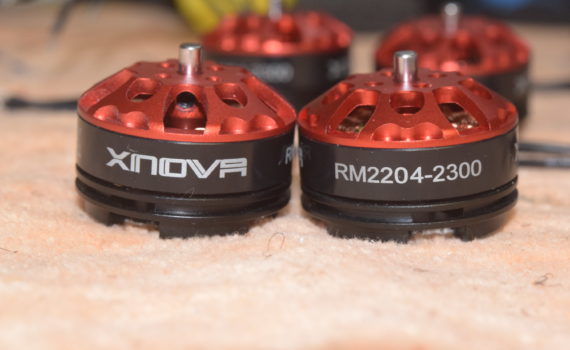
In part 1 of the ZMR 250 3S to 4S conversion we will be upgrading the motors from DYS 1806 2300KV motors to the more powerfull 2204 2300KV XNOVA motors. Migrating from 3S to 4S packs will also require an ESC upgrade so we are going to be installing the Favourite Little Bee 35 amp ESC’s.
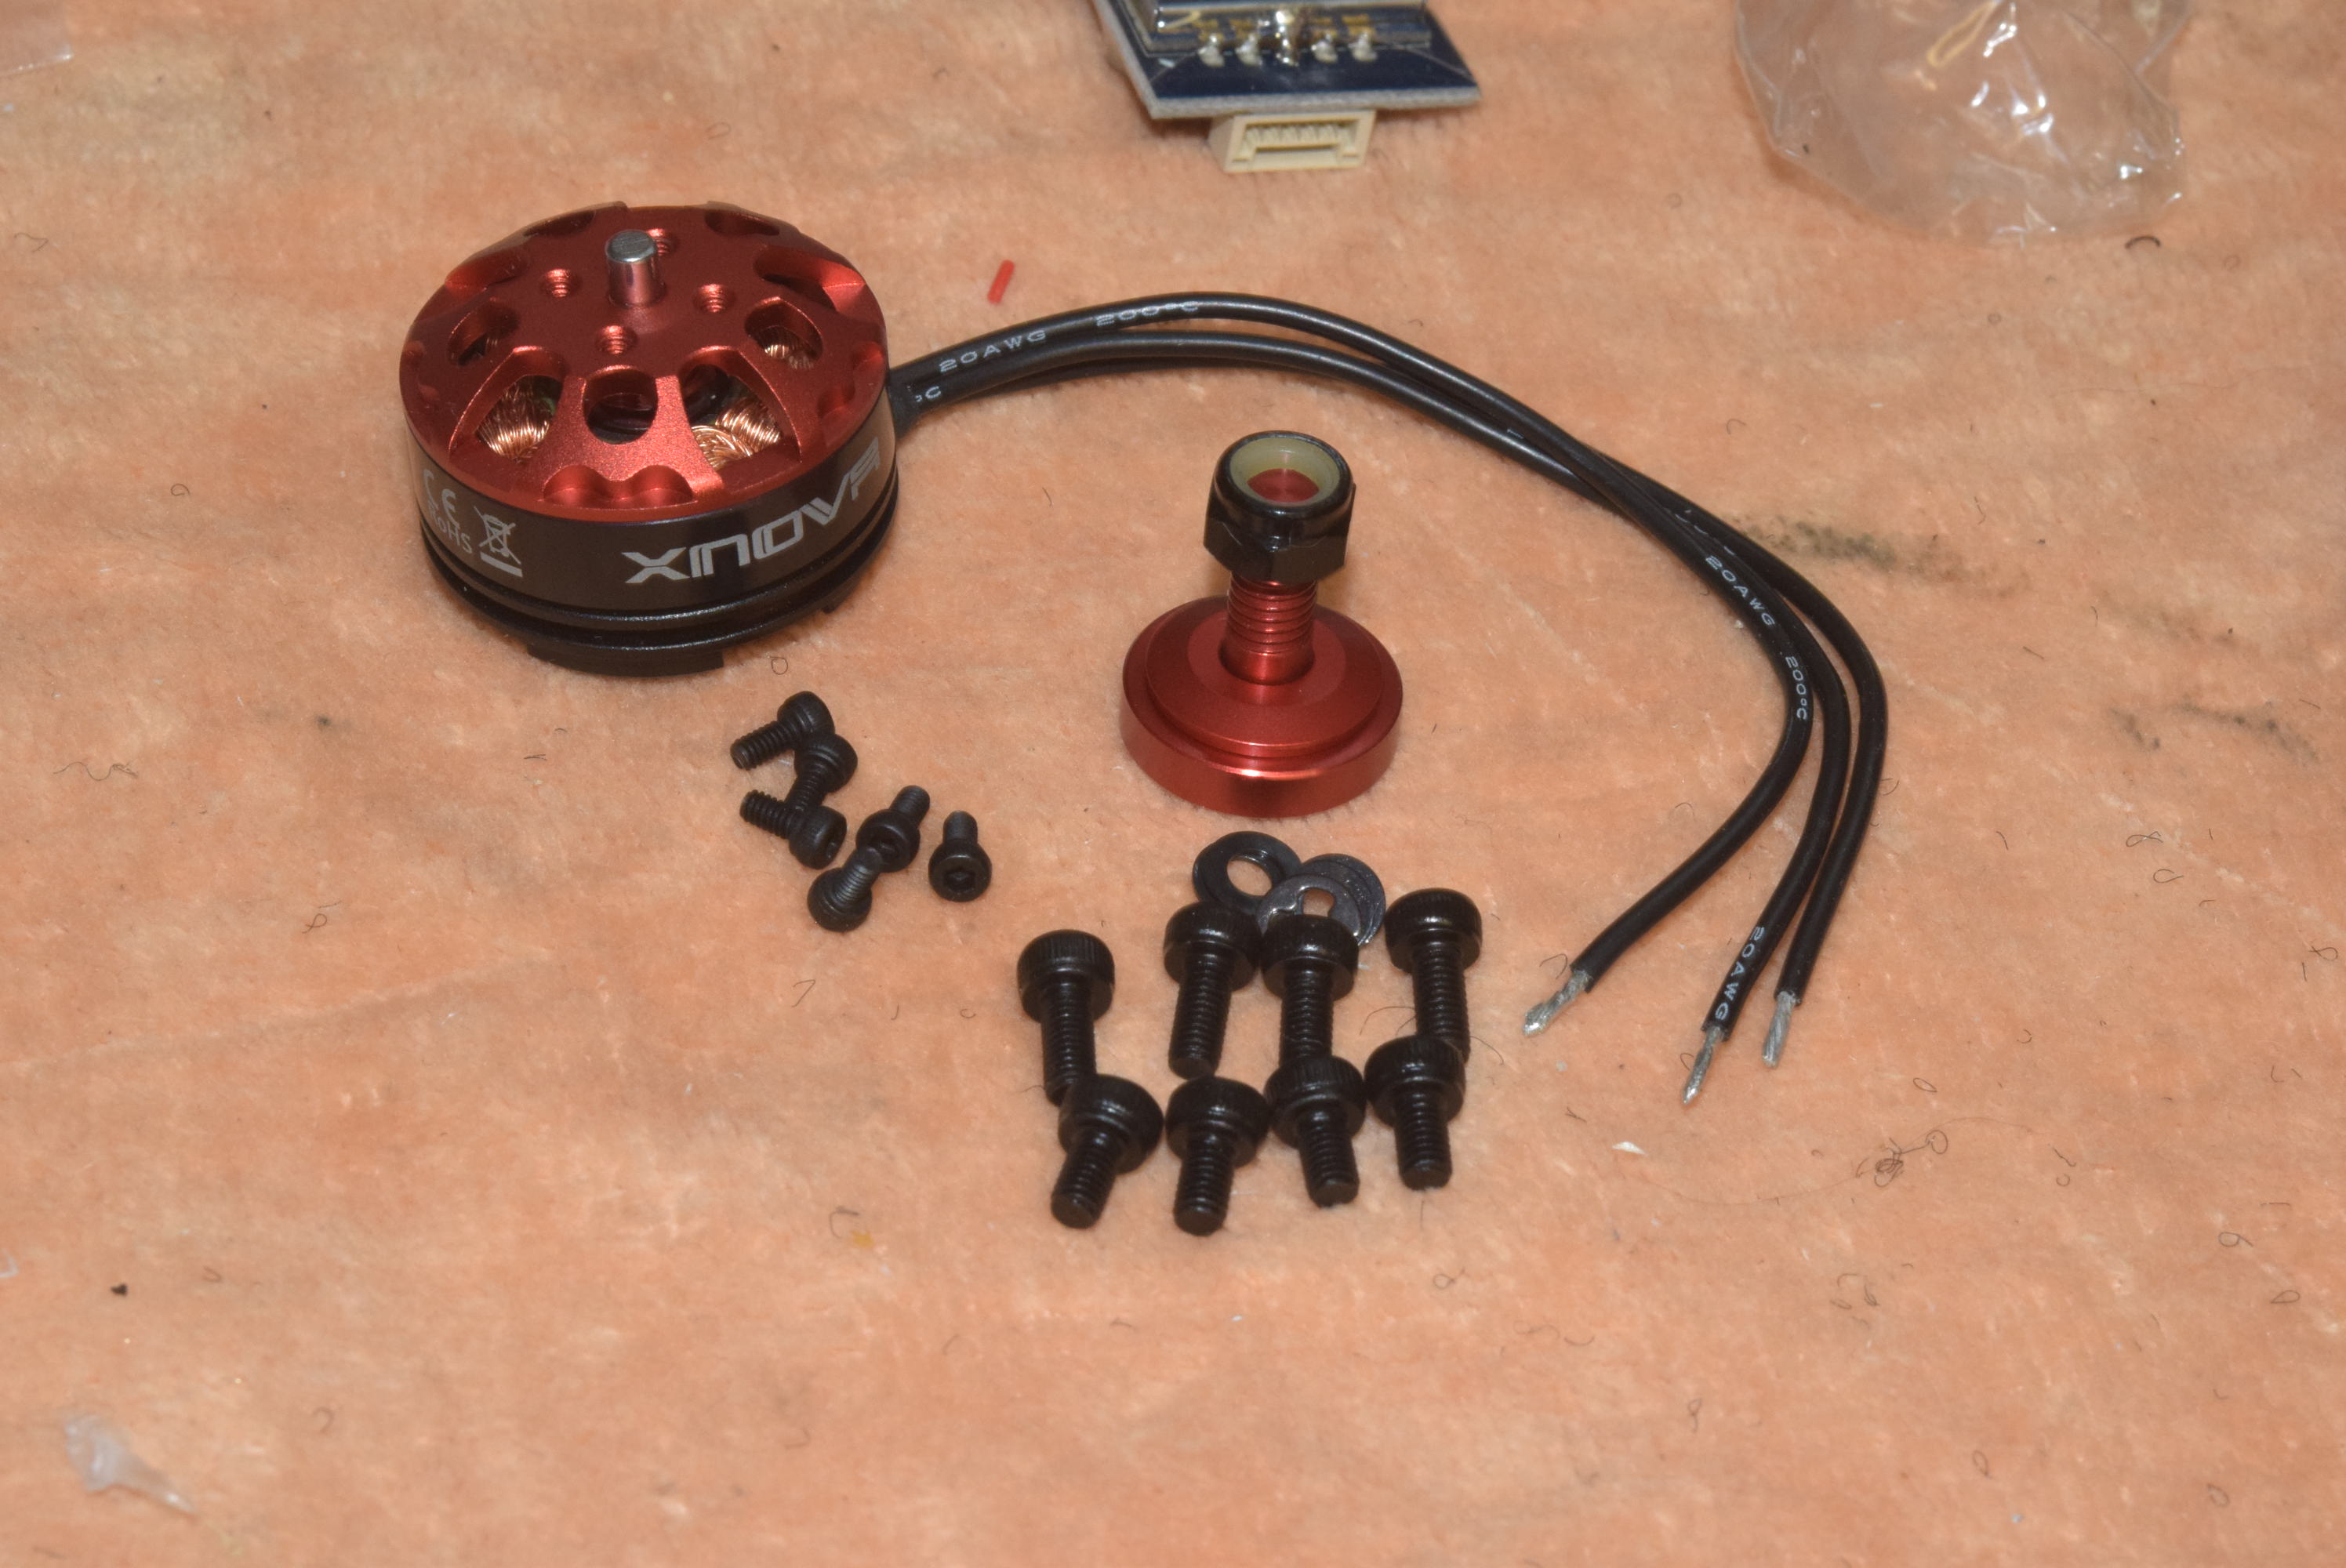
XNOVA 2204 2300KV Motor Specs:
- 3S – 4S compatible
- 5mm Prop Adapters included with locking nuts for each
- two sizes of motor mounting screws included with package to accommodate different arm thickness
- 2300KV
- Precision balanced and hand wound
- some cool decals!
Favourite FVT LittleBee Spring 35A BlheliS Specs:
- 2S-4S Compatible
- Blheli_S Firmware (with Blheli bootloader)
- Able to upgrade firmware through Cleanflight/Baseflight pass-through
- 35 amp continus with 40 amp burst
- Supports:
- Damped mode
- Oneshot125
- Oneshot42
- Multshot
- Dshot – (if supported by Flight Controller)
Let’s get started!
First we will start by installing the included 5mm prop adapters using the supplied hardware. Make sure to use some thread locker here as we don’t want these things flying off!

Once the motors are prepped I like to install them on the quadcopter right away. This will make things easier when we solder the ESC’s in place later since we can trim the wires to fit exactly.

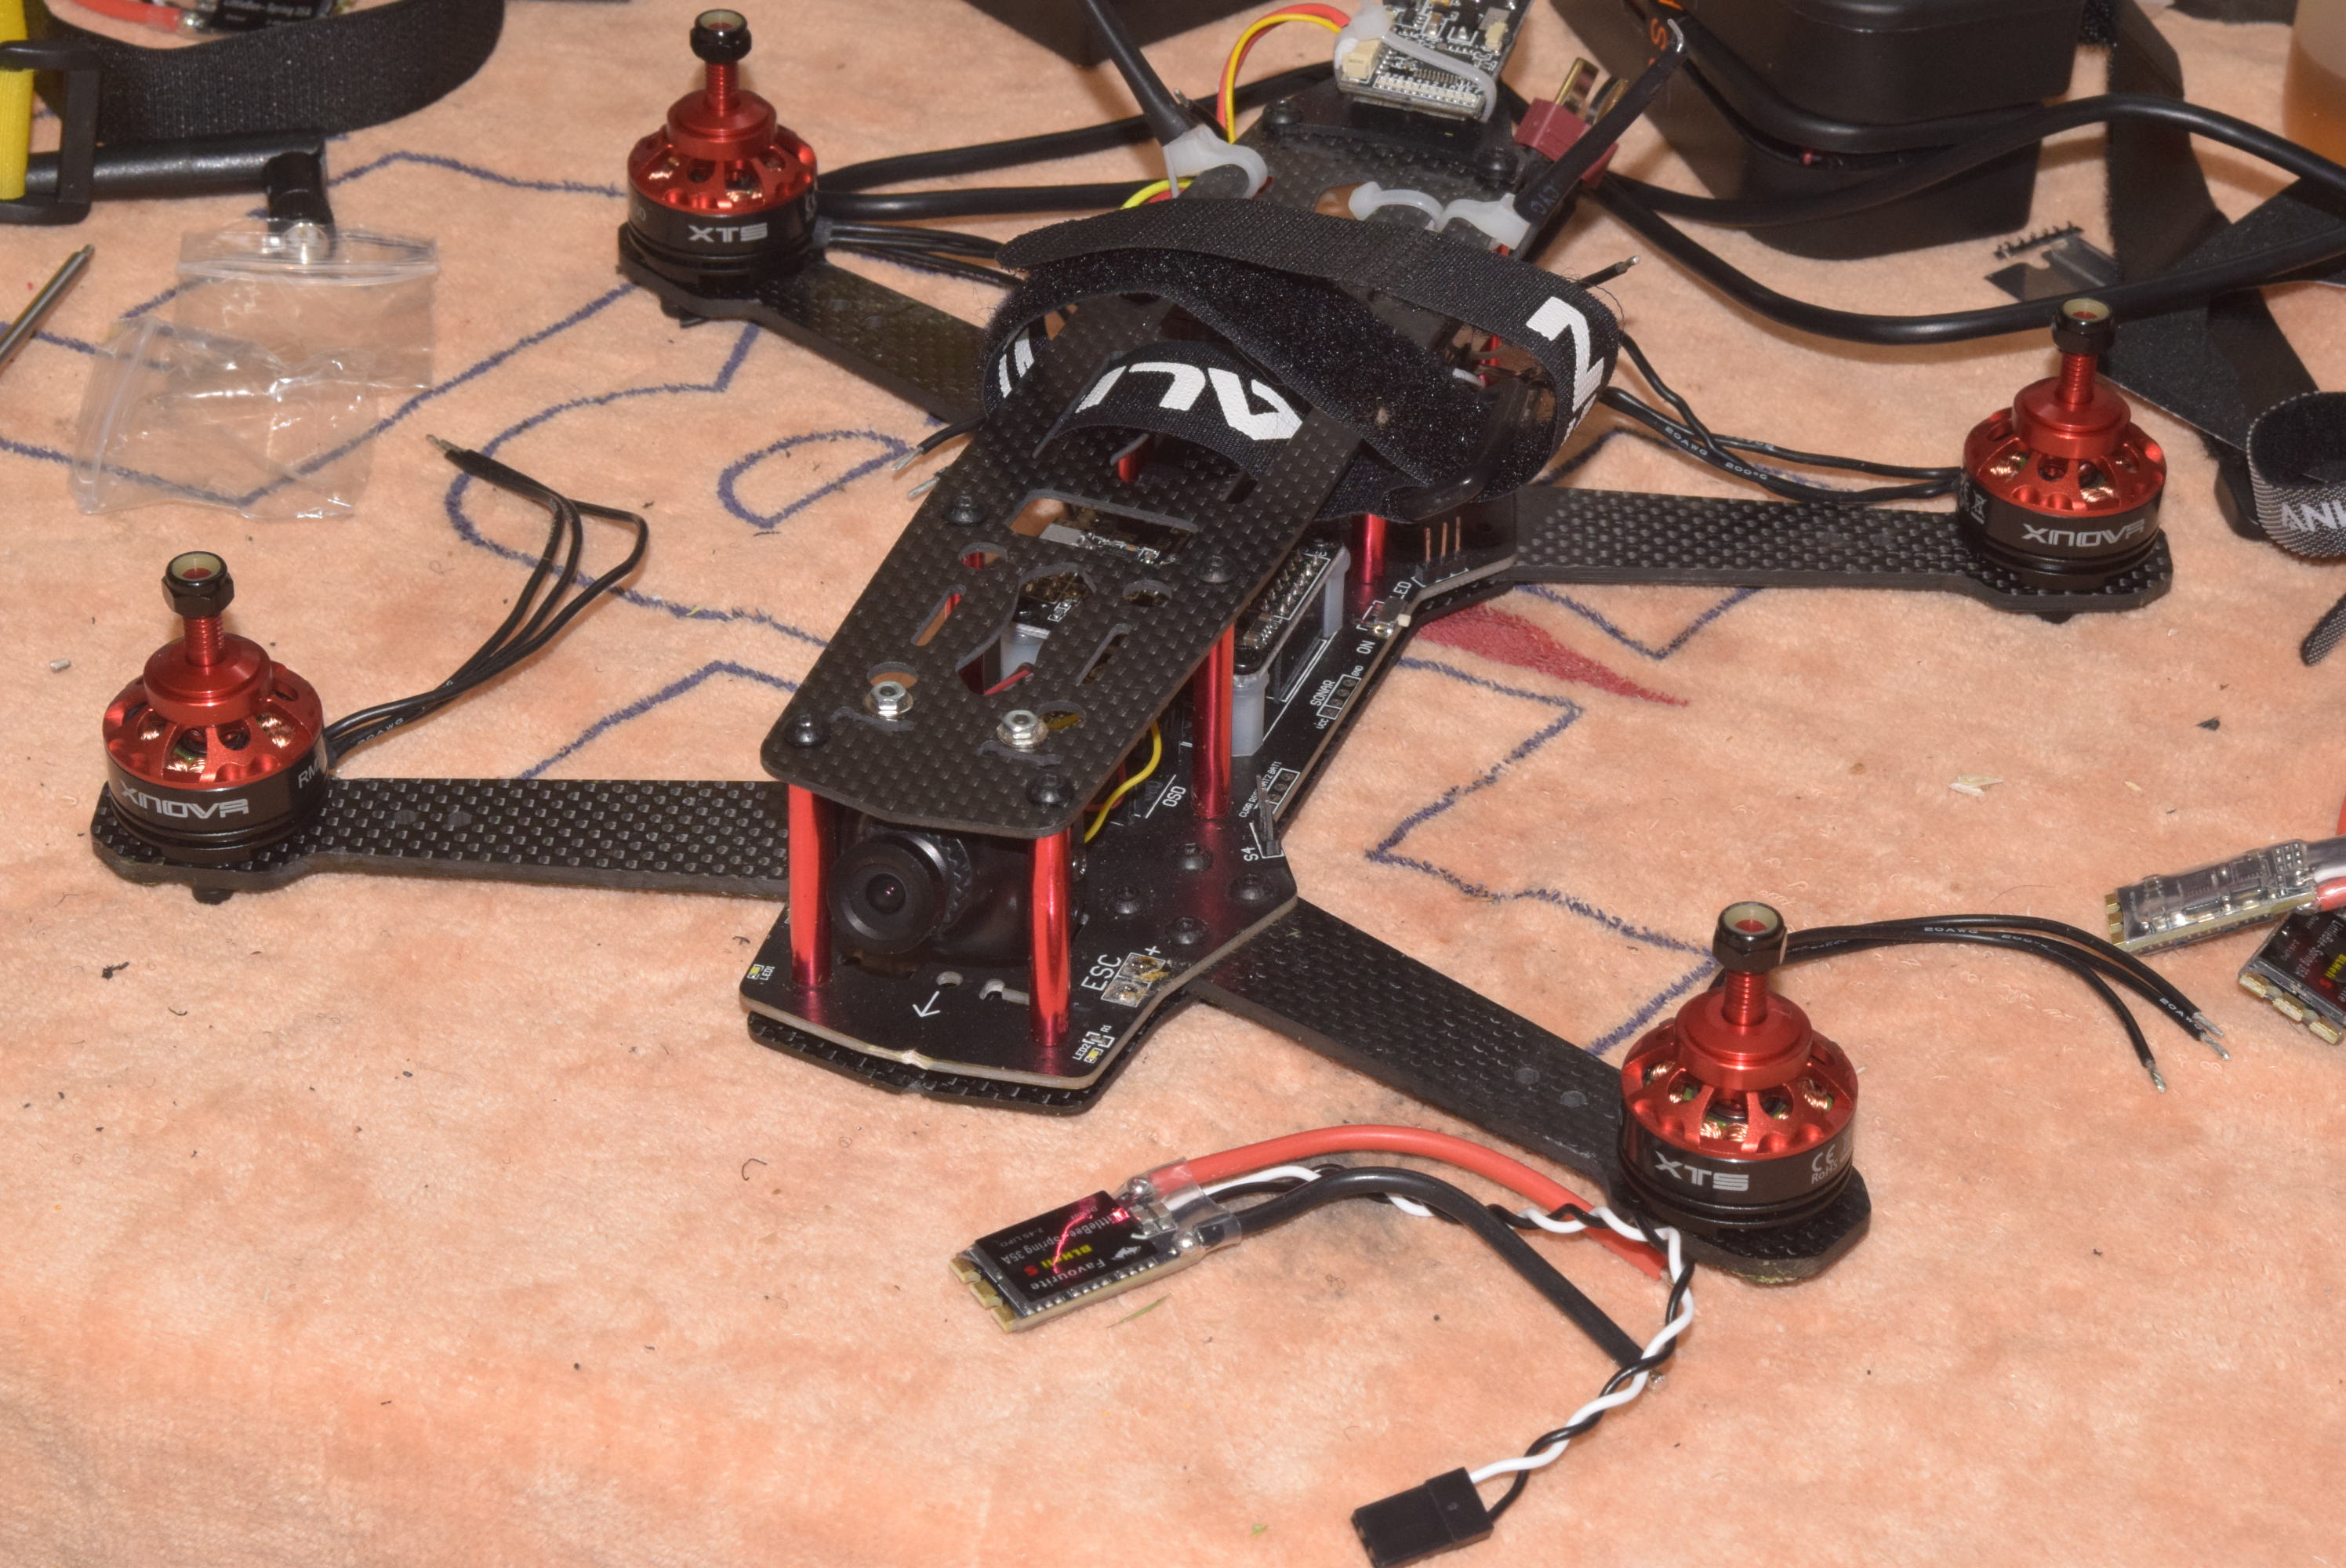
NOTE: with the ZMR 250 arms and the 2204 motors the wires aren’t positioned directly over the center of the arm so I made sure to point that toward the back of the copter.
With the motors installed we can turn our attention to the ESC’s and getting those installed. As you can probably tell from the photo above there is a lot of extra wire that we will cut down so everything fits nice and tight to the frame! Start by removing the shrink wrap around the ESC so we can remove the signal and ground wires (small white and black wires) from the ESC and trim these to size. 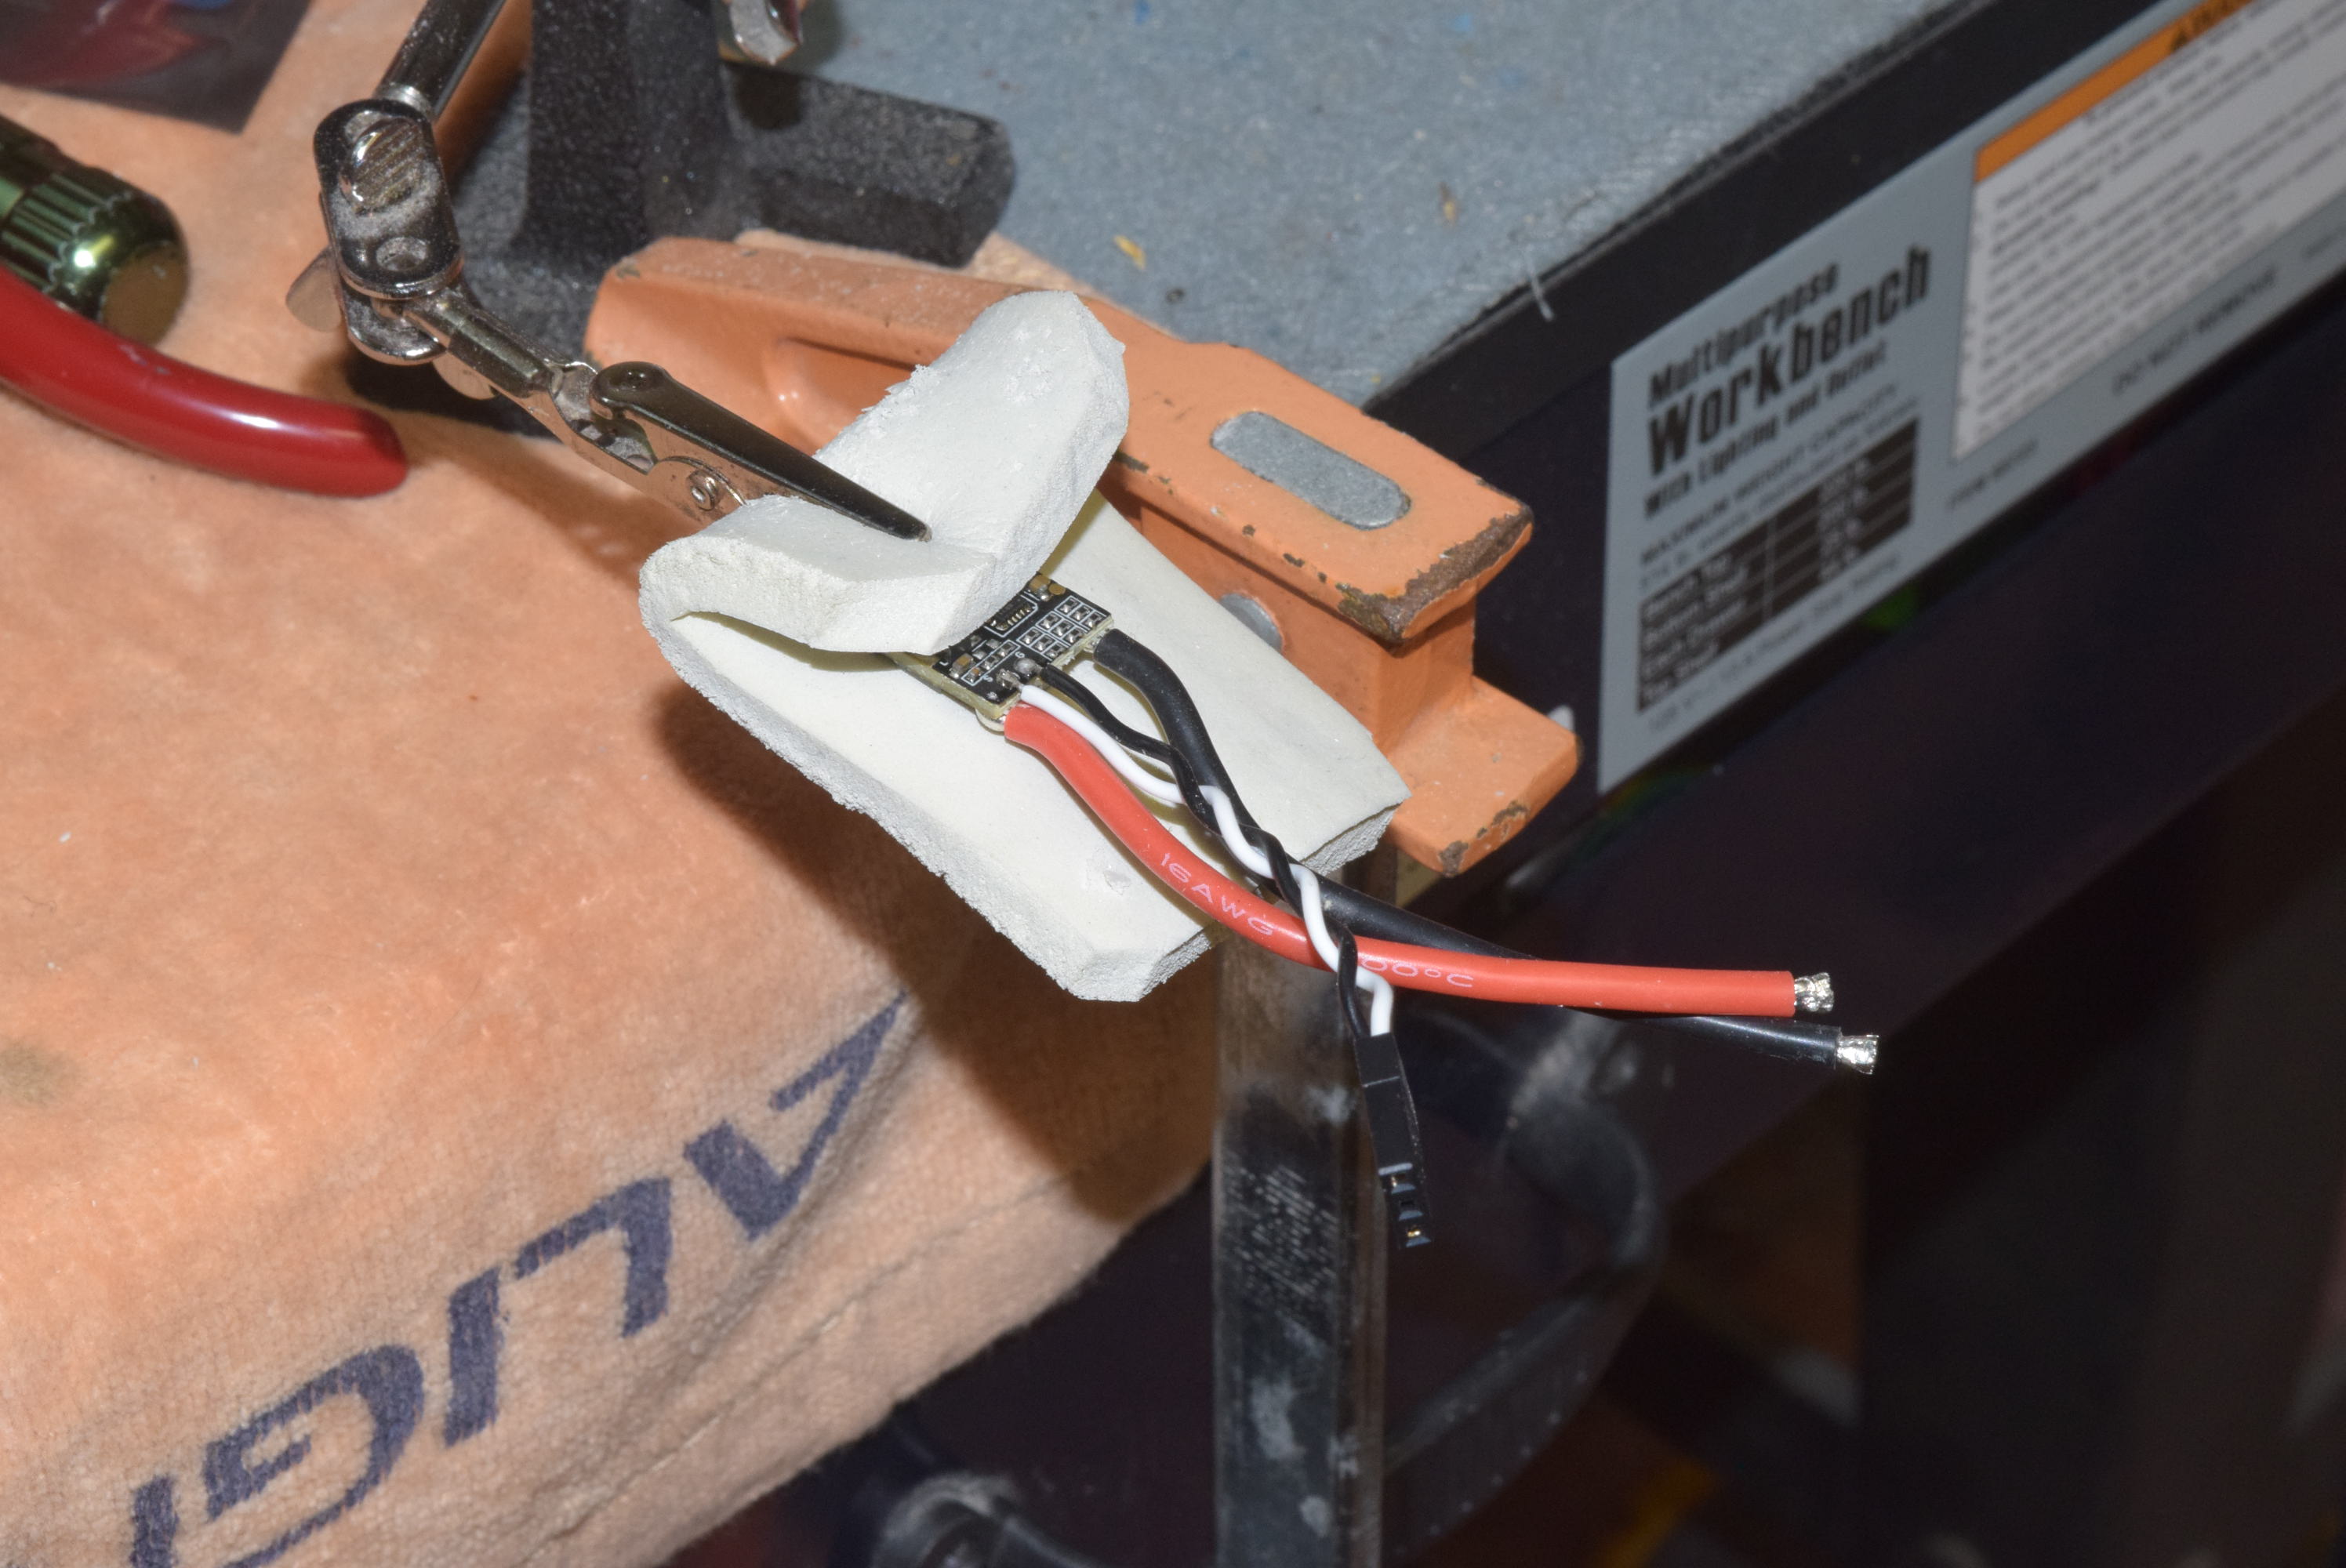
Once the signal and ground wires are shortened to the desired length, place them on the quadcopter are in there intended position and secure temporarily with some electrical tape. With the ESC in it’s desired location we can then solder the main power wires to the PDB board on the ZMR 250.

If your ESC connections are a little tarnished or diry you can clean them with a bristhl brush and a little window cleaner!
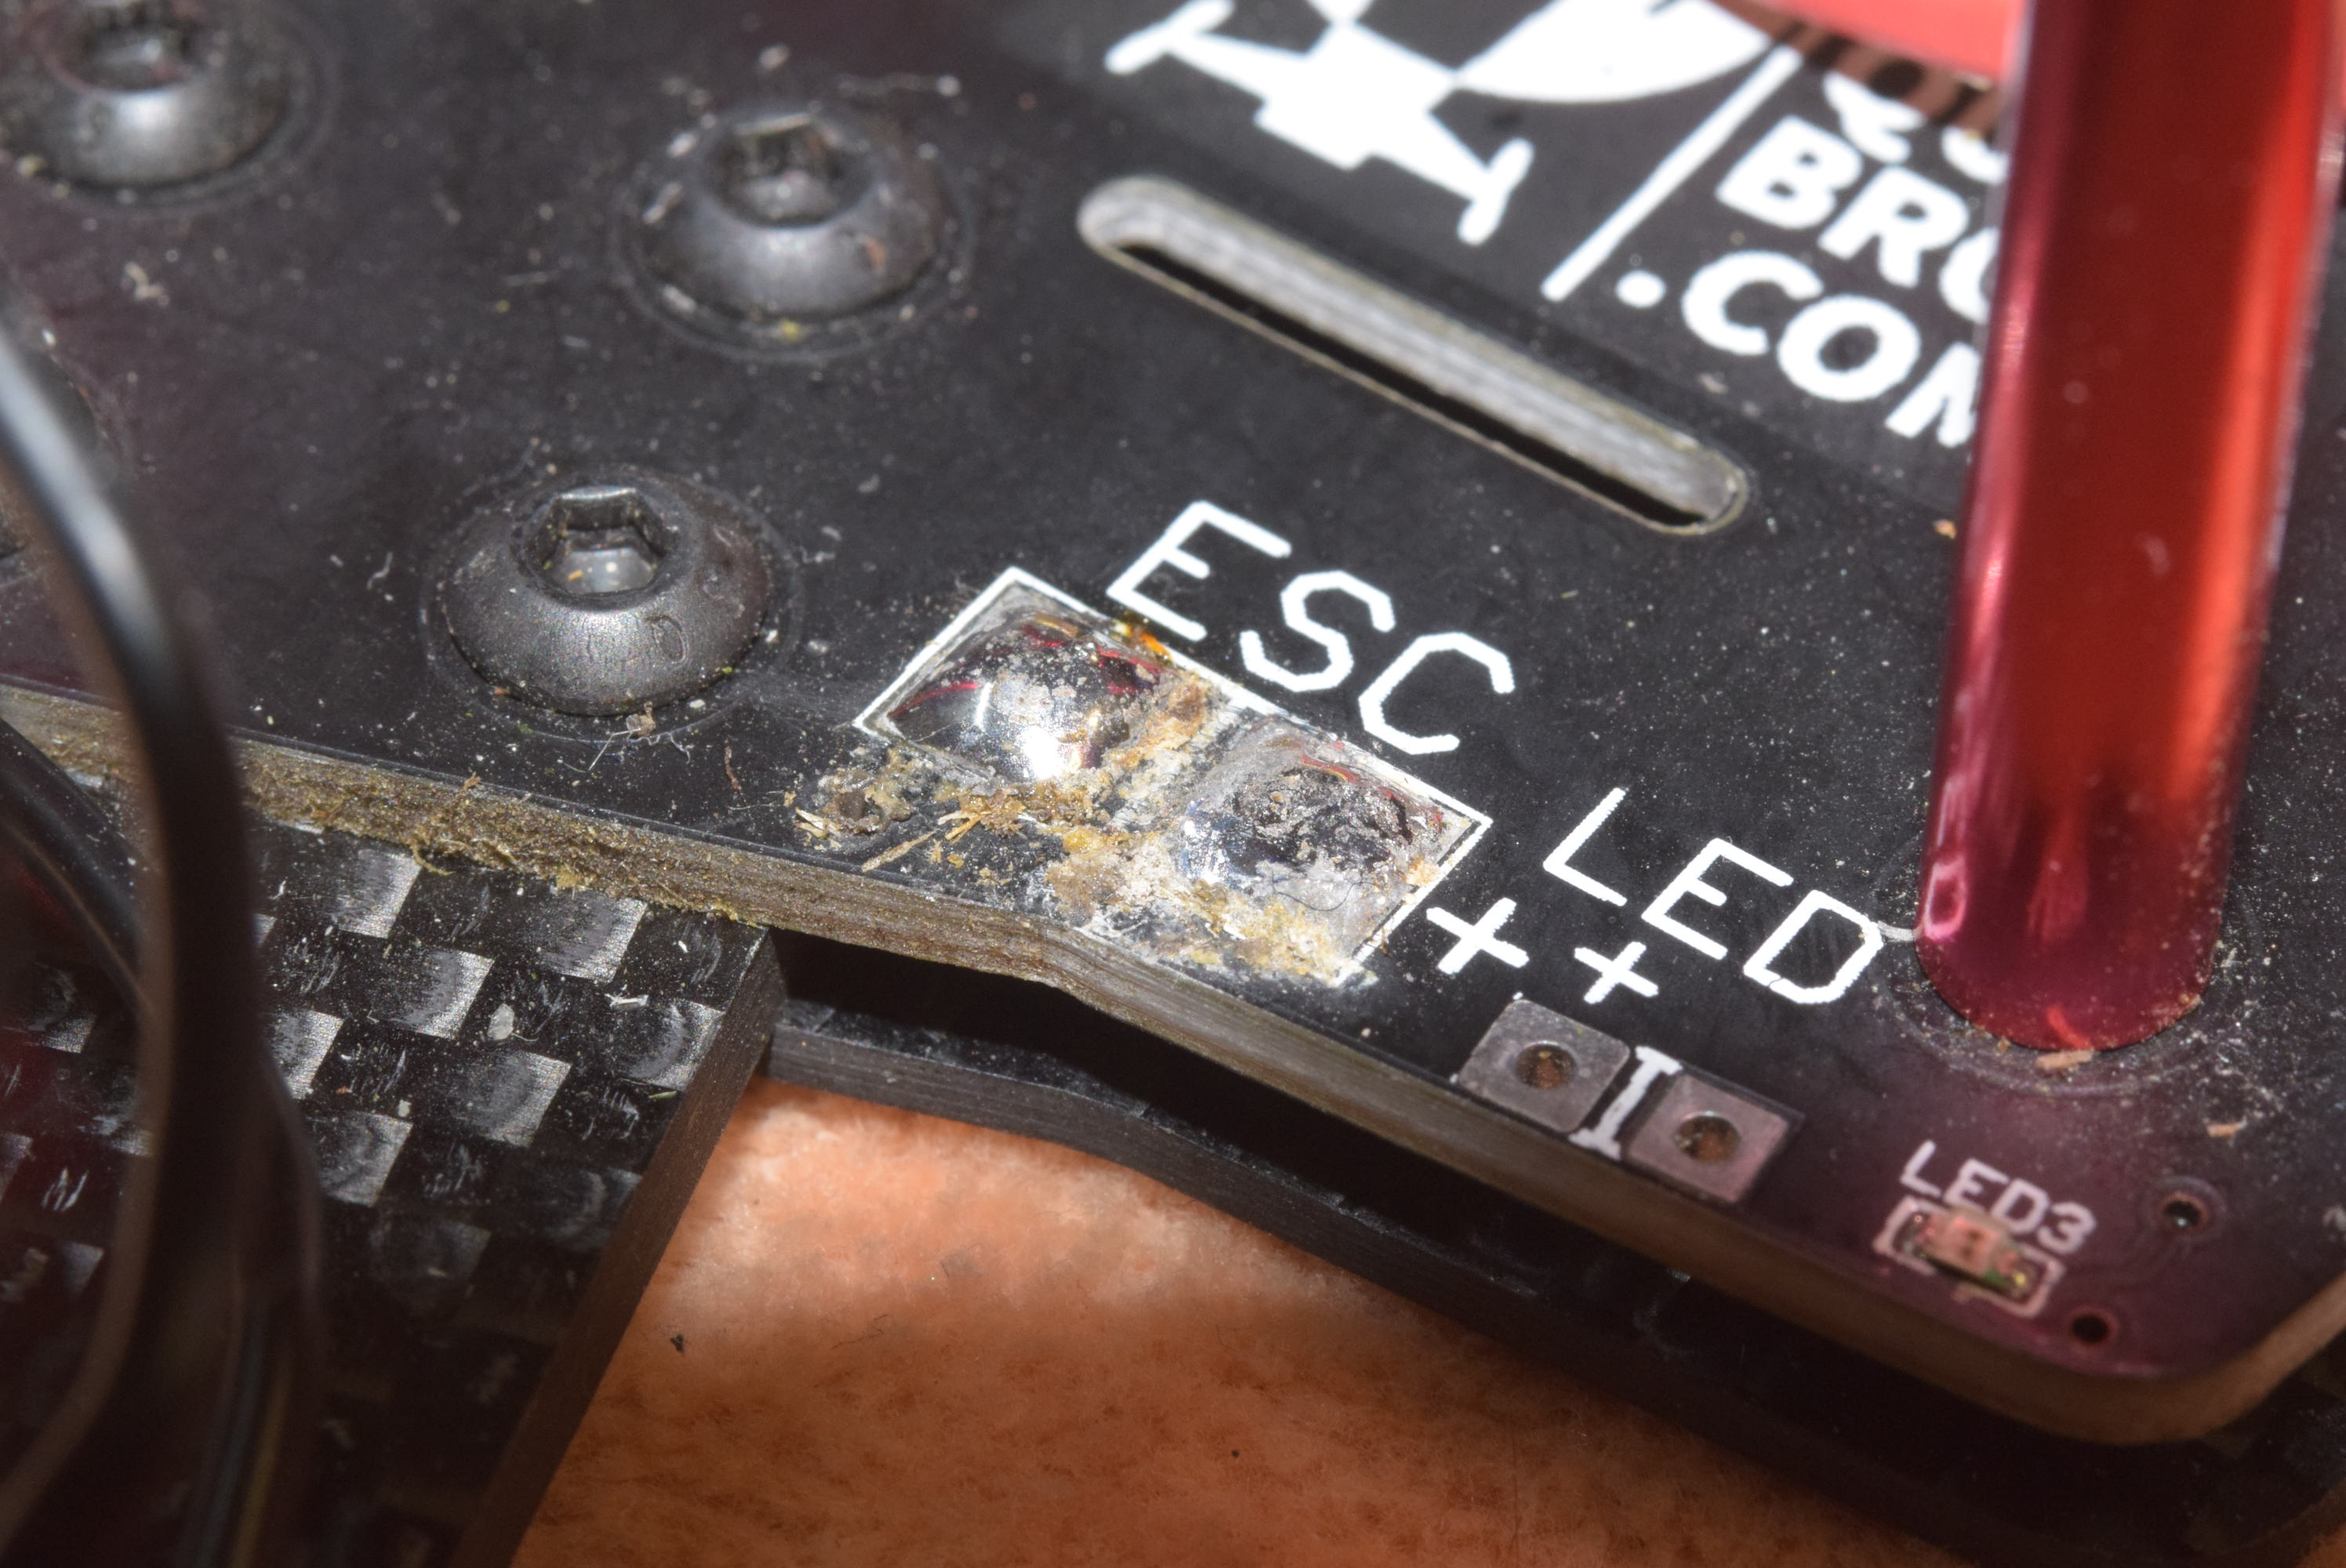
Before…
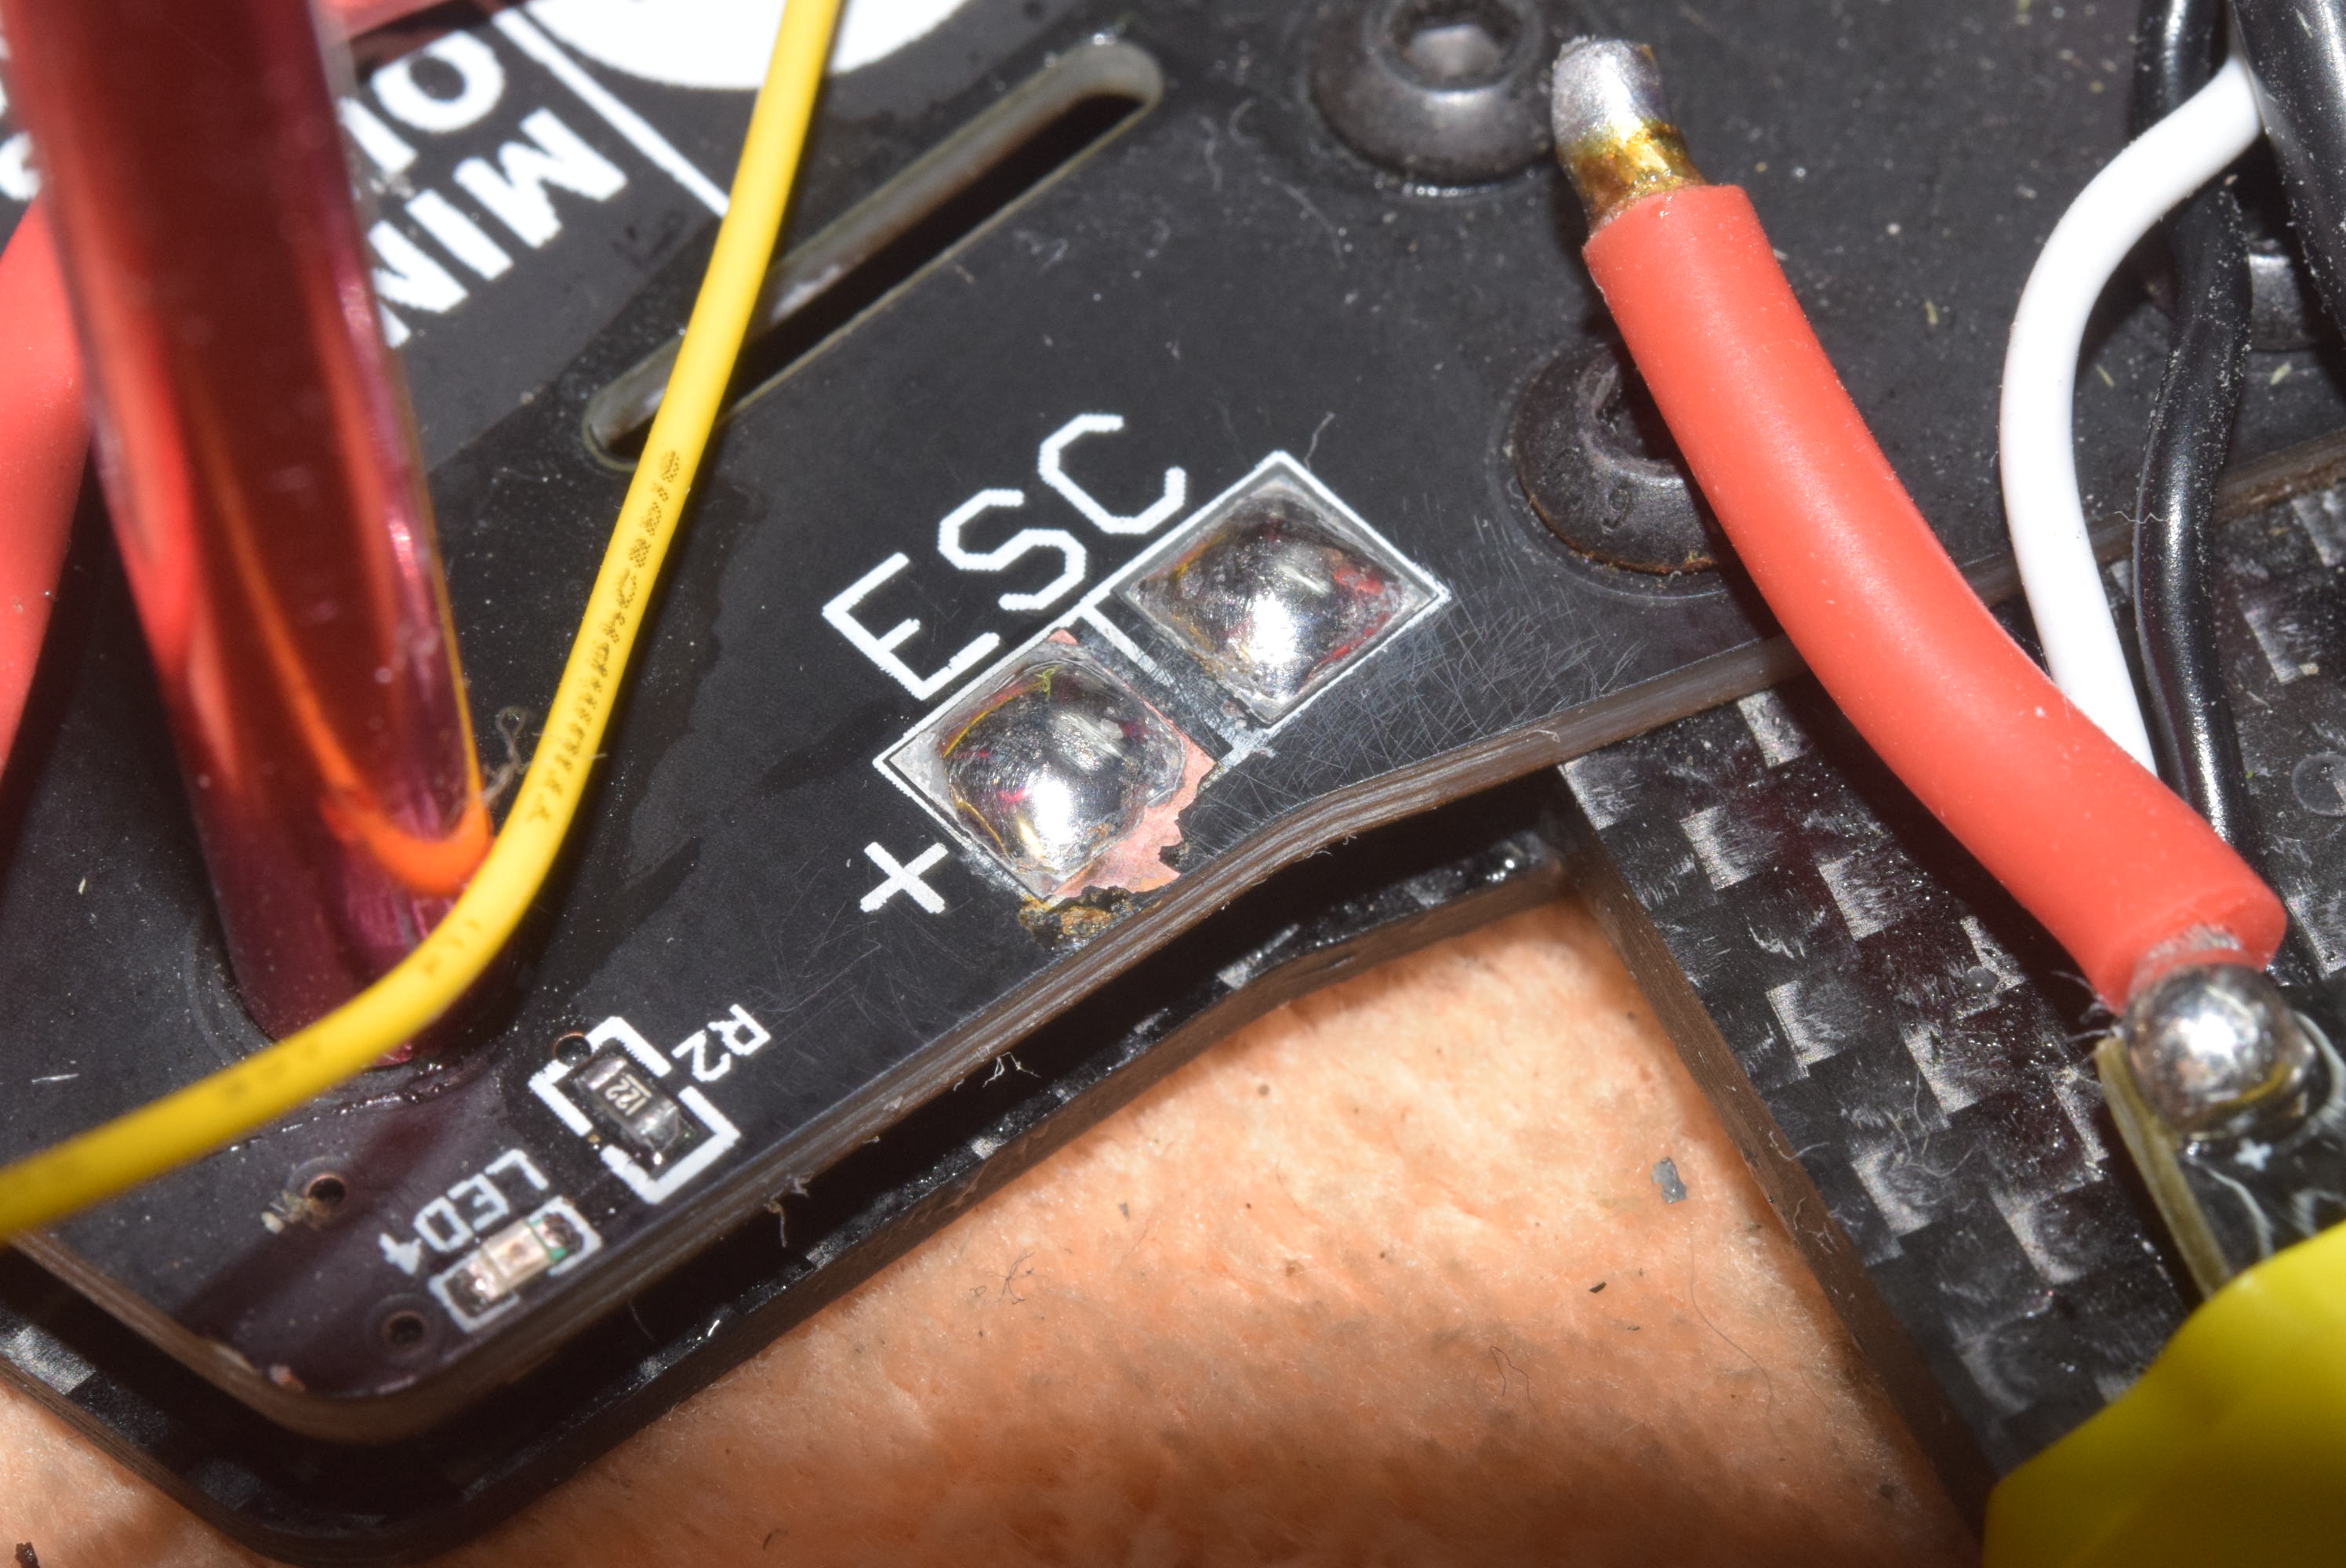
After… nice and clean!
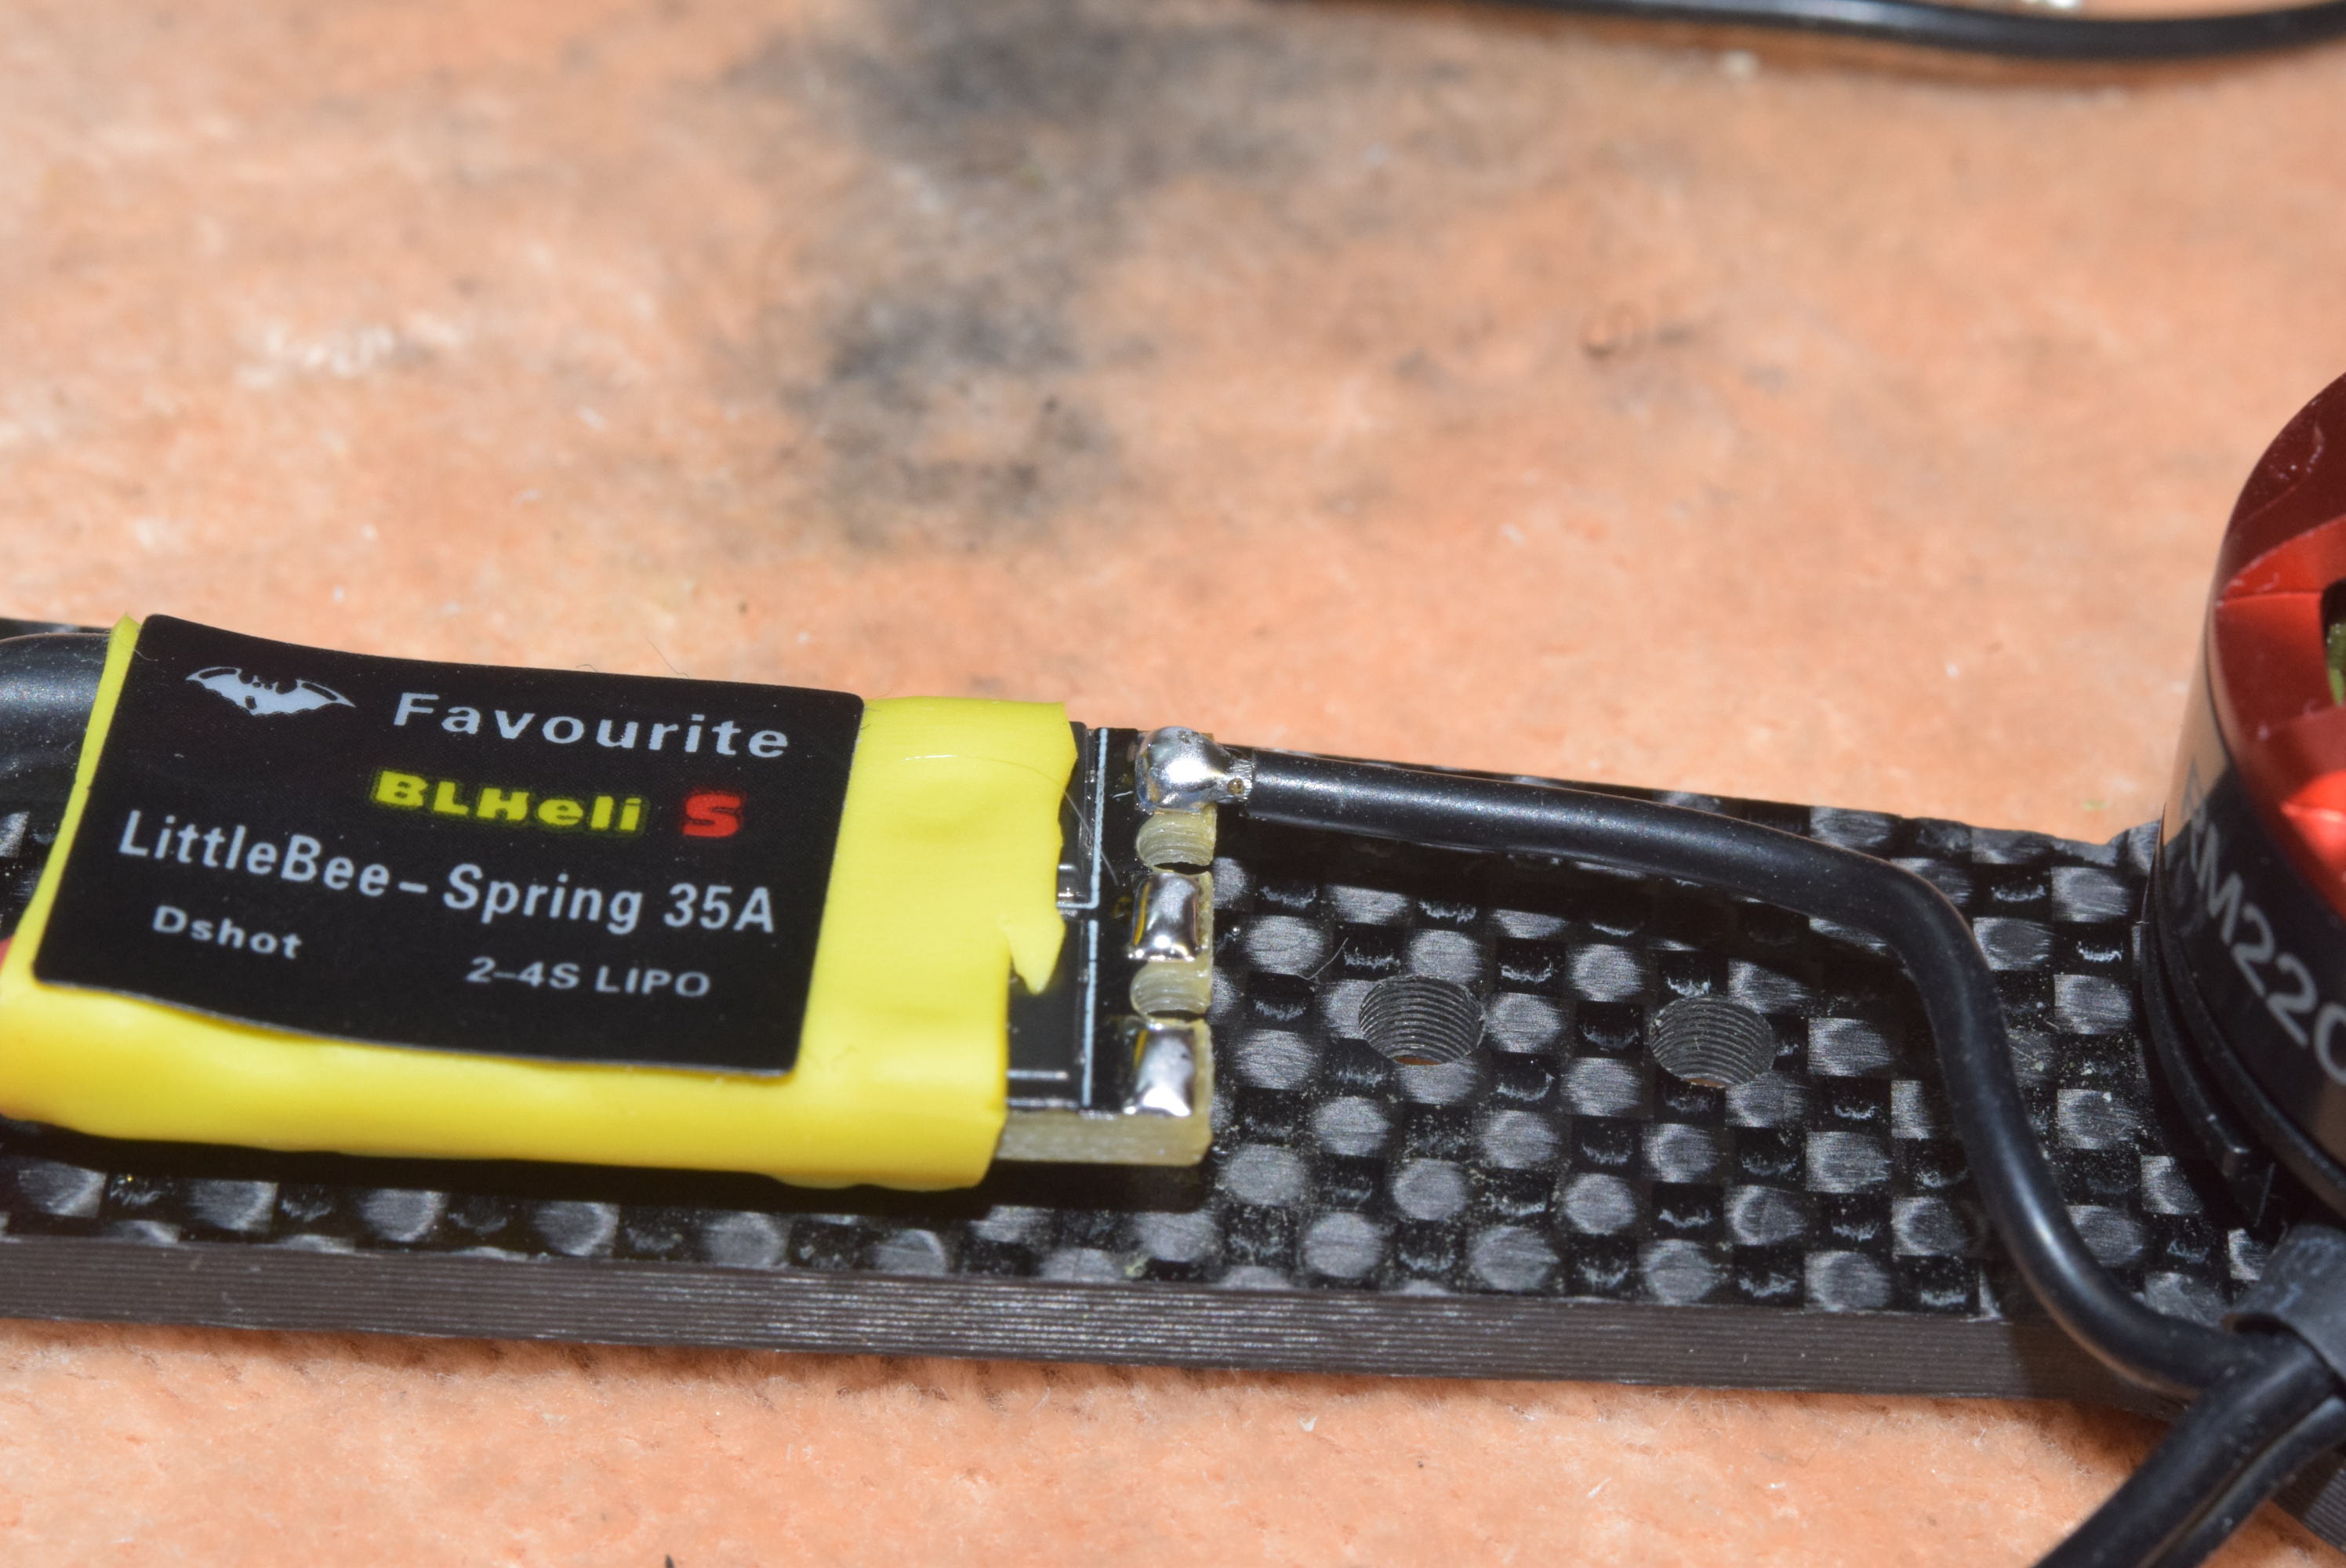
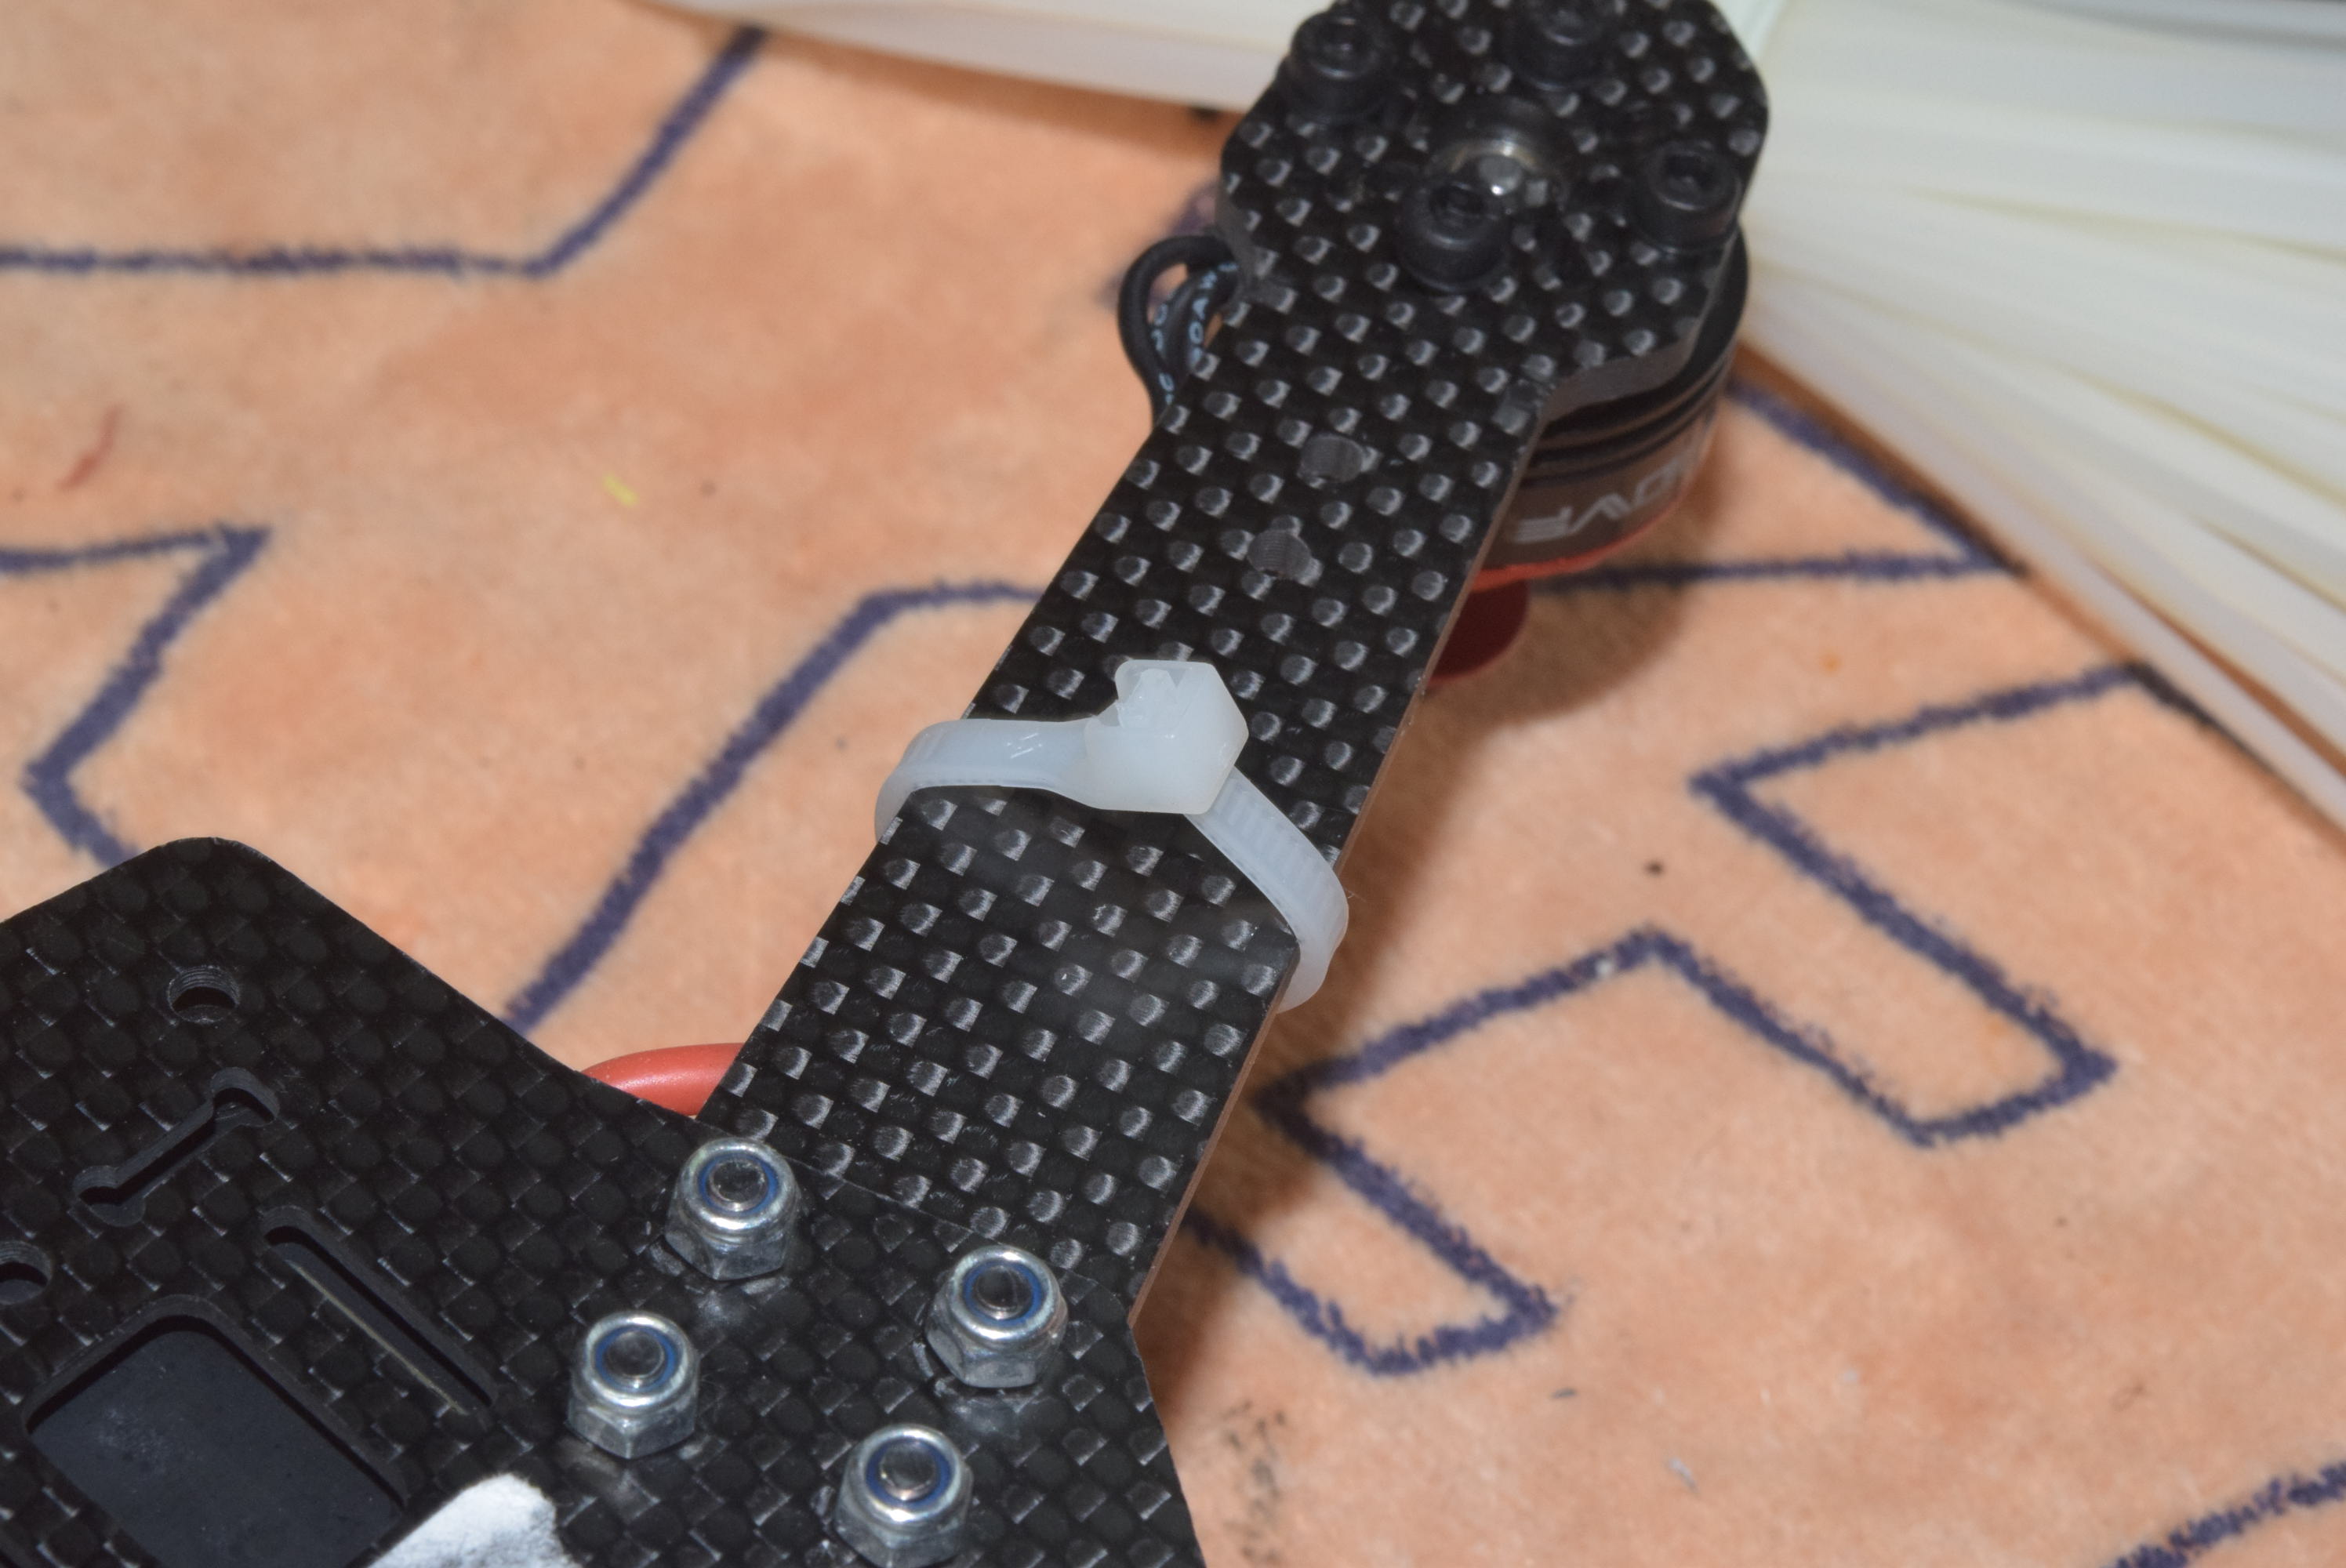
With the ESC’s installed on all four quadcopter arms you can start to wire the motors in one by one. Also when wiring up the ESC’s and motors this can be a time consuming and tedious process so make sure not to be in a hurry here! Since I removed the factory shrink wrap you can replace it with a color of your choice and re-attach the original label. I also like to place a small piece of double sided tape under each ESC and between the arm then secure with a zip tie as shown in the photo below. One added benefit of of the securing with a zip tie in this position is that it gives the quadcopter some “landing legs” of sorts!
In part 2 we’ll take a look at migrating the original F1 NAZE 32 from Cleanflight to Betaflight!