Polaris RC Seaplane Build | Foam Sea Plane
Category : Model Airplane Building
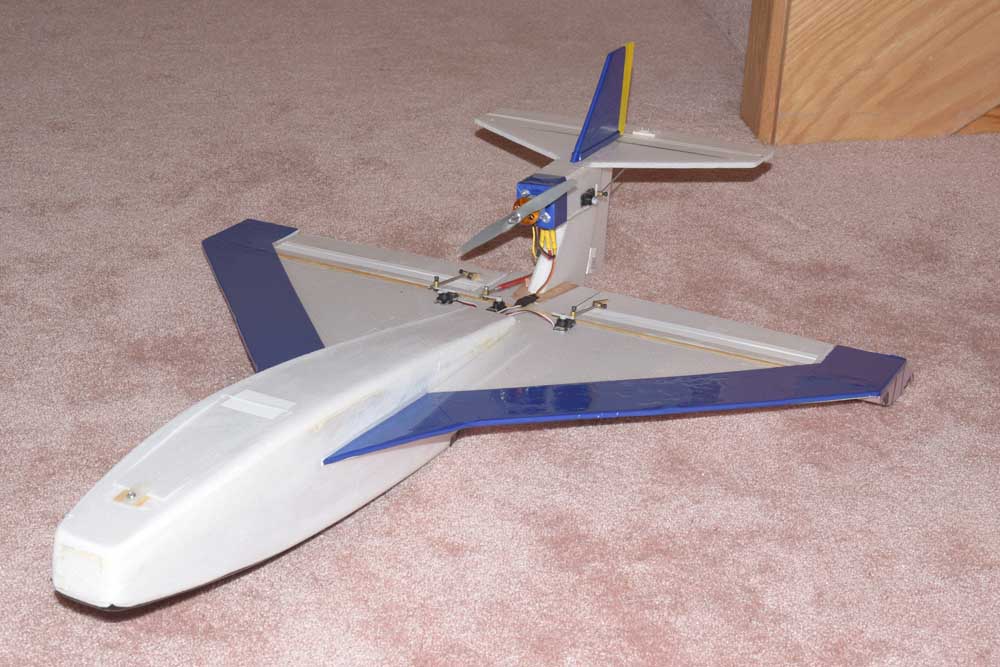
If there ever were an RC plane that one were required to own – the RC Polaris Seaplane designed by Steve Shumate would be it! Made from 1/4 inch depron foam sheets, it’s a quick build for most and very low cost!
One of my local club members had a partially completed Polaris he had been working on and never got around to finishing it. It was given to me by this club member so I wanted to finish it and get it flying. This is actually my second Polaris I’ve owned as the first one met and early demise when flying to close to the ground!
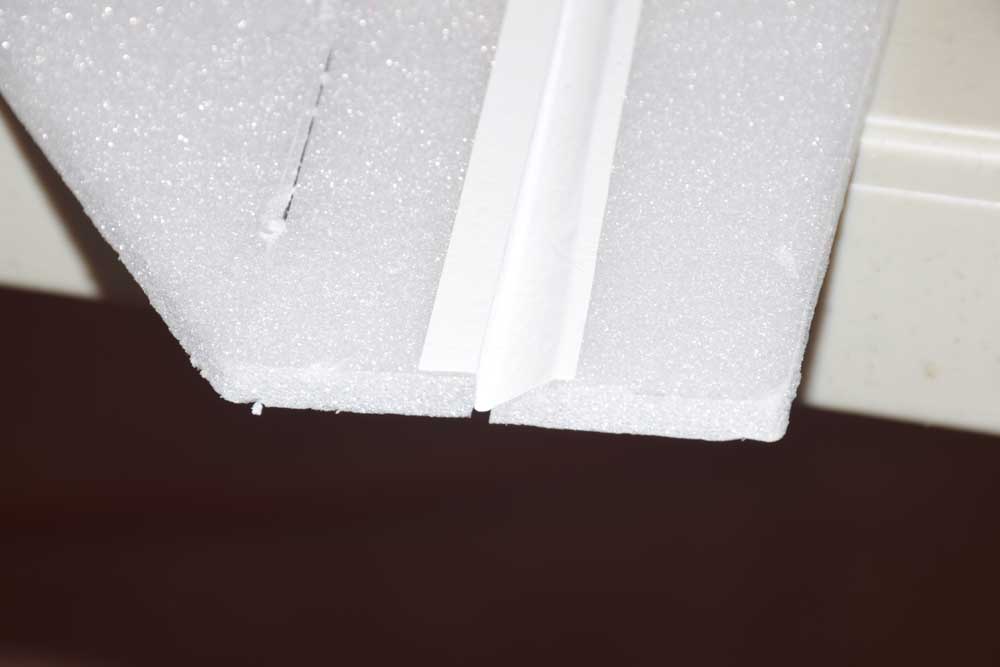
I was able to reuse all my electronics from the original Polaris park flier I had, so everything was mostly a direct fit. Part of the fuselage and tail section had already been started and some of the control surfaces had already been hinged with tape. On my original Polaris, I used Ultracote iron on covering for the hinges and it worked very well! I decided to do that on this one as well and replace the tape that was partially coming off. Surprisingly Ultracote covering sticks very well to depron foam; even using the low heat setting of around 220 degrees Fahrenheit. I did some tests on small pieces of foam to see how much “stick” it had… it seemed to hold better than any of the packing tapes I had tried in the past!
-
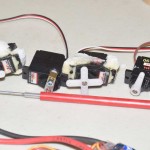
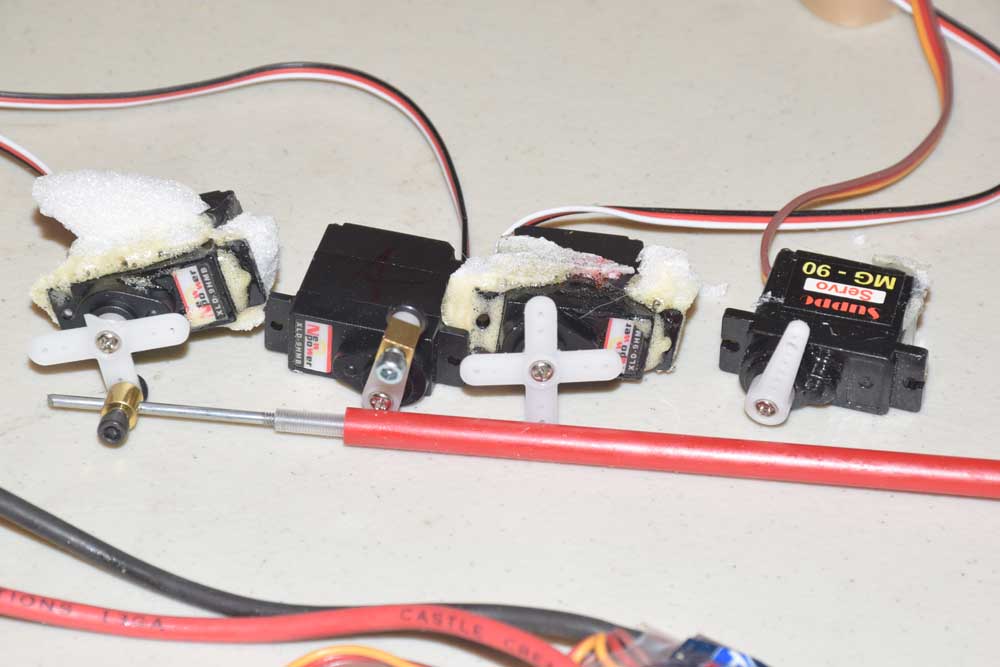
- digital Servos
-
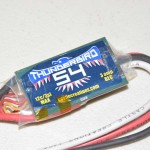
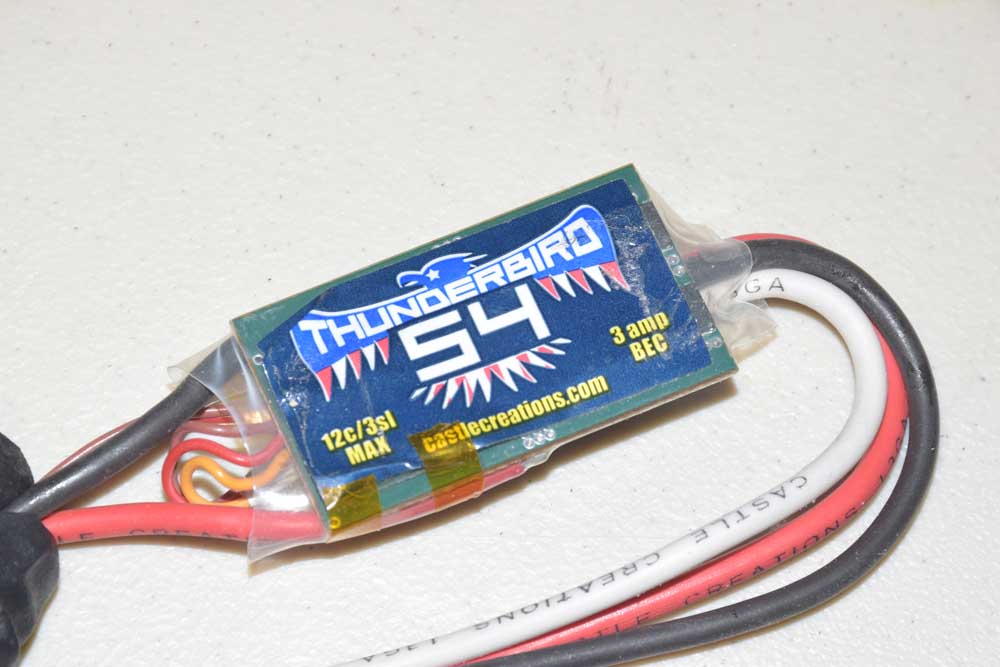
- Castle Thunderbird ESC
-
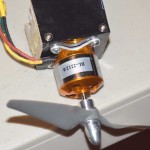
- 2200KV motor

-
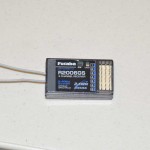
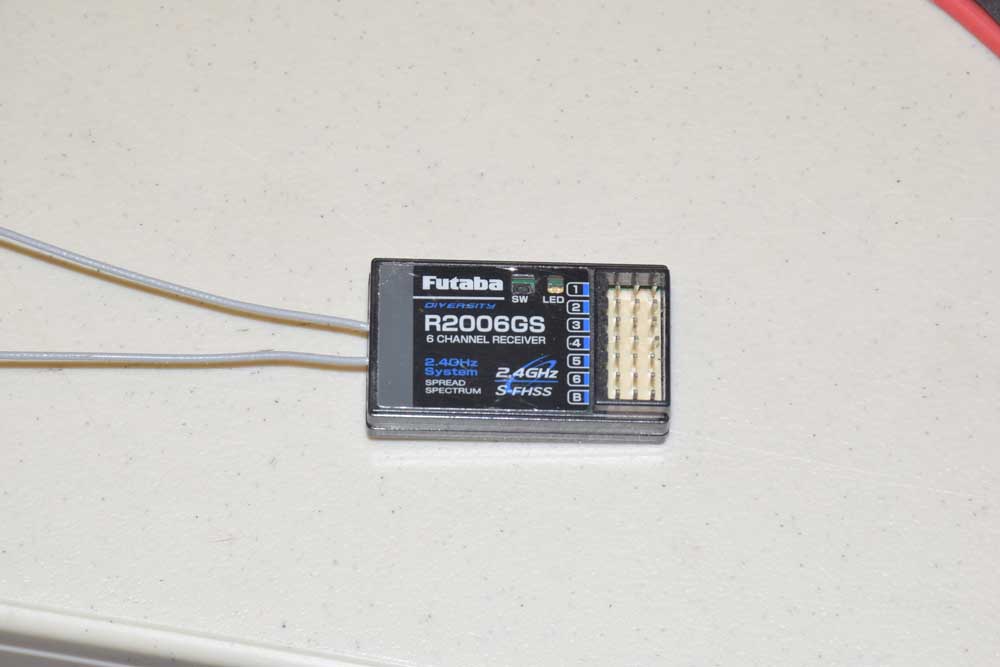
- Futaba 6Ch Receiver
-
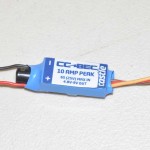
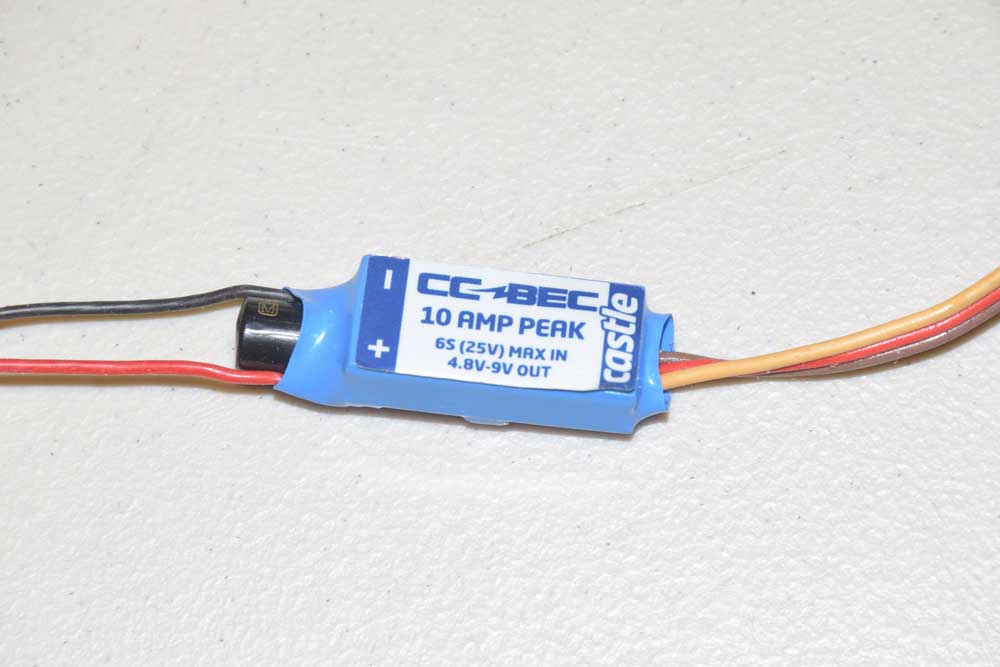
- Castle 10 AMP BEC
-
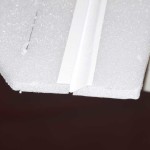
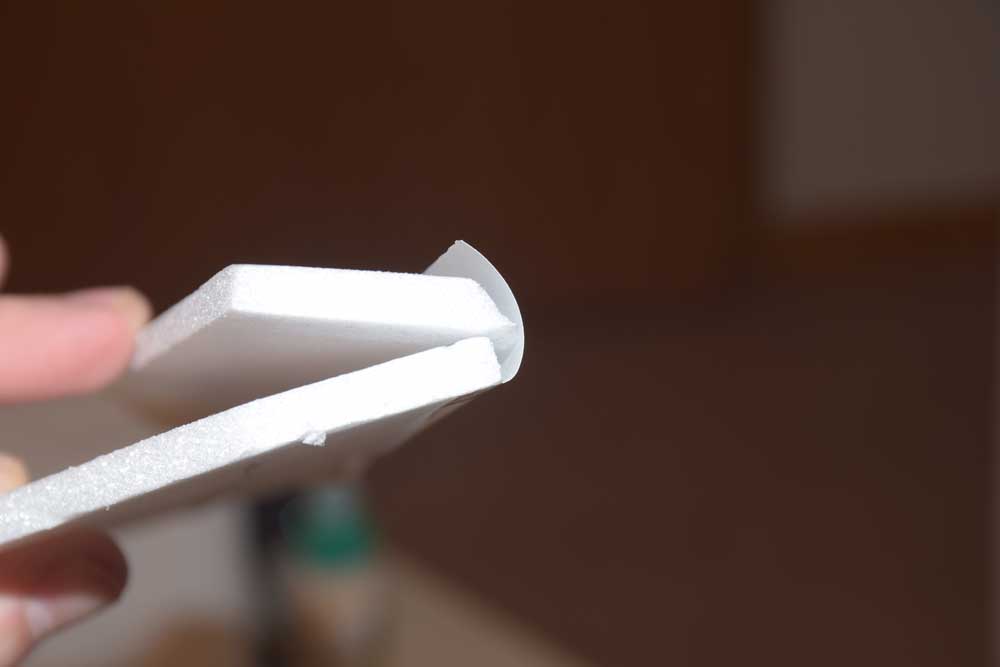
- Ultracote Hinges
-
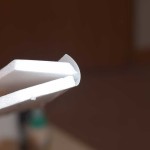
- Ultracote Hinges
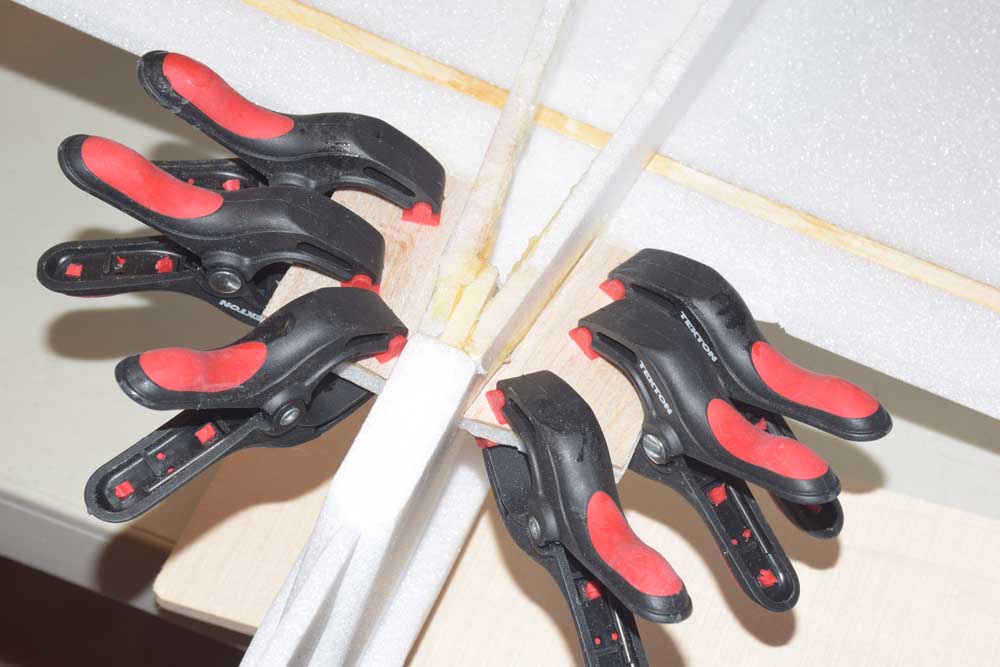
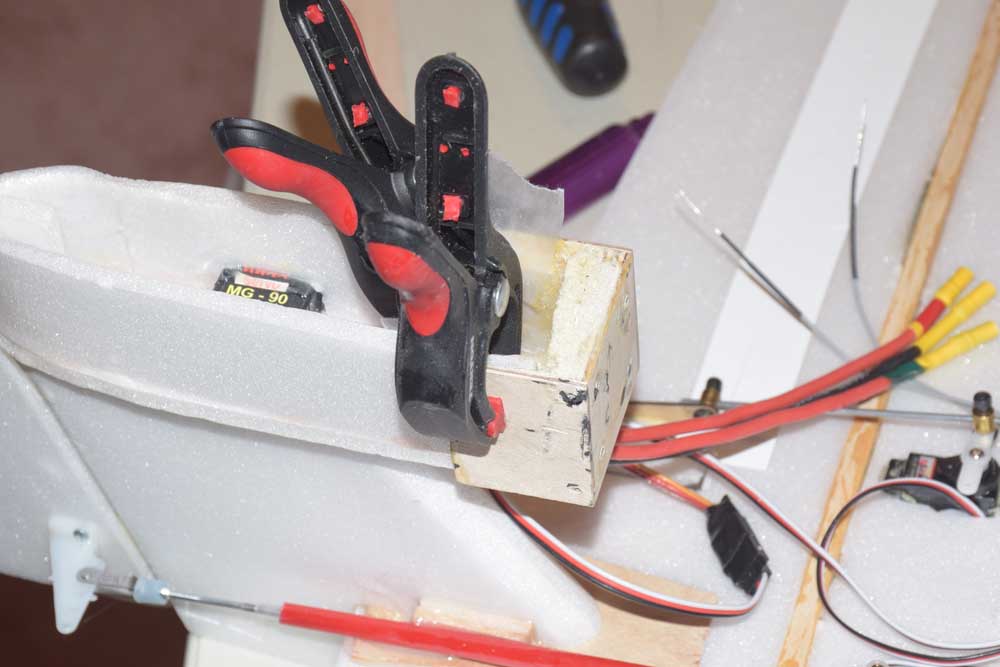
On my original Polaris, I felt the tail section was a weak point so I added some 1/16 balsa there to make it slightly more rigid.
-
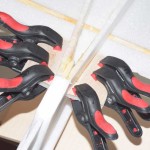
- Clamp and let dry
-

- 1/16th Balsa
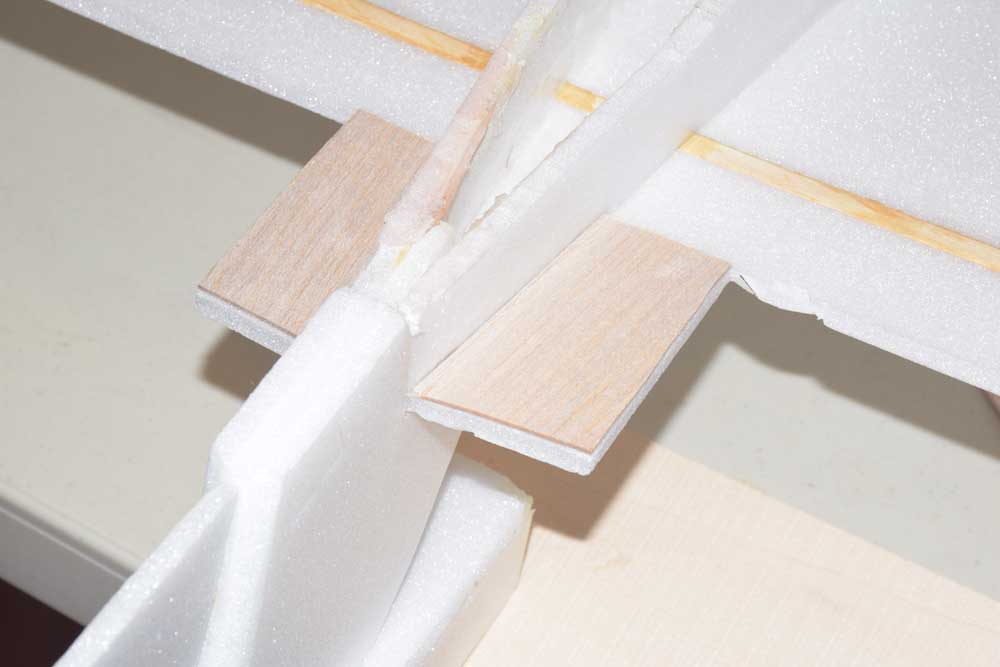
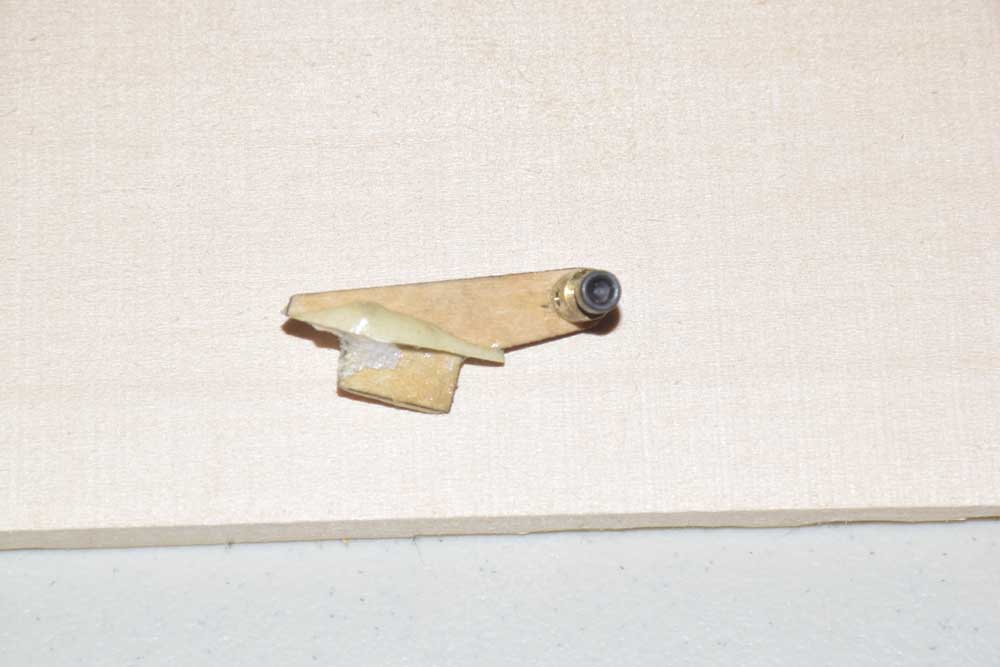
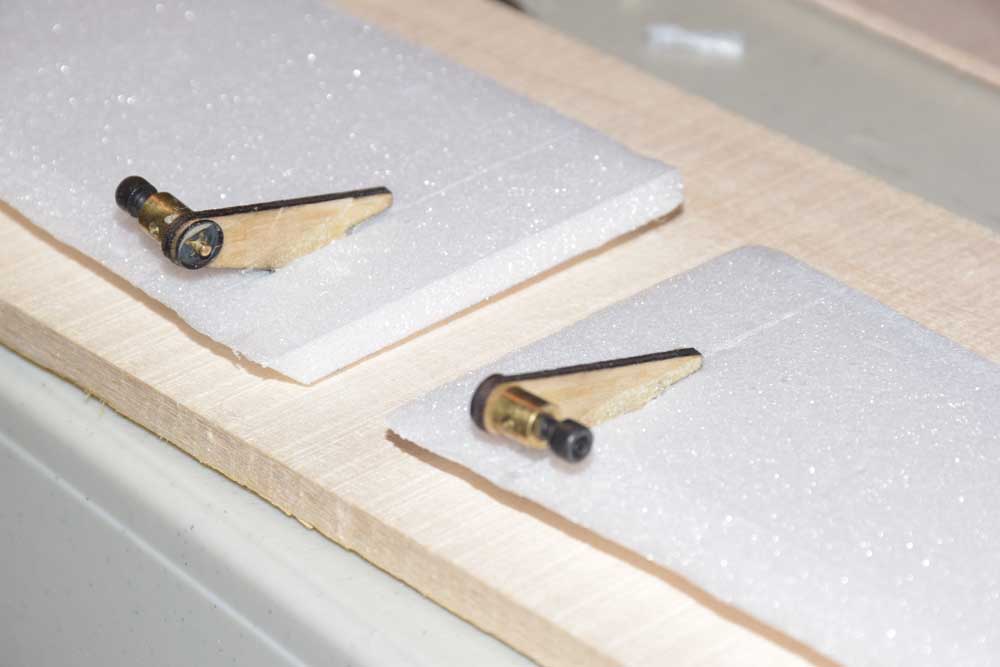
I also reused the original wood control horns for the ailerons and just carved some small slots in the foam and secured those with a foaming polyurethane glue. These glues work great if you have to fill some larger gaps. For a more secure bond, use clamps.
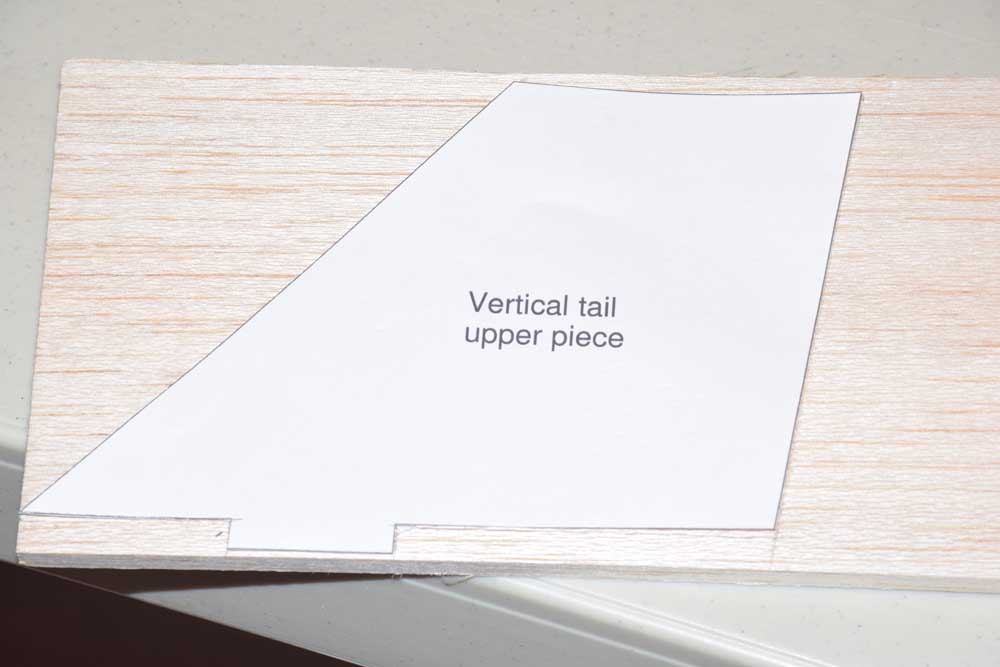
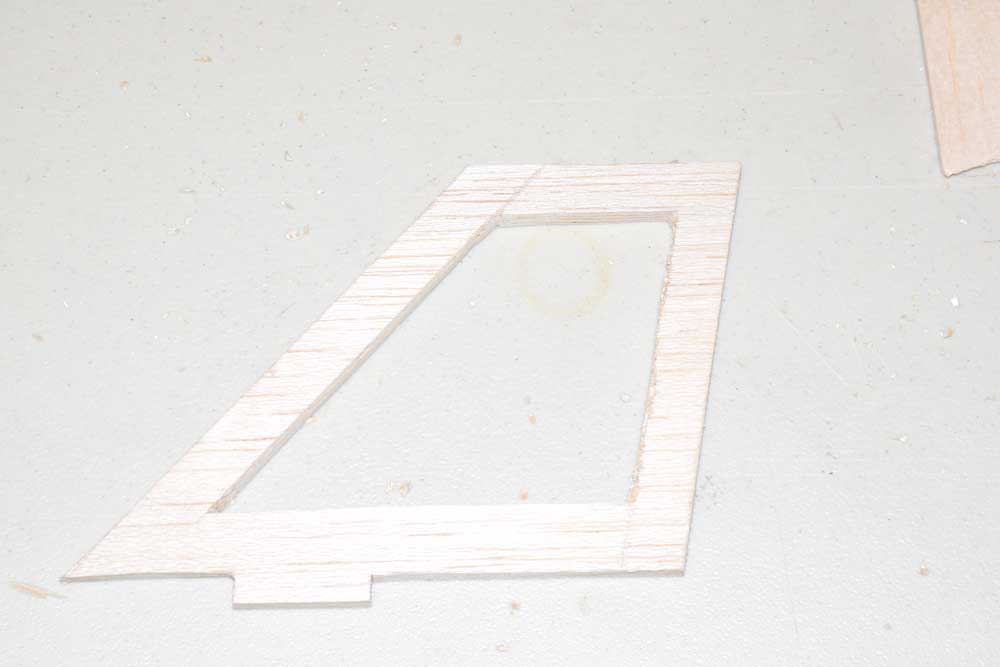
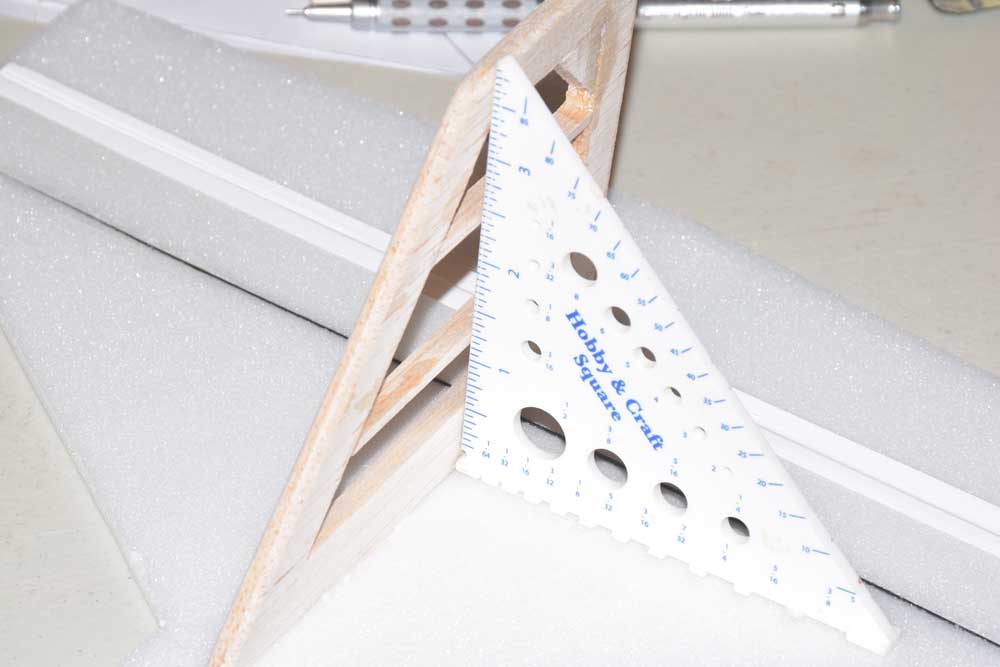
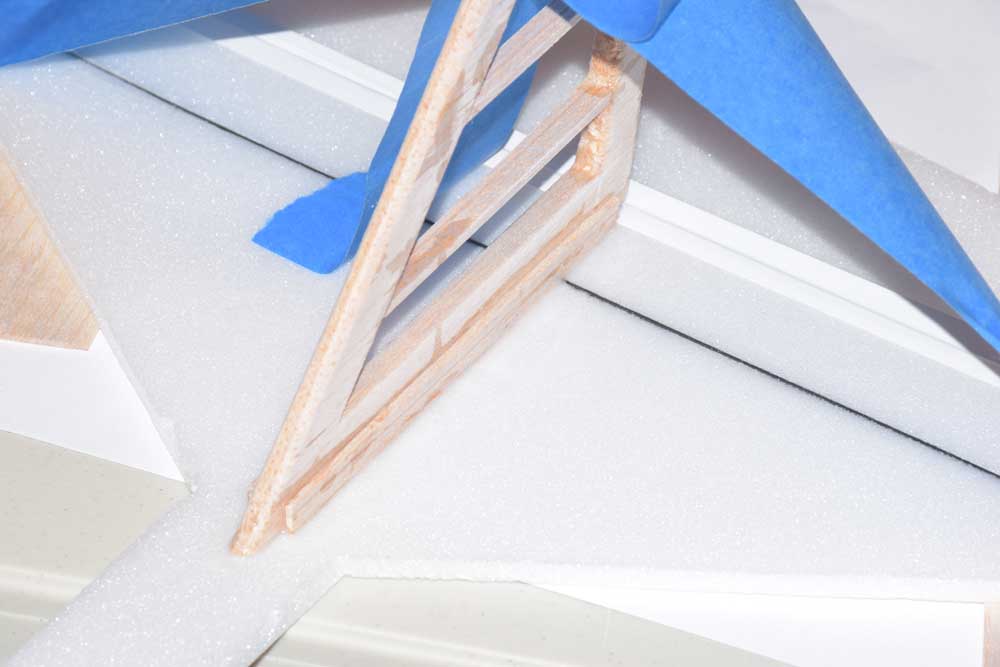
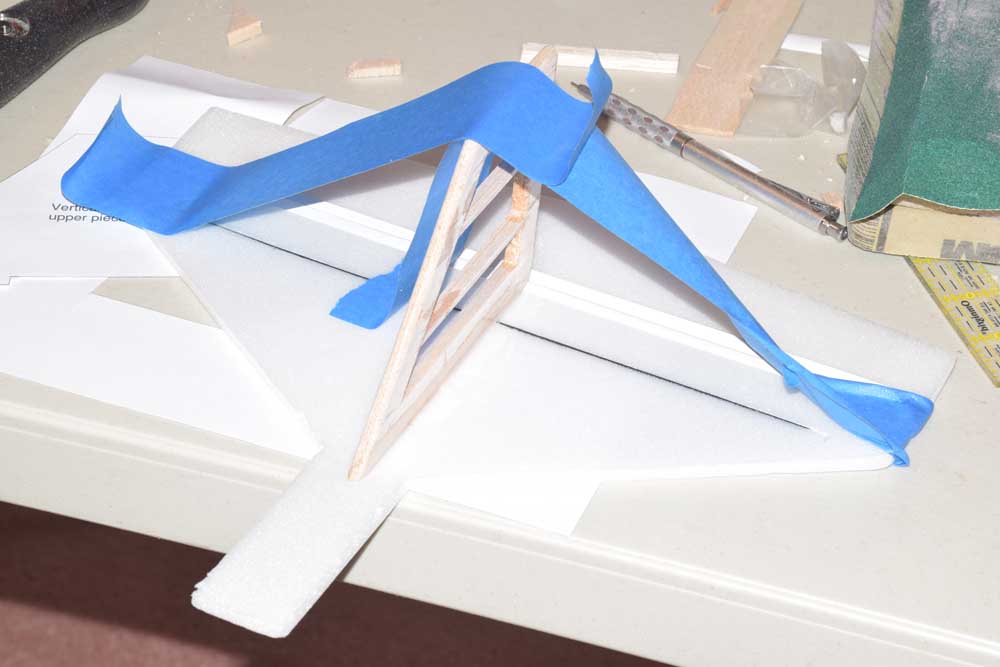
The rear vertical stabilizer was missing so I opted to make one out of 1/4 inch thick balsa and then carved the center out to reduce the weight. I also laminated this with some thin CA to stiffen it up a little more. I printed the template from the original Polaris plans and simply cut it out with my no. 11 blade xacto knife. I used 30 minute epoxy to secure it into the rear tail section and pinned it in place once I was satisfied everything was square and straight.
With the original Polaris RC Plane I had, I had made a motor box that “gripped” the tail section a little better as I had an unfortunate mis-hap with the original where the motor mount had torn away from the foam!
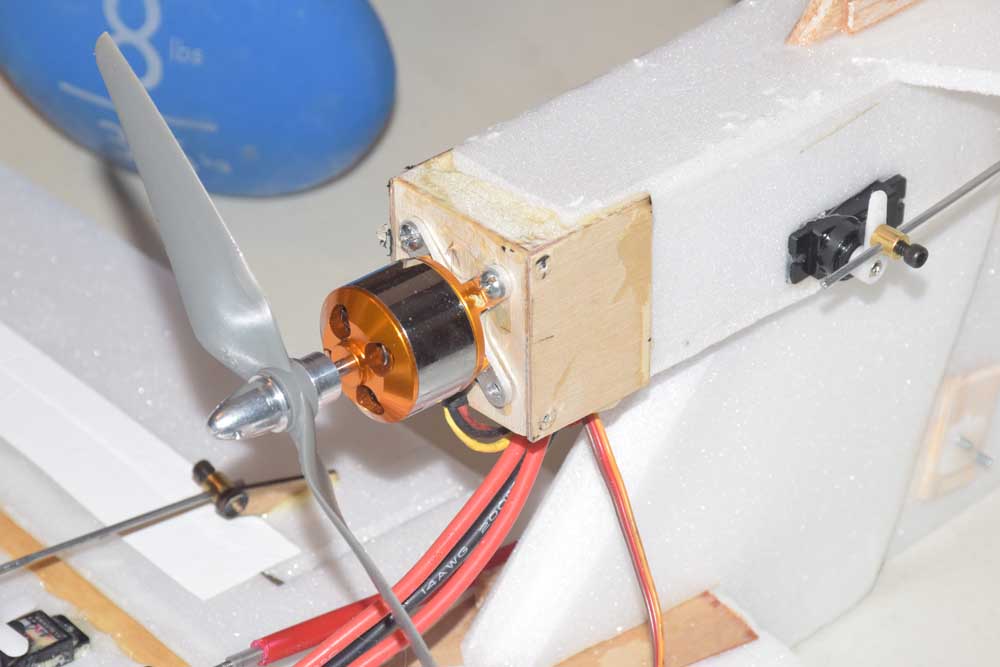
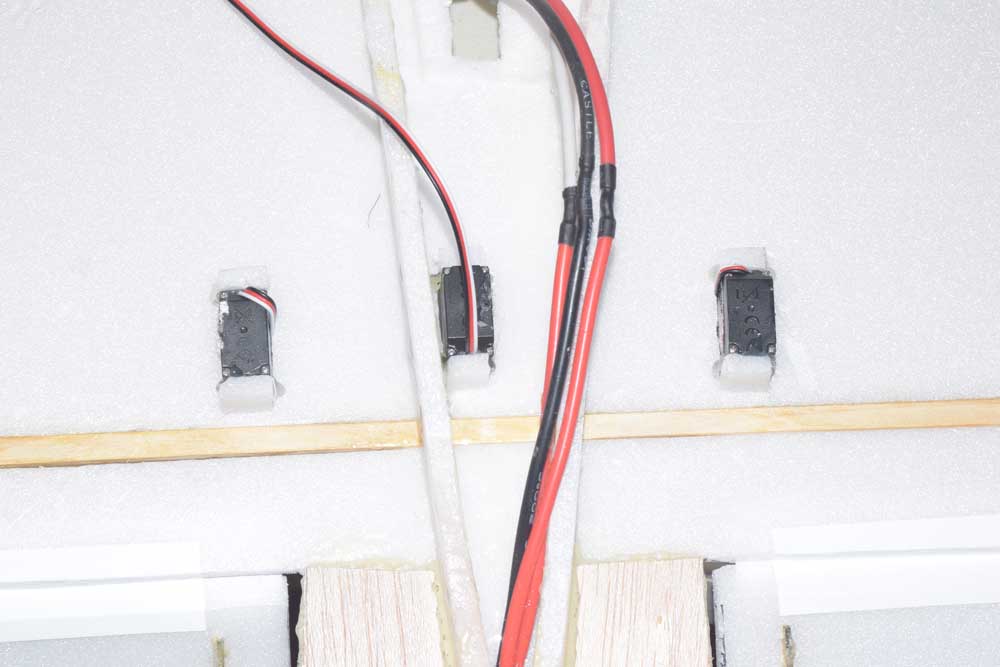
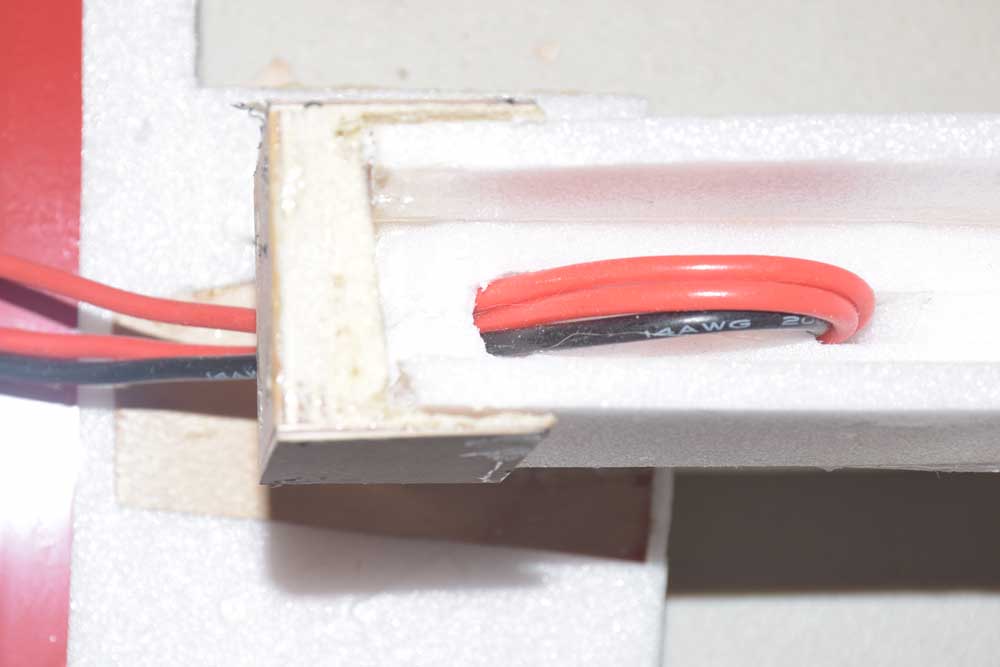
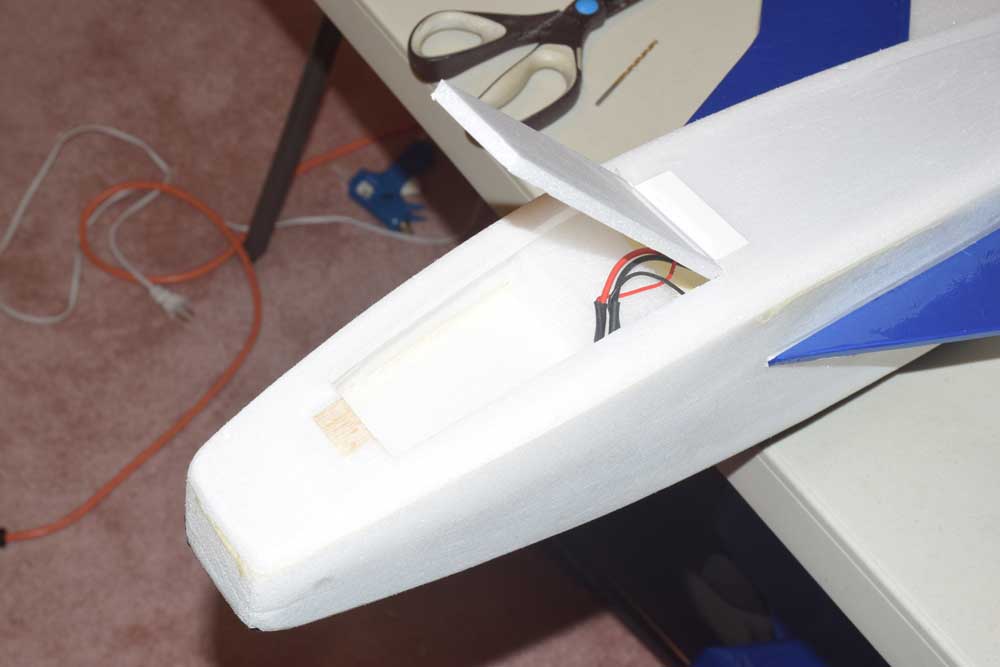
Next, it was time to begin running some wiring for the 2200Kv motor and Castle Thunderbird 54 Amp ESC I was using. I also decided to not mount the servos inside the body compartment this time. It is not as waterproof I will admit, but it made running the control rods a lot easier! As a result of this modification I felt it balanced slightly better than my original Polaris, since it allowed me to move the battery to a more forward position. Having to replace a servo is now much easier too.
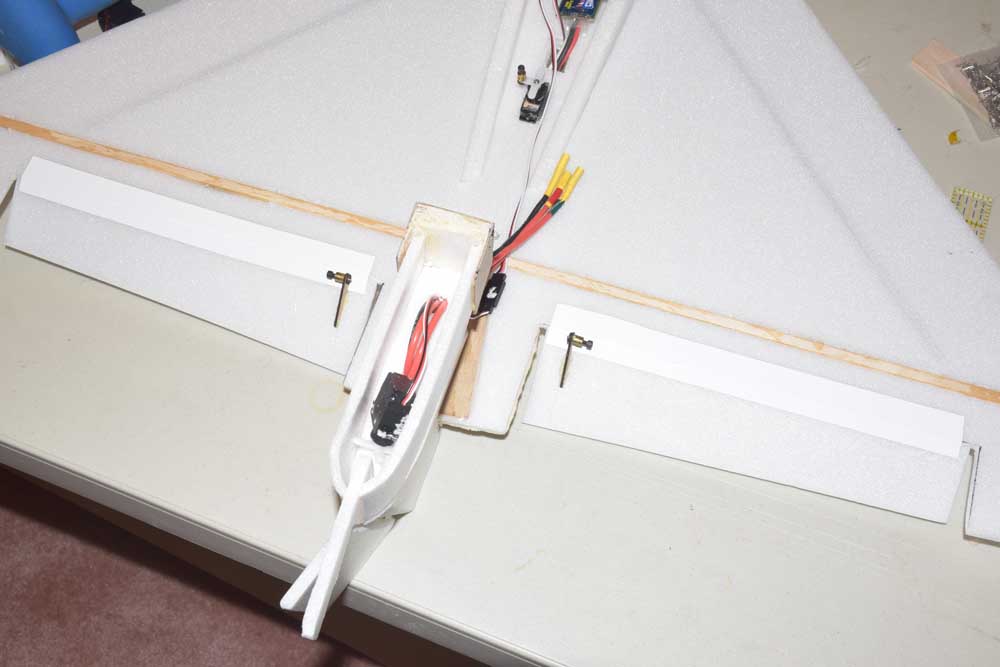
Once I had all the servos mounted, ESC, and receiver in place, it was time to add the top cover. I secured this using polyurethane glue. I pinned it in place along some of the curved sections and also weighted it down with a pillow and a couple of 10 lbs. weights. Using a pillow helps to disperse the pressure more evenly.
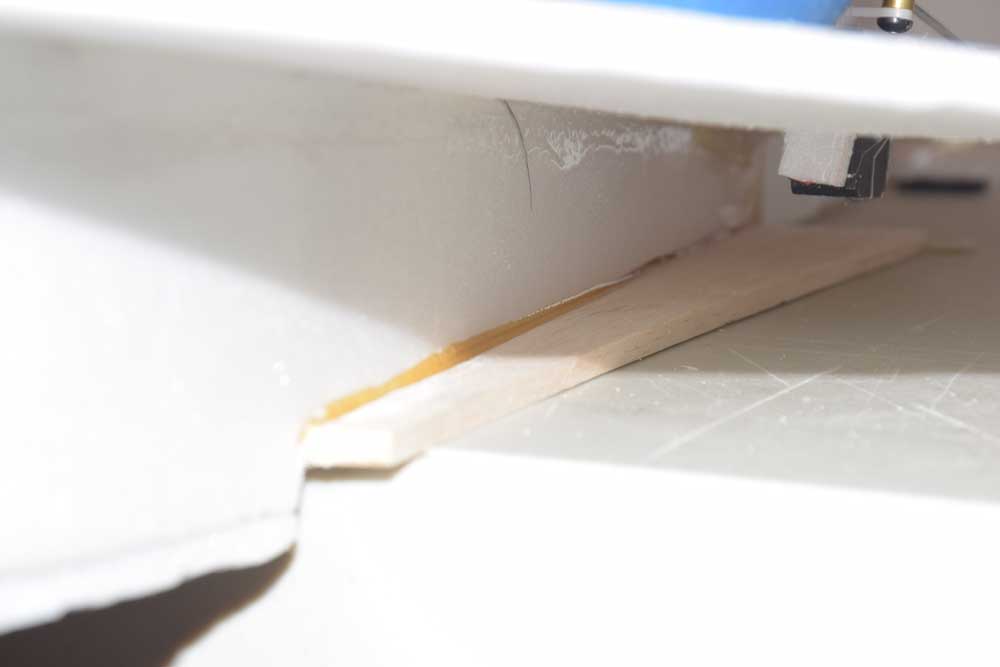
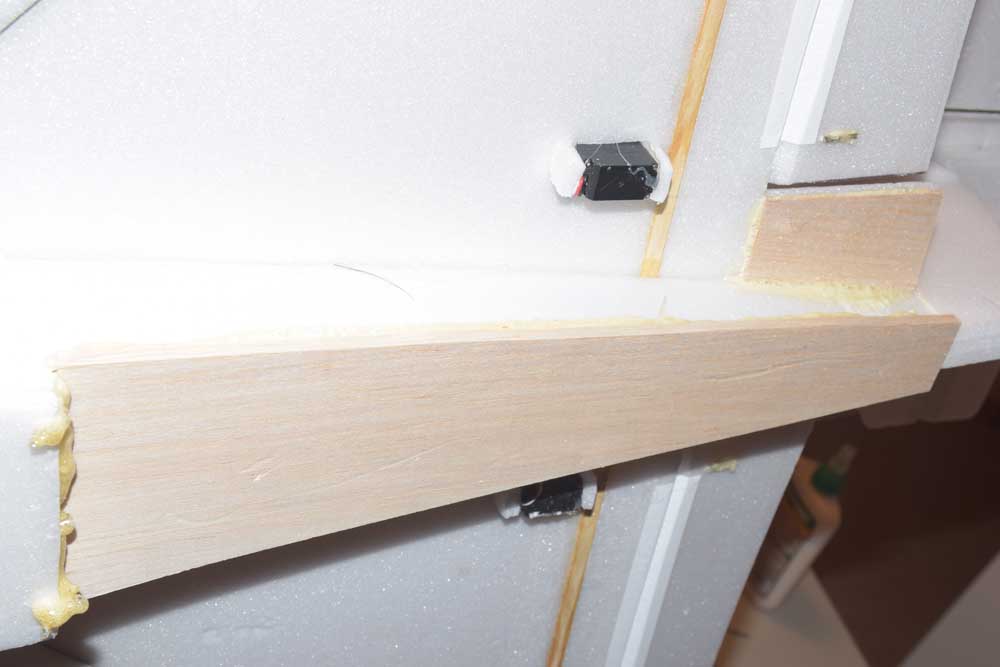
The bottom rear section was also missing. I cut some balsa to fit and then sanded this to final shape. I secured it with polyurethane glue and weighted it down for a few hours.
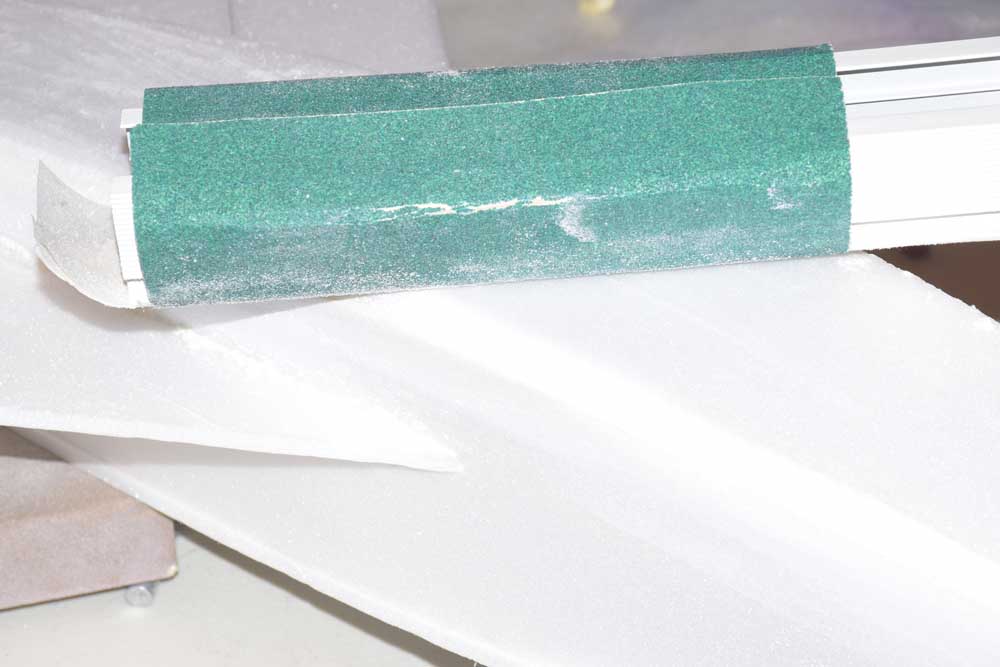
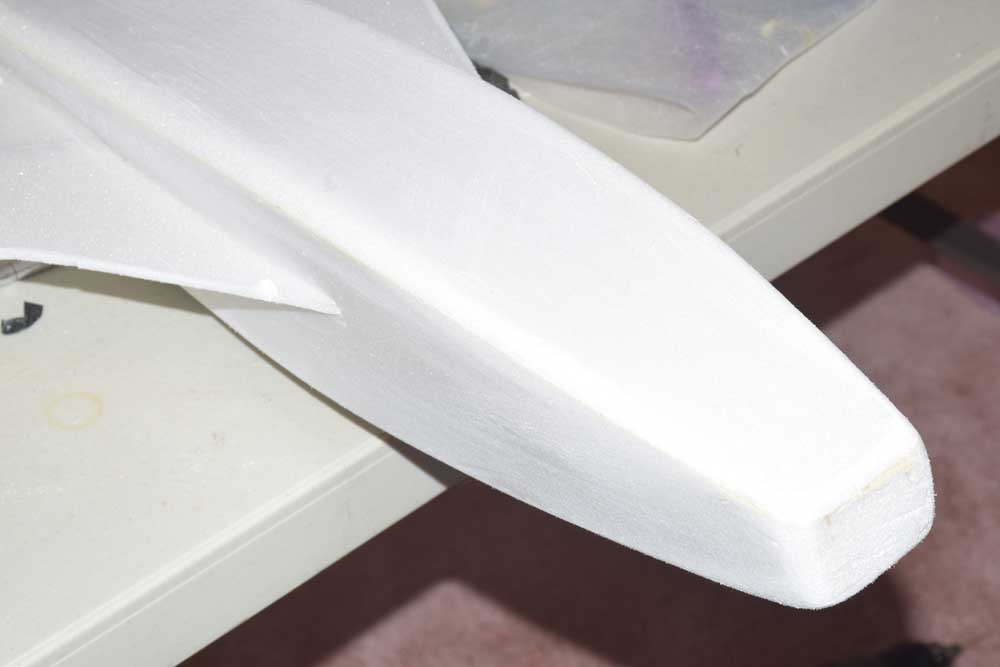
Once all the major work was completed, it was time to do some sanding to help smooth out any bumps and rough corners. I rounded over most of the corners and edges. I also hit the edges of the wing and rear control surfaces just to take off any hard edges.
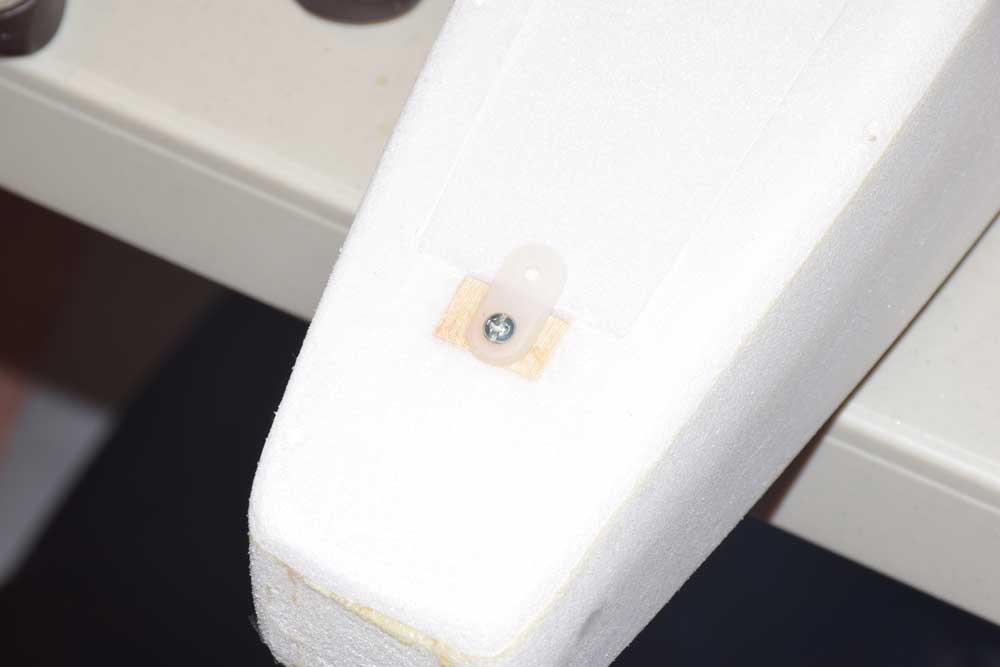
Finally, I cut my battery hatch. I found the approximate location by just setting the battery on the top of the fuselage and determined where the proper CG should be. I cut an opening that was slightly larger than the battery for easy “in and out”. I placed scrap foam pieces in the nose as a “stop” so I know exactly where to place the battery each and every time. I also made a small latch by cutting in a scrap piece of balsa and securing it to the foam with epoxy. I drilled a hole for the screw and strengthened the balsa piece by coating it in thin CA. A simple Ultracote hinge works well on the ear section of the hatch as it acts like a trap door.
I added some more covering to the wing leading edges to help increase visibility. I’m not certain I’m done covering it yet… I’ll fly it and see where I should add pieces to help aid with visibility!
This was certainly a great project to work on! It’s amazing how well these little foam planes can fly. I highly recommend any modeler build one!