Sig J-3 1/4 Scale Cub Build Series – Part 1 – Formers
Category : Model Airplane Building
Part 1 Main Fuselage formers and Rear Formers F8-F11
The Sig J-3 Cub Build is now under way!
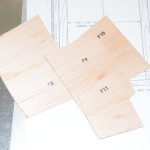
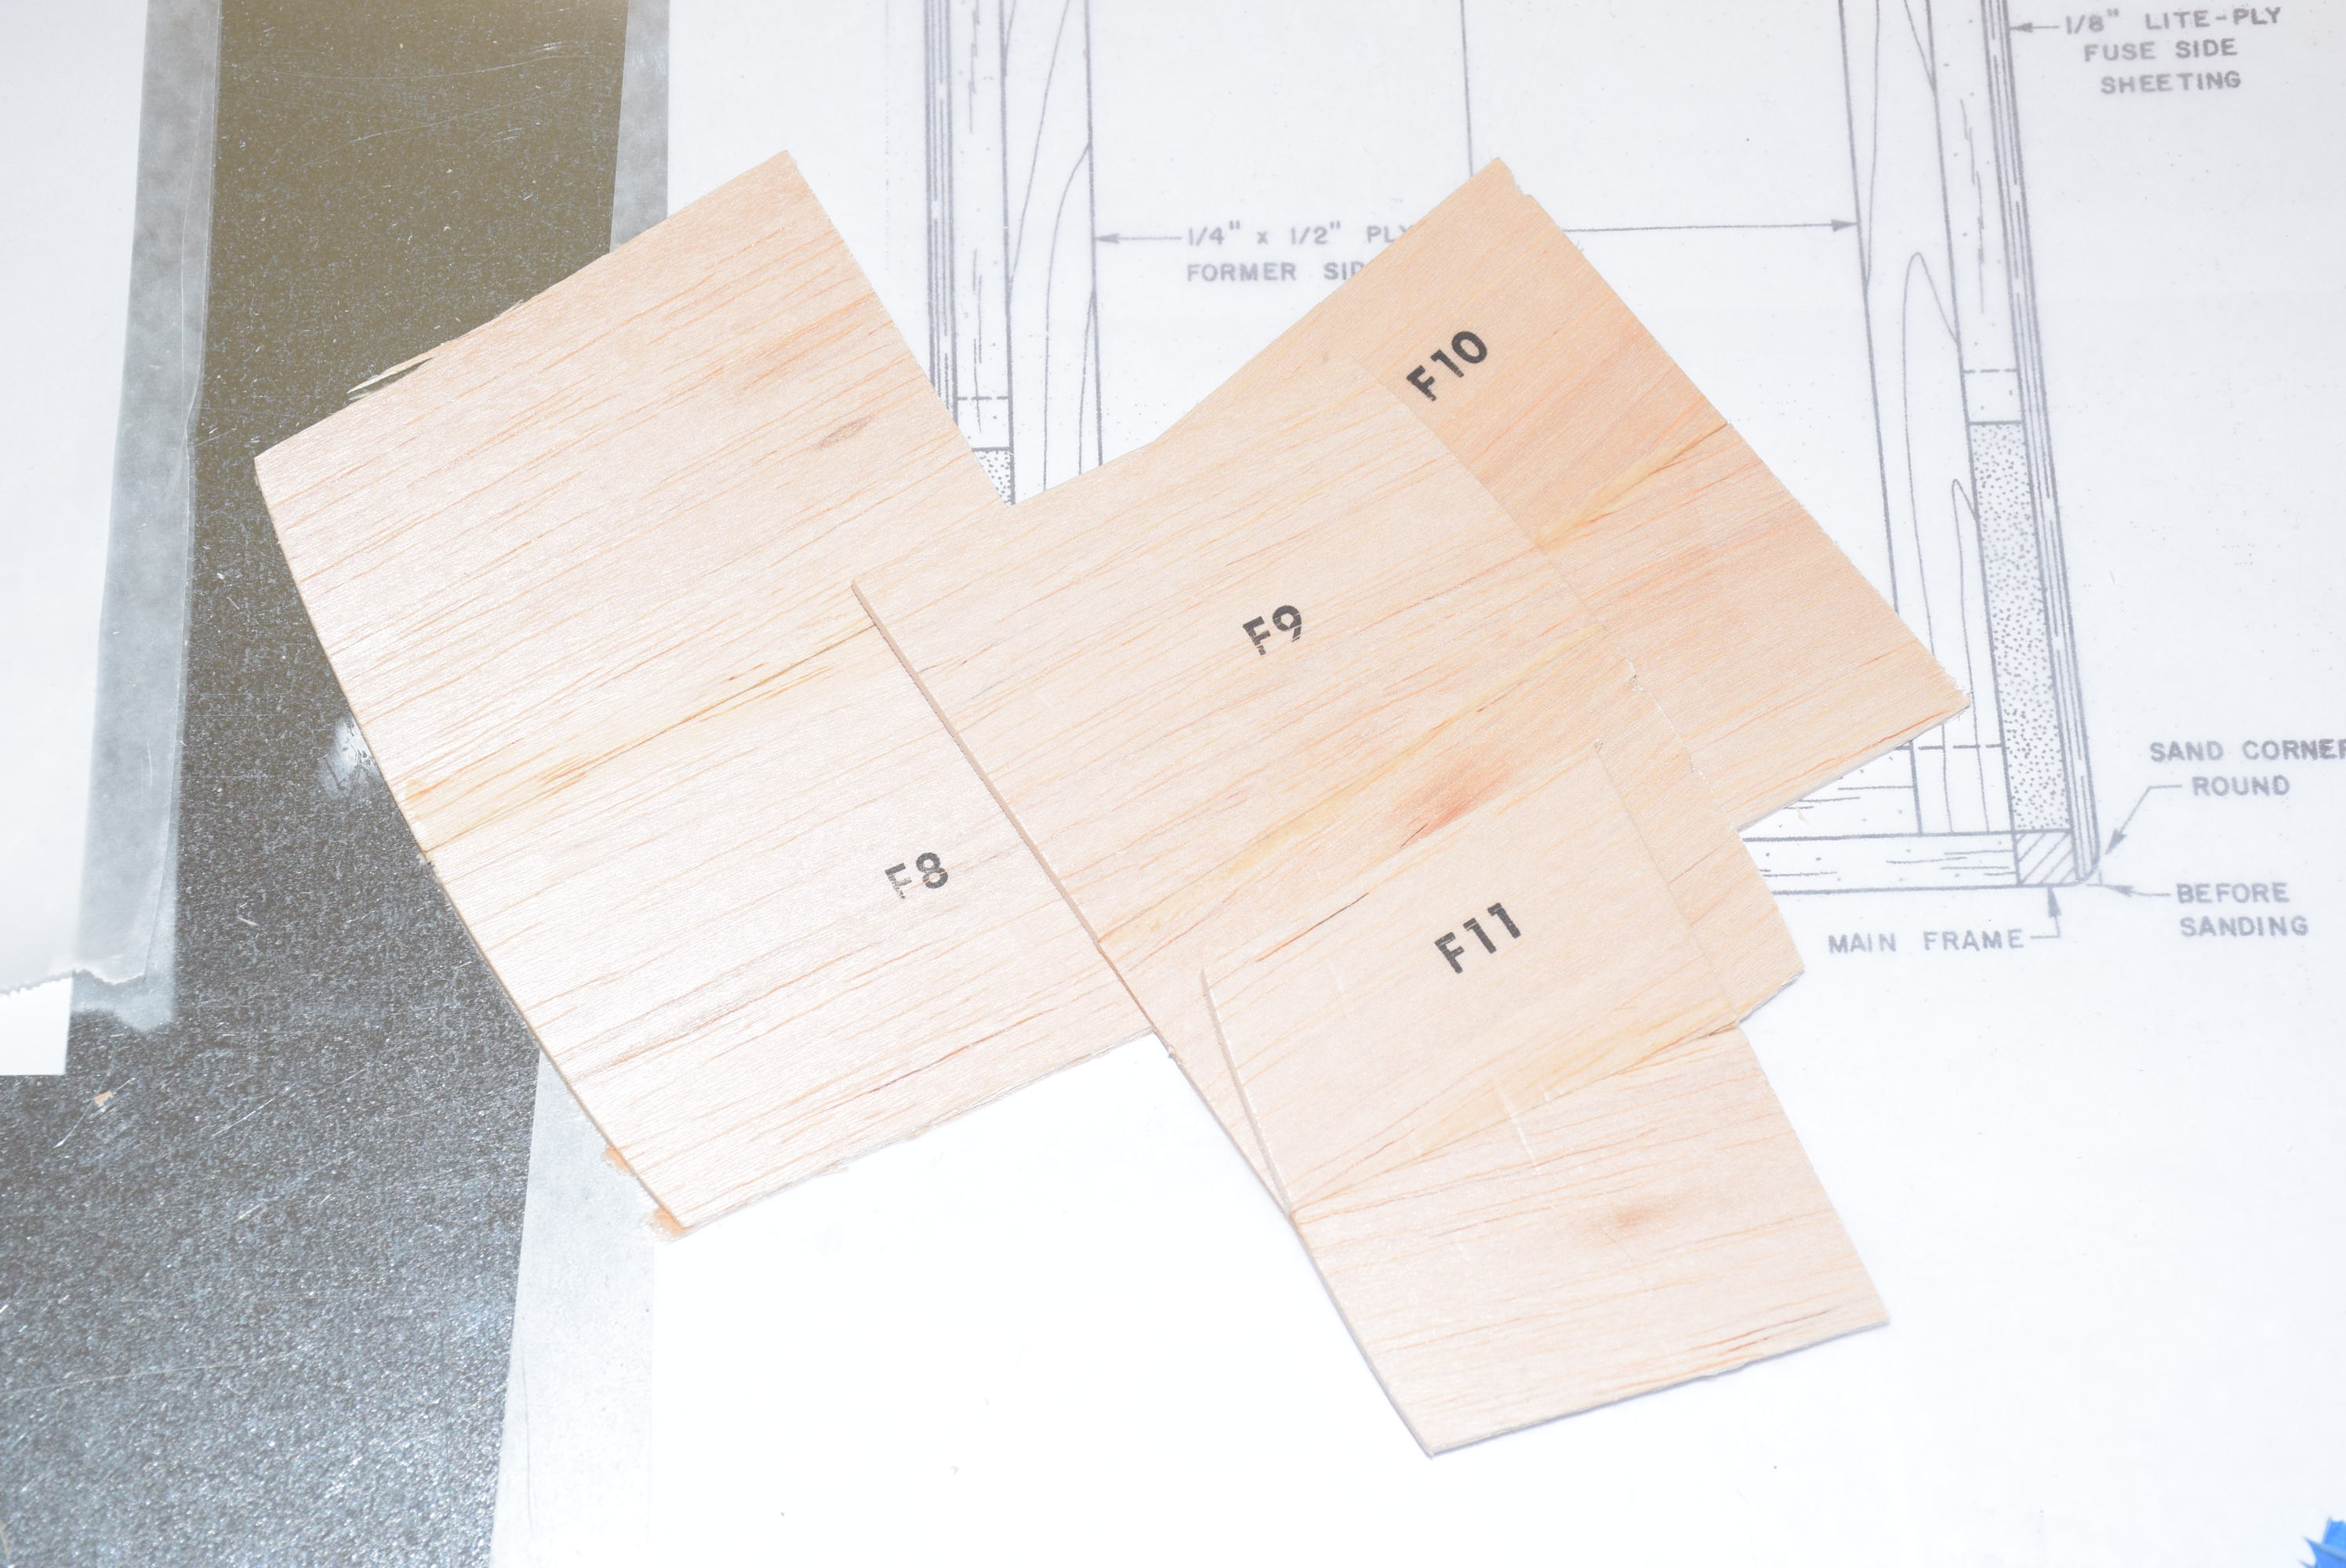
One of the first parts that are easy to build are the main fuselage formers and the rear balsa formers F8-F11. You will have to build the main fuselage formers from the balsa sticks provided – cutting them to size according to the plans from the 36” stock provided. Rear balsa formers F8-F11 are die cut balsa pieces you will have to glue together at the seams.
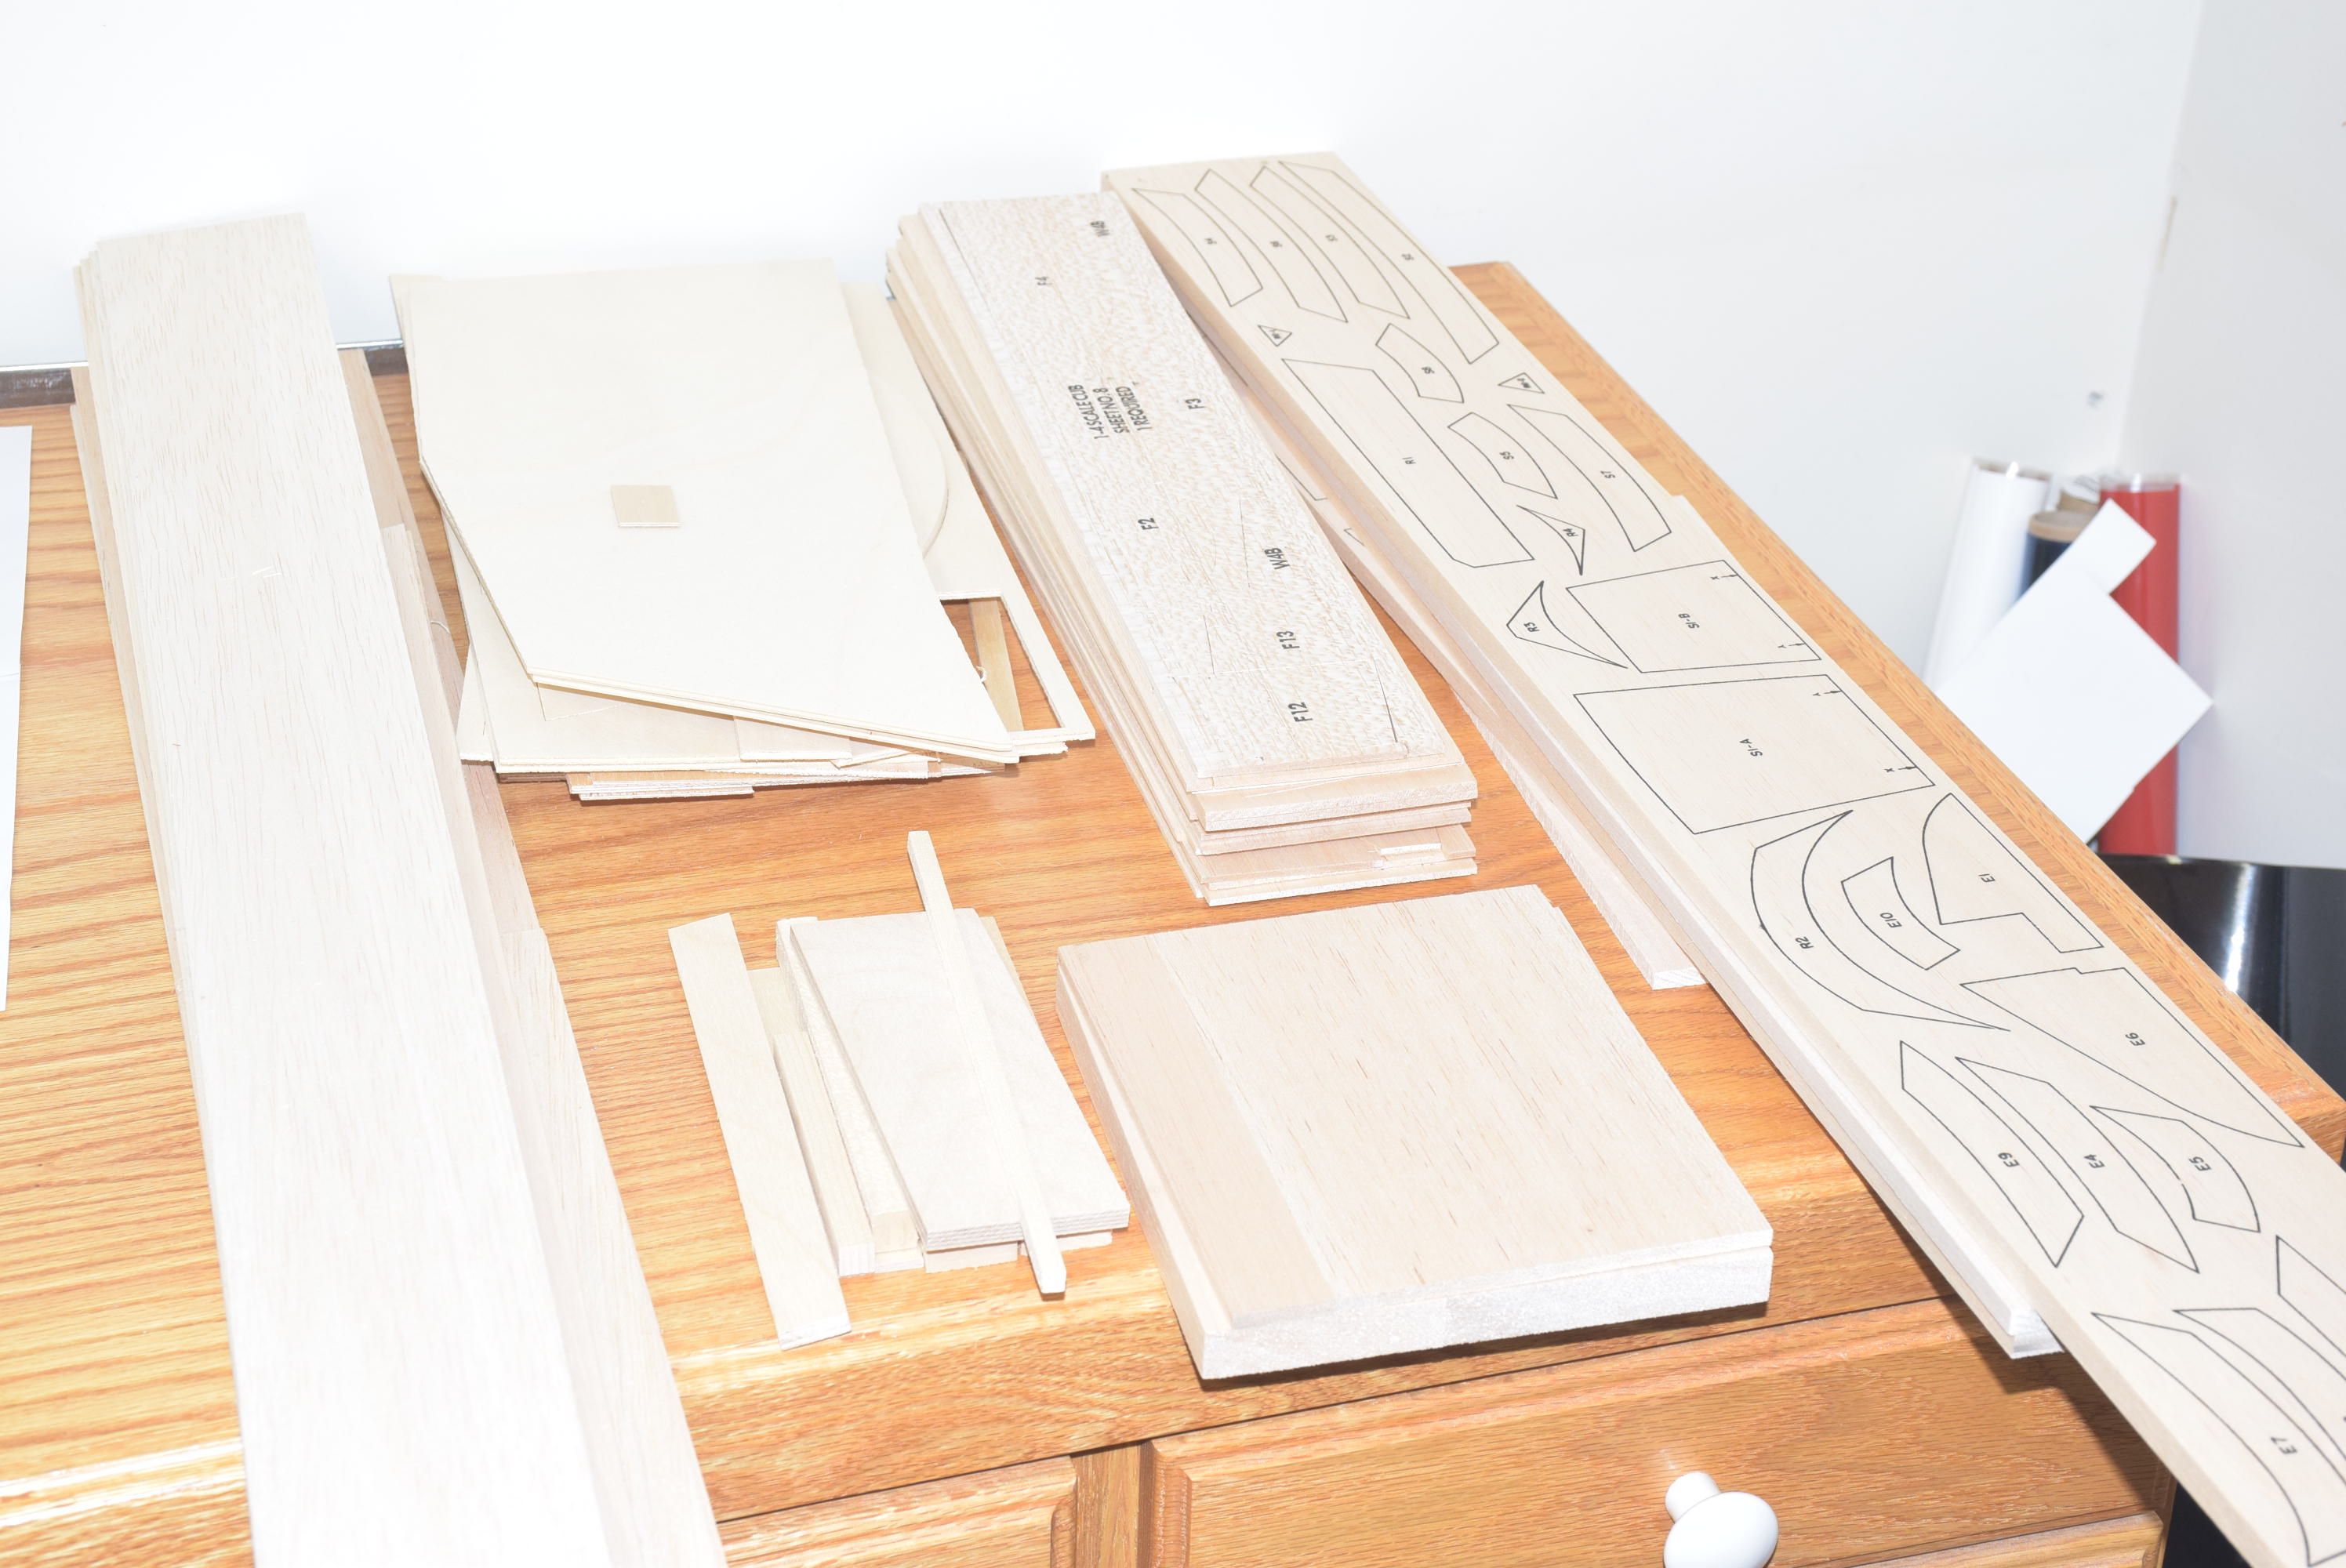
Before starting the build, I like to sort the balsa and included ply wood die cut parts into piles. With the Sig RC48 J-3 Cub kit, much of the balsa is supplied as die cut, printed balsa sheets, or in the form of balsa sticks. It helps to organize things; when the manual calls for the needed parts, they will be easier to find. Most plywood parts are already die cut and are easily removed from their sheets.
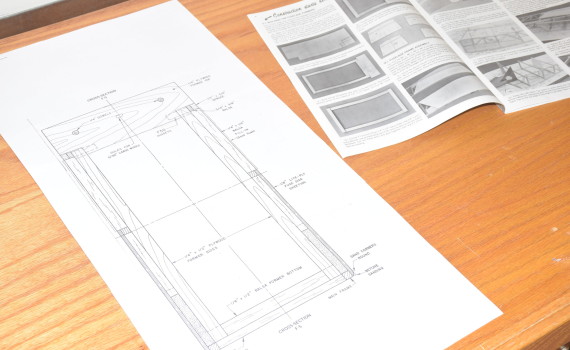
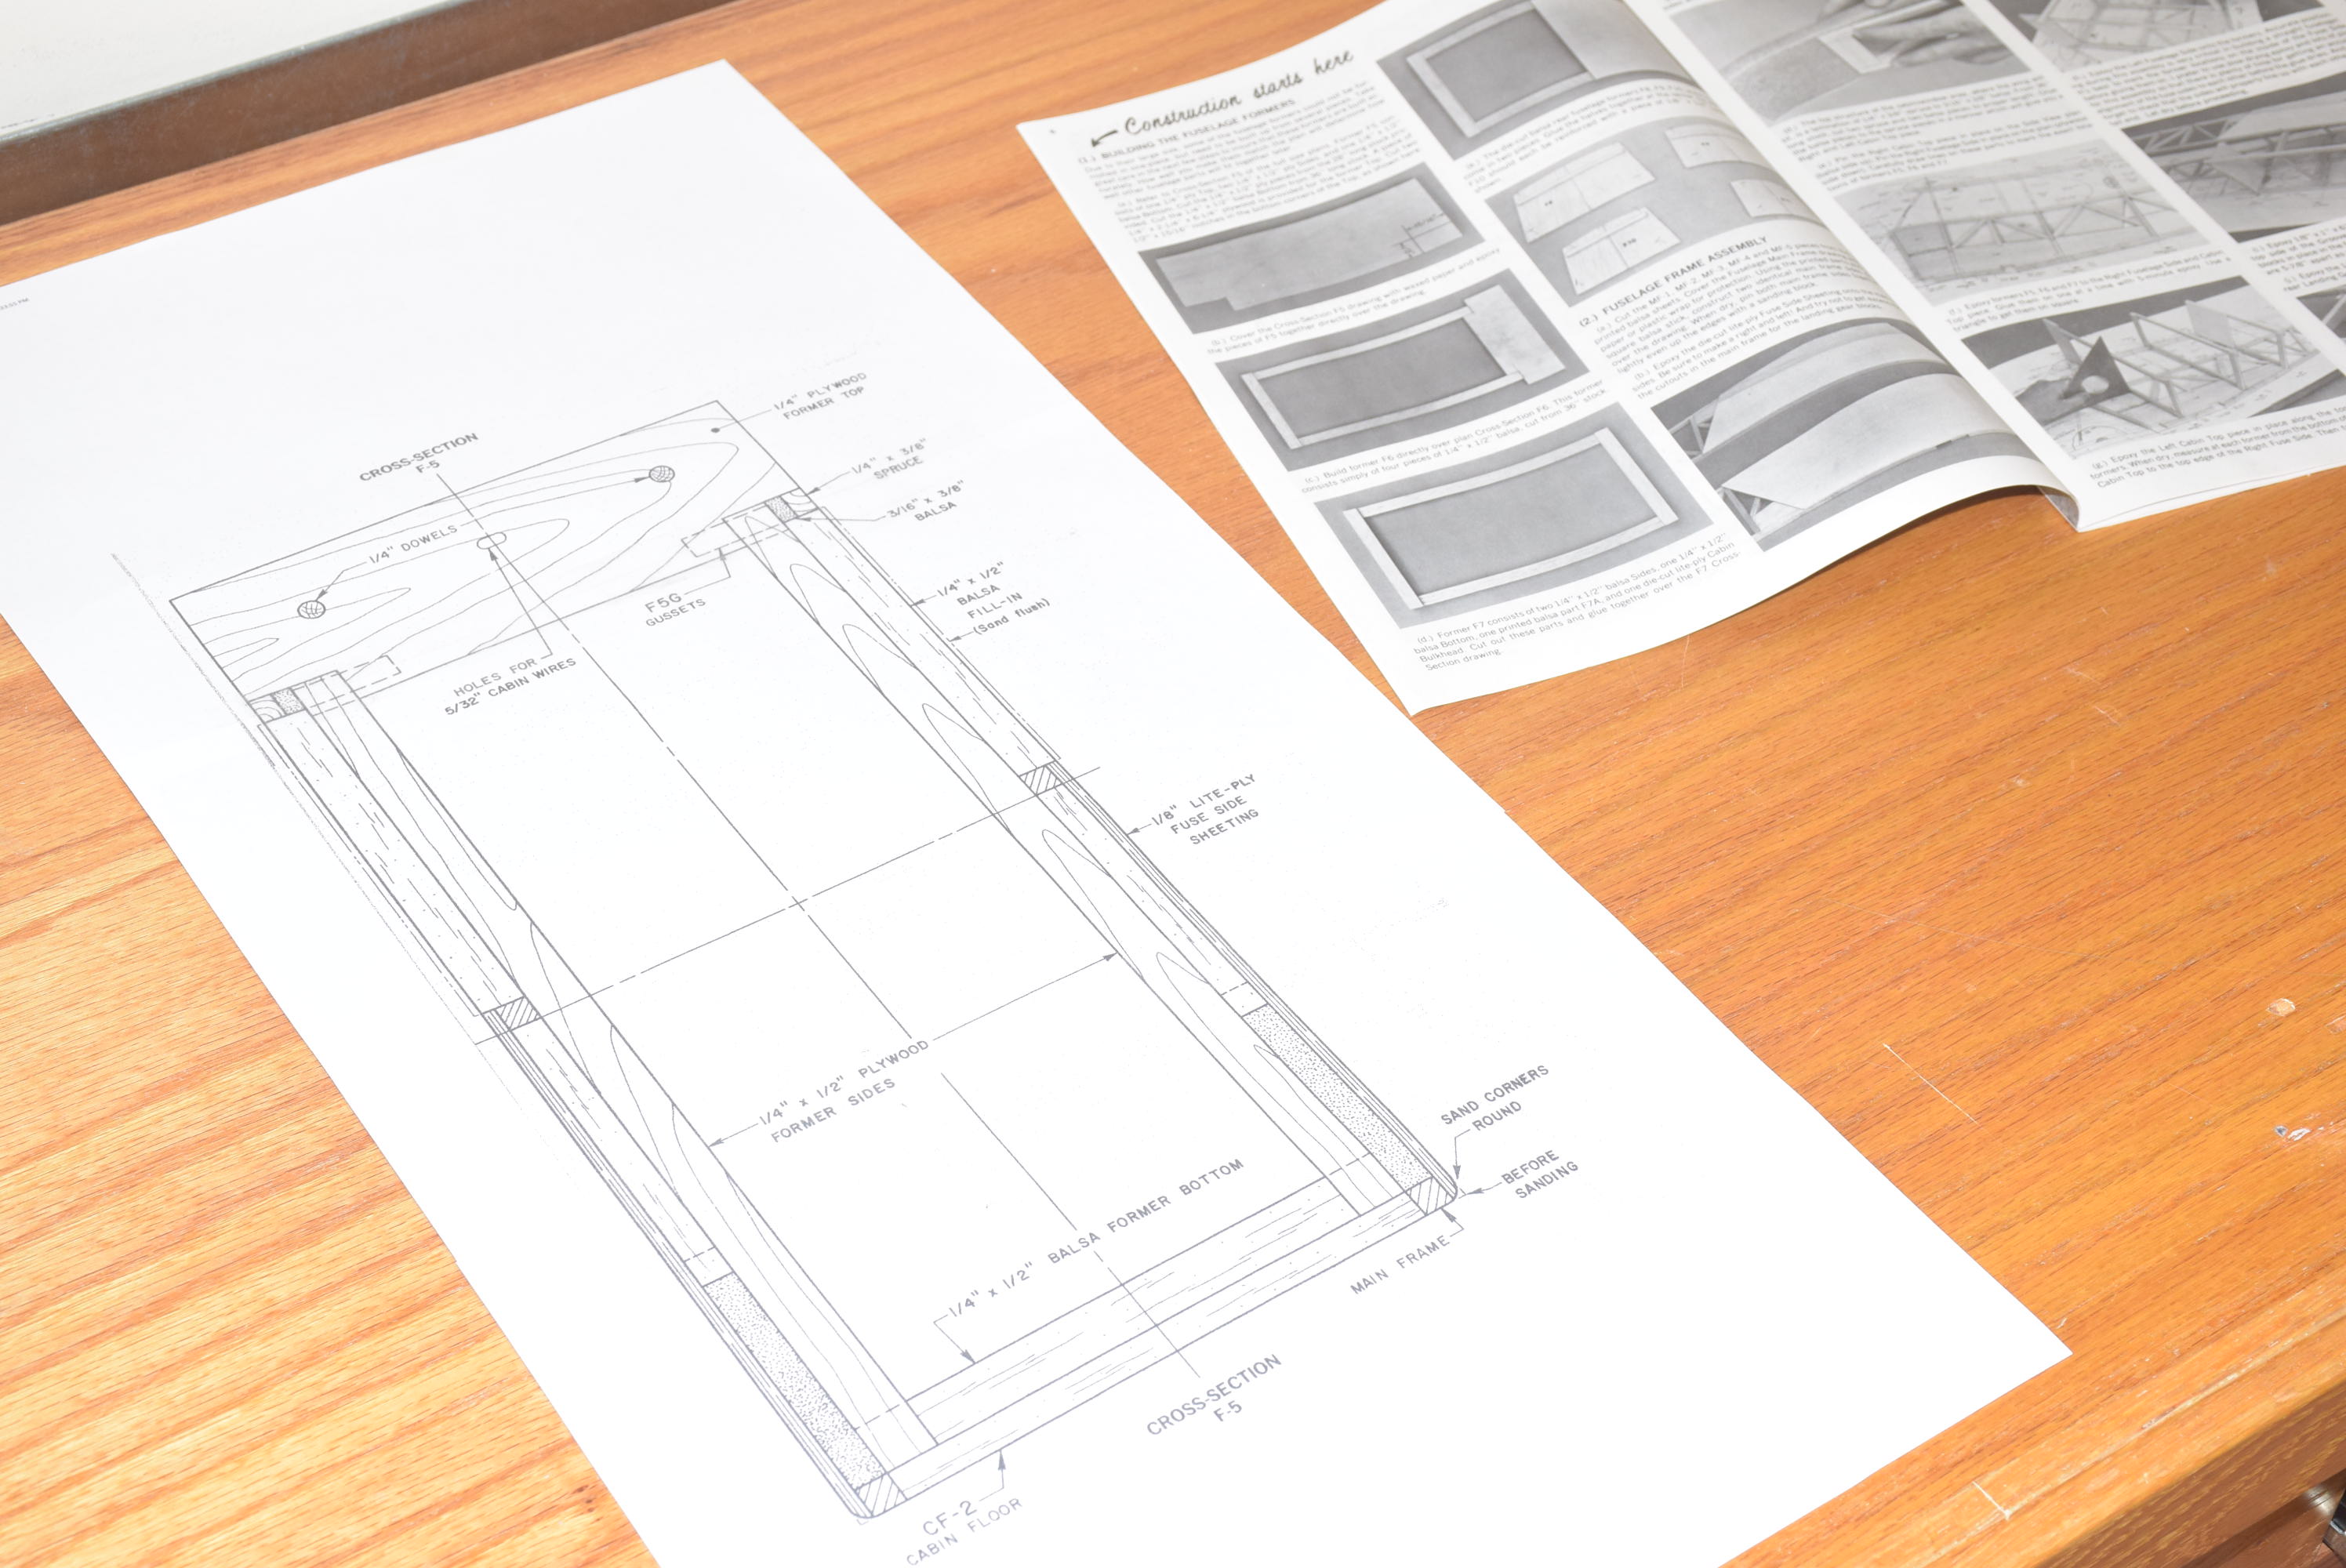
Before starting this build I decided to have all four plates of the plans scanned into PDF. This allows me to print out certain parts without having to cut up the original plans. I print them out using the tile feature in Adobe’s Acrobat PDF viewer software. I also print them with a ½ inch overlap. This allows me to line up the tiled sheets much more easily. I tape them together using small pieces of Scotch tape. Using a large window as your background allows you to see through the pages allowing you to line things up perfectly as you tape them together!
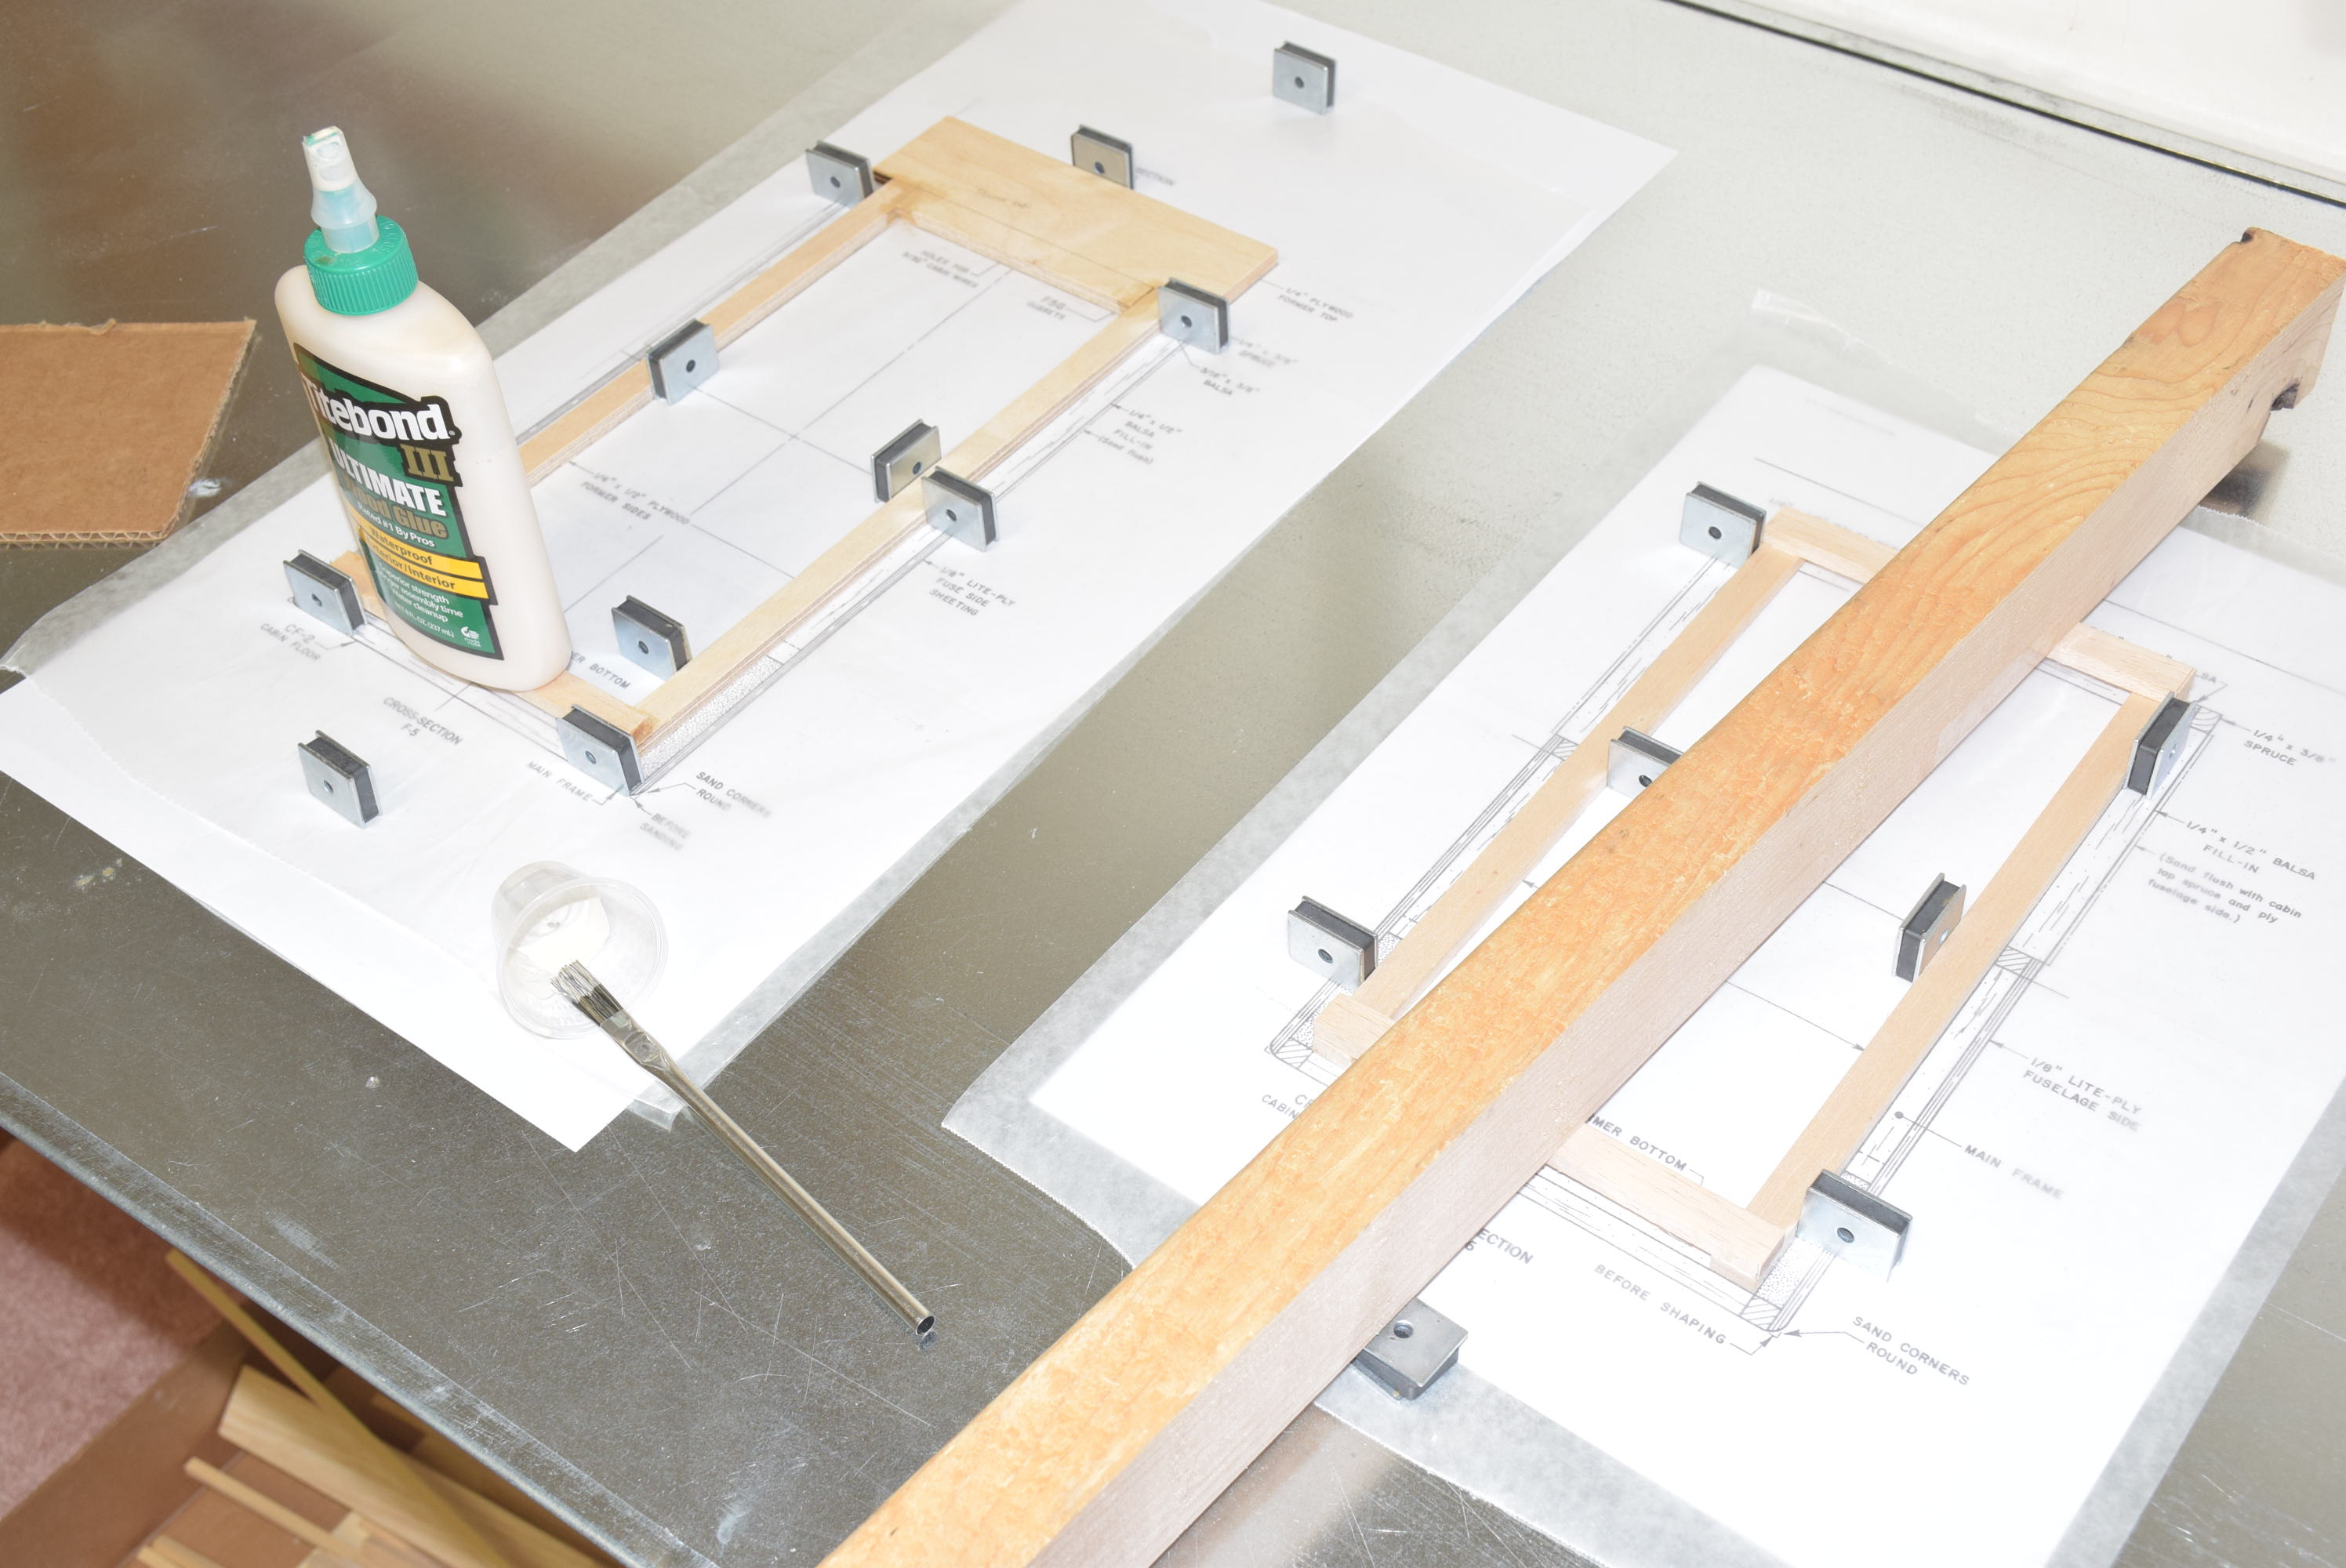
I like to build off my magnetic building board – that I use for all my model building – to ensure the parts are aligned as accurately as possible. Take extra time to make sure the main fuselage formers are square, will result in an air frame that is precisely built and accurate. Remember straight air frames fly better and helps to reduce any trimming issues!
Build the main fuselage formers as shown directly over the plans. Use a good wood glue or even epoxy here. Using slight pressure on the joints (using the magnets you can “wedge” the parts together as they dry) will result in a very strong and sturdy joint! Add some weight on the pieces that glue on top of the former sides to ensure a good bond.
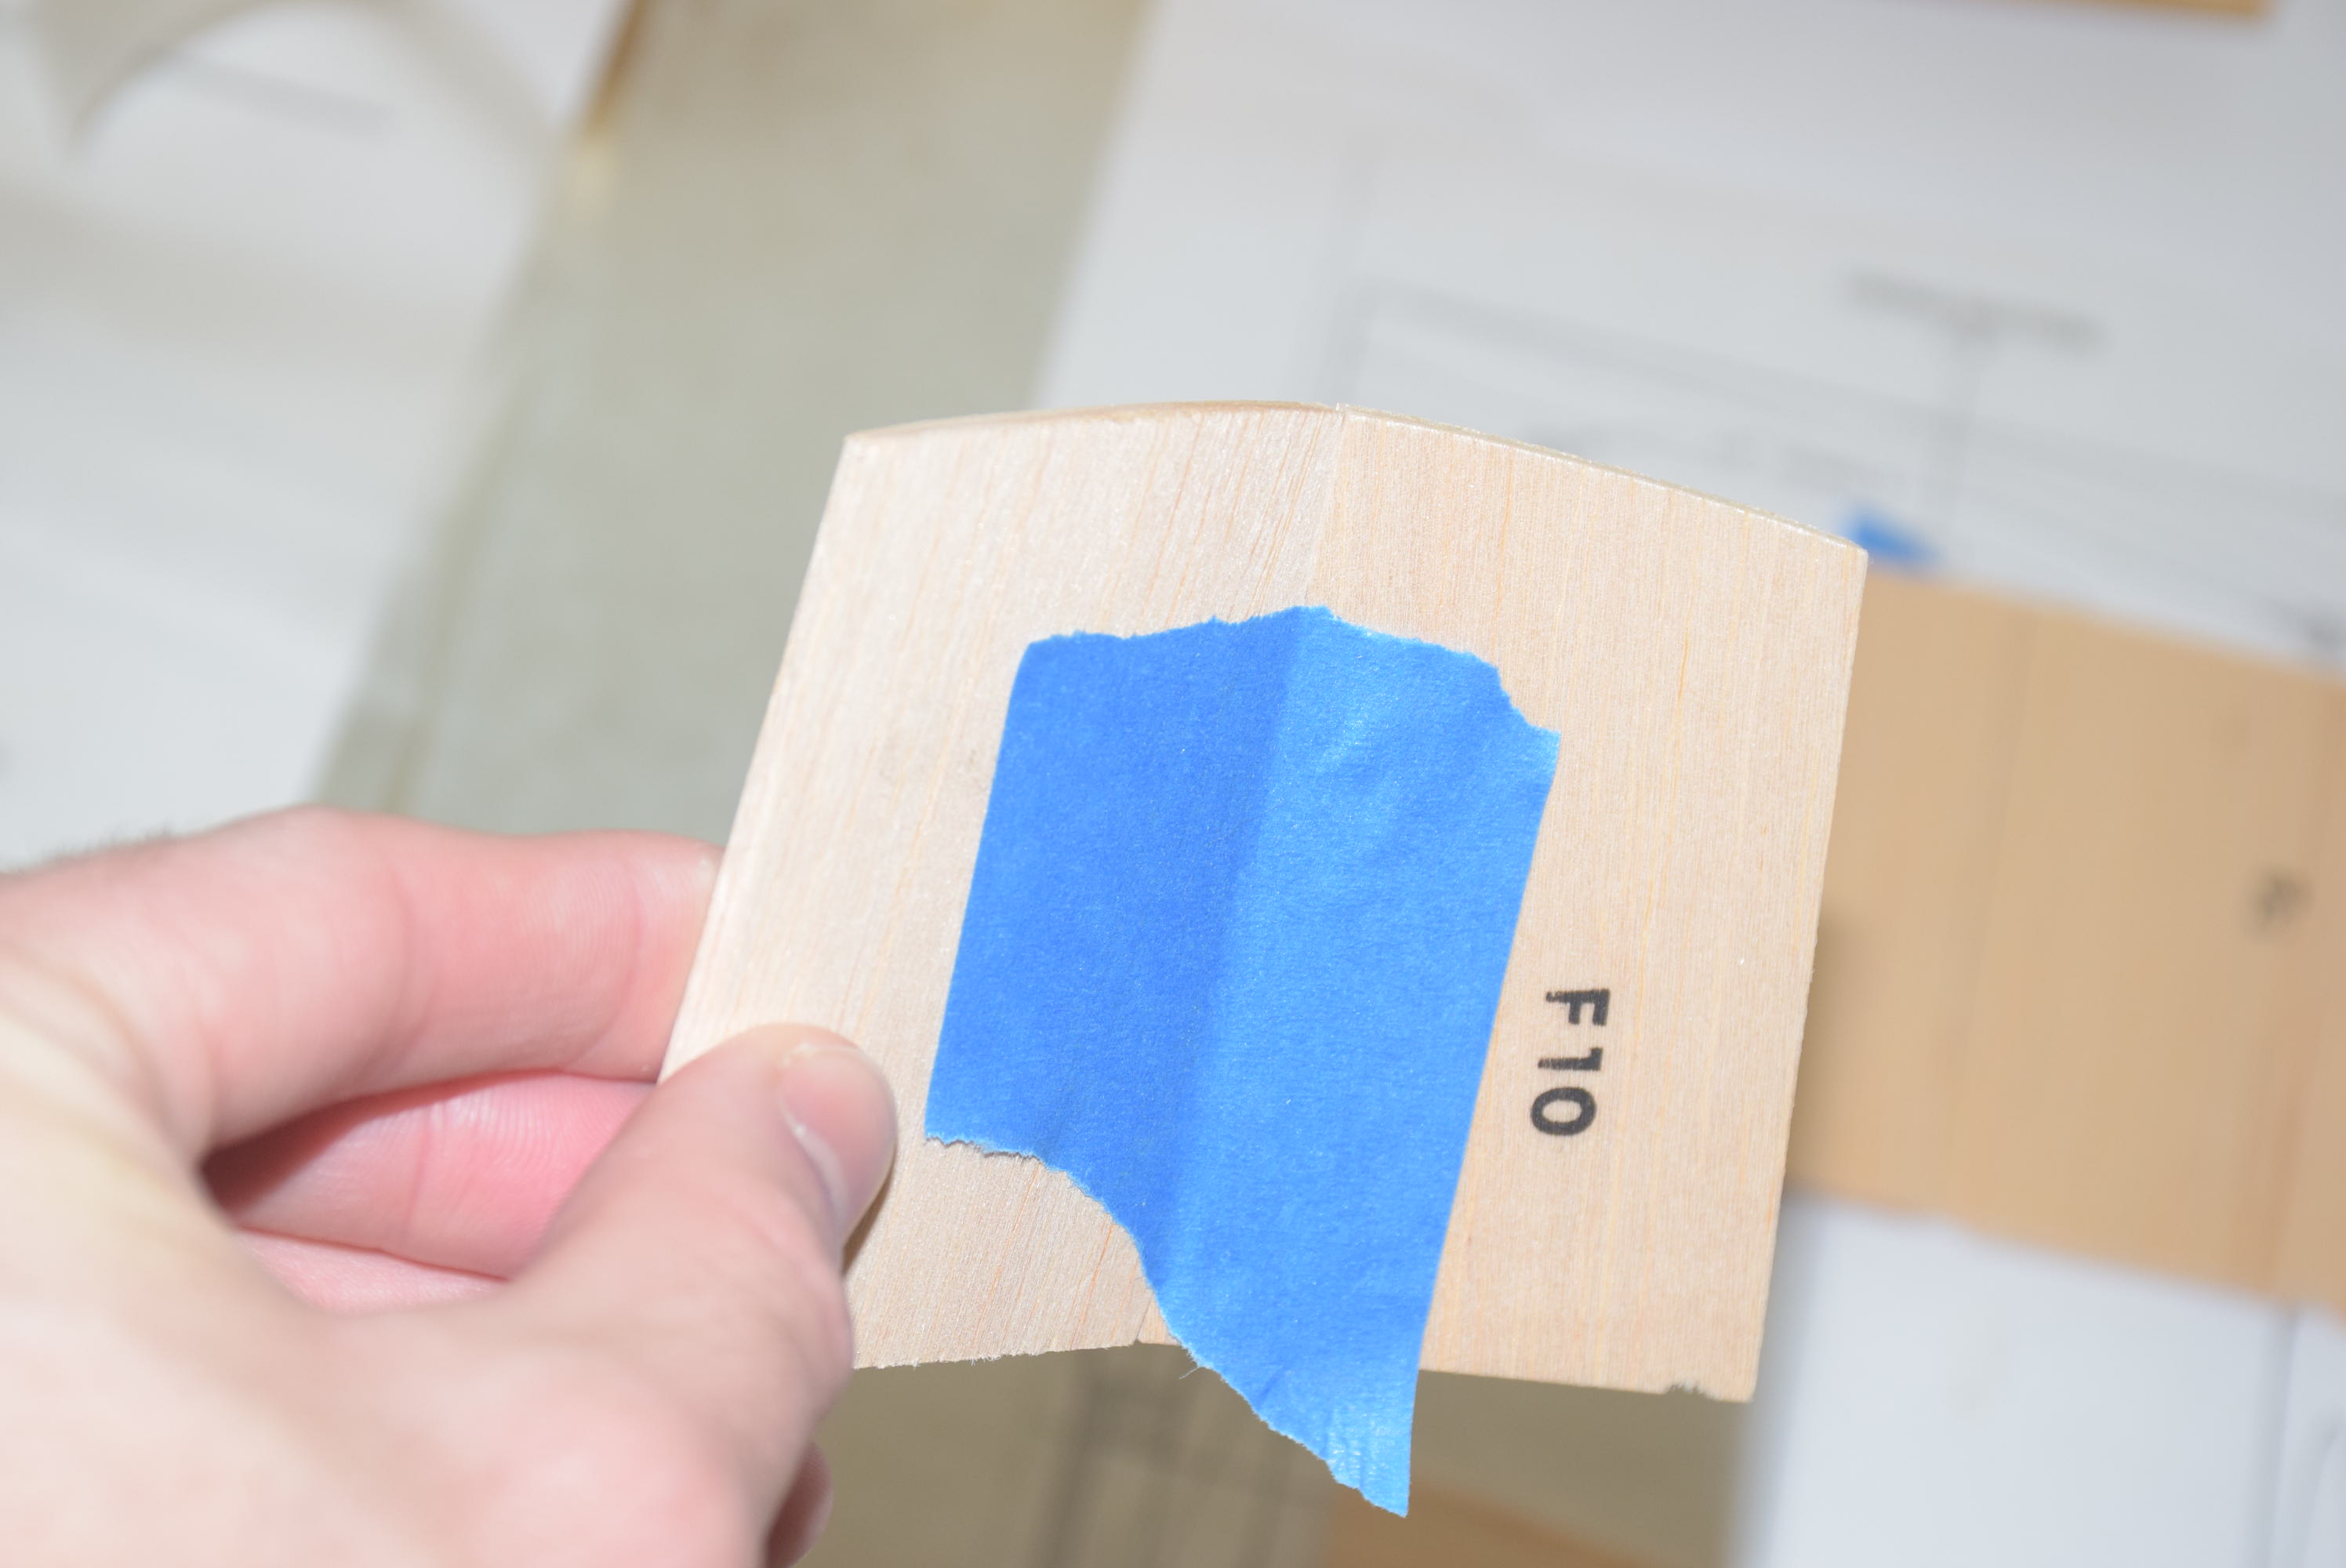
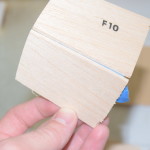
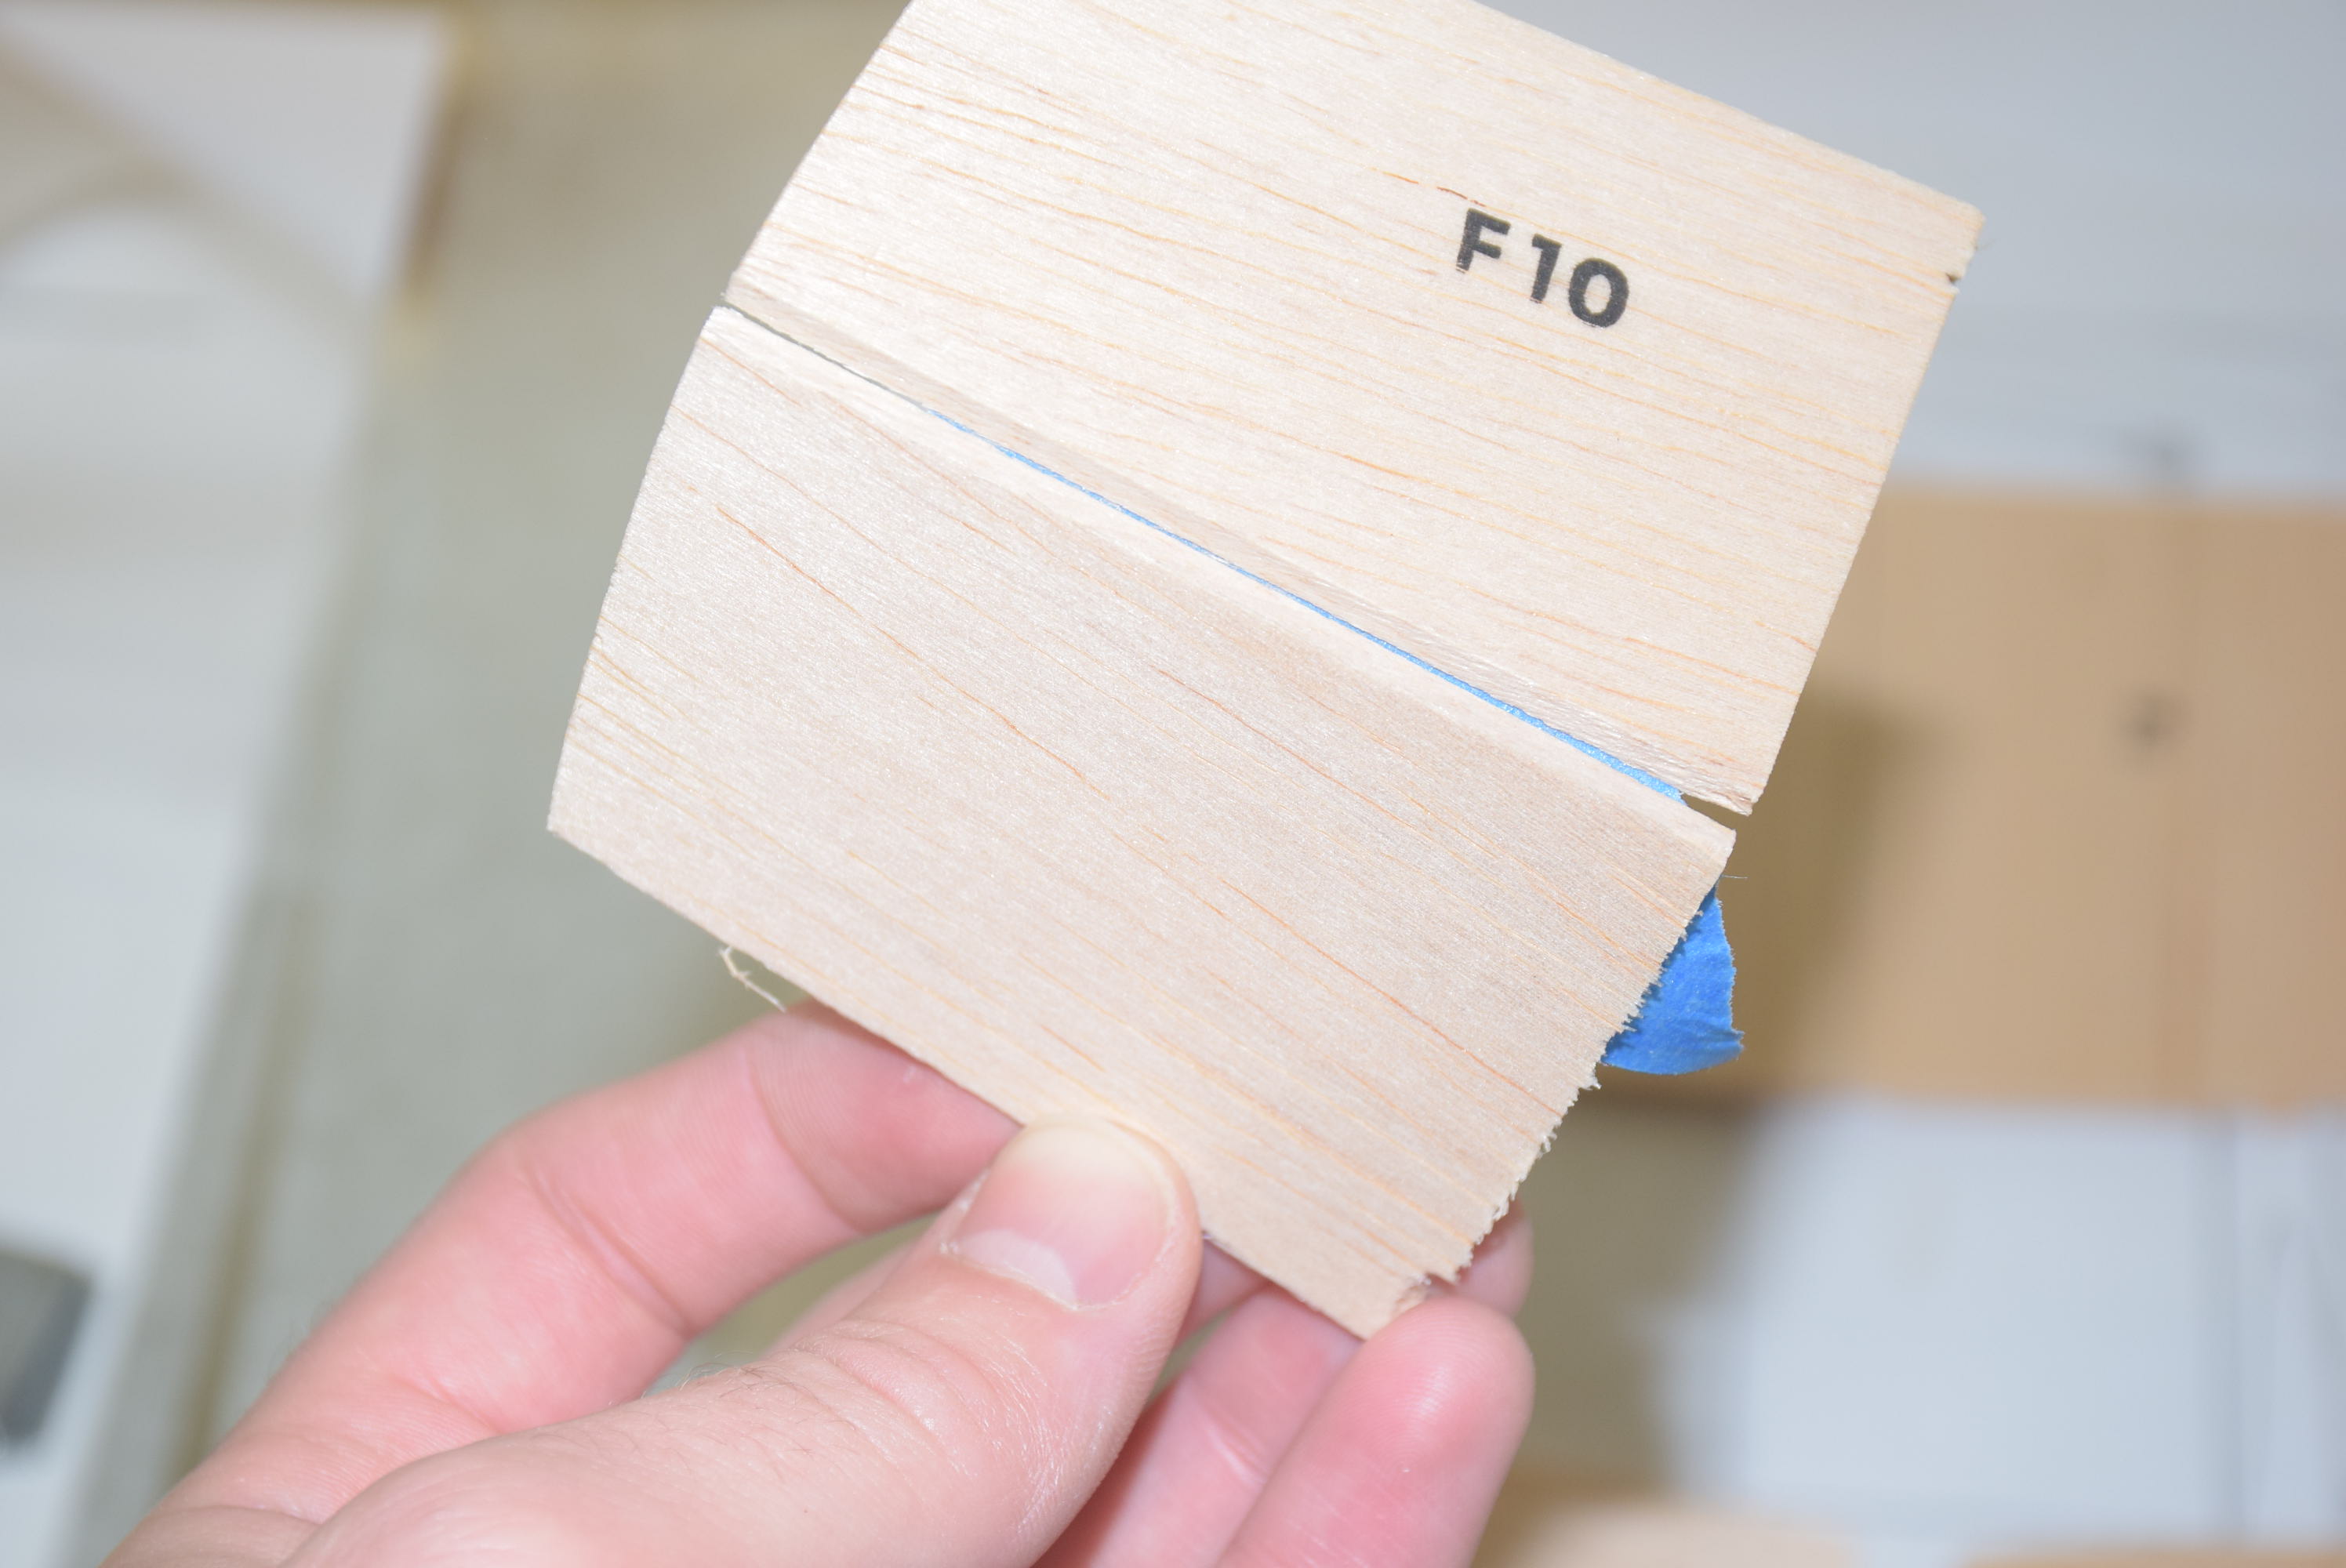
Glue the rear former halves F8-F11 together using wood glue and tape on one side to ensure the seams are pressed tightly together while they dry. Place some wood glue in the seam, and then press the joint together by hand and wipe out any access glue that seeps out. Finally, place the formers in between to pieces of wax paper as they dry. Add some weight on top to ensure they dry straight and flat. Use a piece of scrap board and a ten pound dumb-bell as weight on top of the formers. The scrap wood board will help distribute the weight evenly over the formers.
-
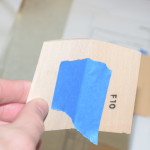
- Tape on back side of peices
-
- brush in glue or epoxy into open seam and fold shut
-
- Finished pieces! Very tight seams!
Once the glue has dried the formers are now complete! They may require some final sanding once mated to the fuselage sides.