Sig J-3 1/4 Scale Cub Build Series – Part 2 – Rudder
Category : Model Airplane Building
Part 2 – Rudder
The Sig 1/4 Scale Cub build series is well under way! In part two of this build series, we will focus on the rudder assembly. Last time in part one we built the main fuselage formers and also the rear formers F8 through F11. If you have not seen part one, click here to view part one of the Sig Quarter Scale Cub build series.
As with any build that I start, I like to begin with the simple aspects of the build. For example, the rudder is usually a piece that can be framed up fairly quickly which helps to give a sense of accomplishment right a way. This goes a long way in helping the builder stay motivated during the entire construction process!
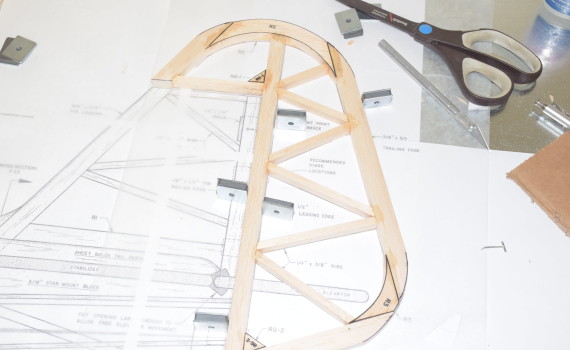
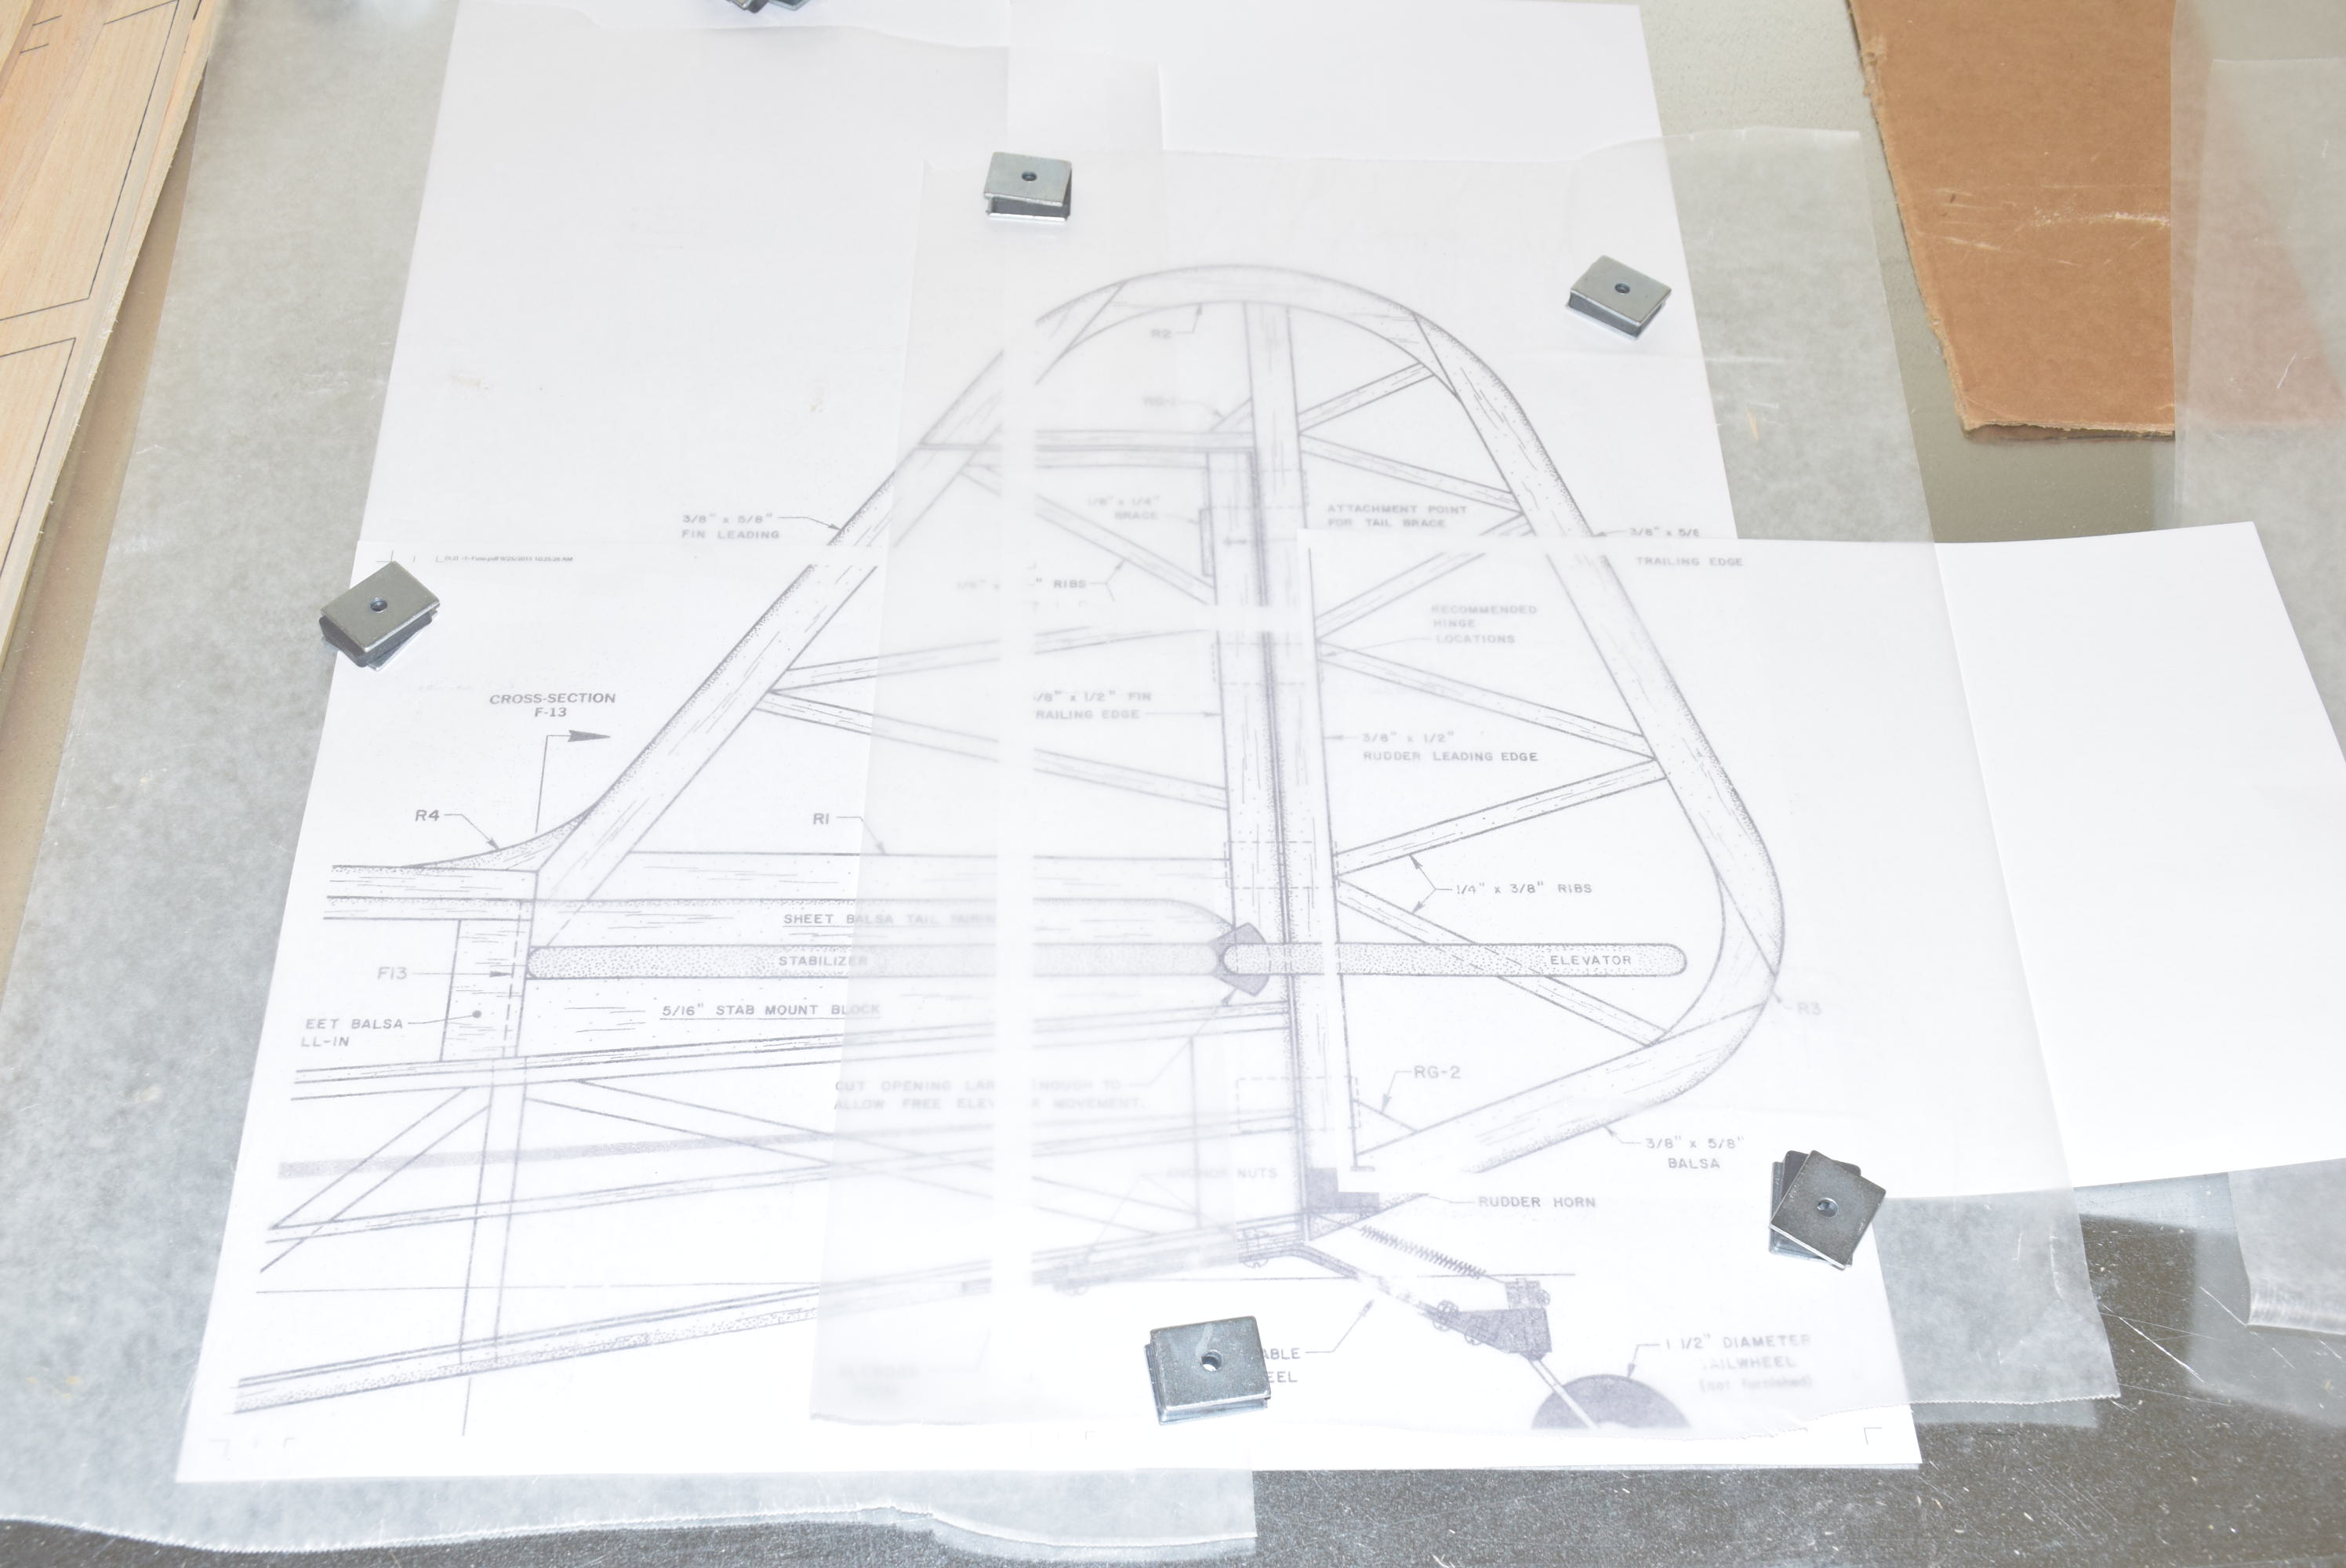
For the rudder I also tile printed that portion of the plan and taped the pieces together and covered them in wax paper. In this case it’s a matter of finding the correct printed parts mentioned on the plans and utilizing some of the straight balsa stock included with the kit. For a few of the straight pieces in the rudder, you will have to cut and shape these by hand using the balsa stock provided. Most of the curved parts of the rudder are included on a printed sheet of 3/8” balsa. Be sure to make note of proper thickness and width of the balsa stock the plans call for.
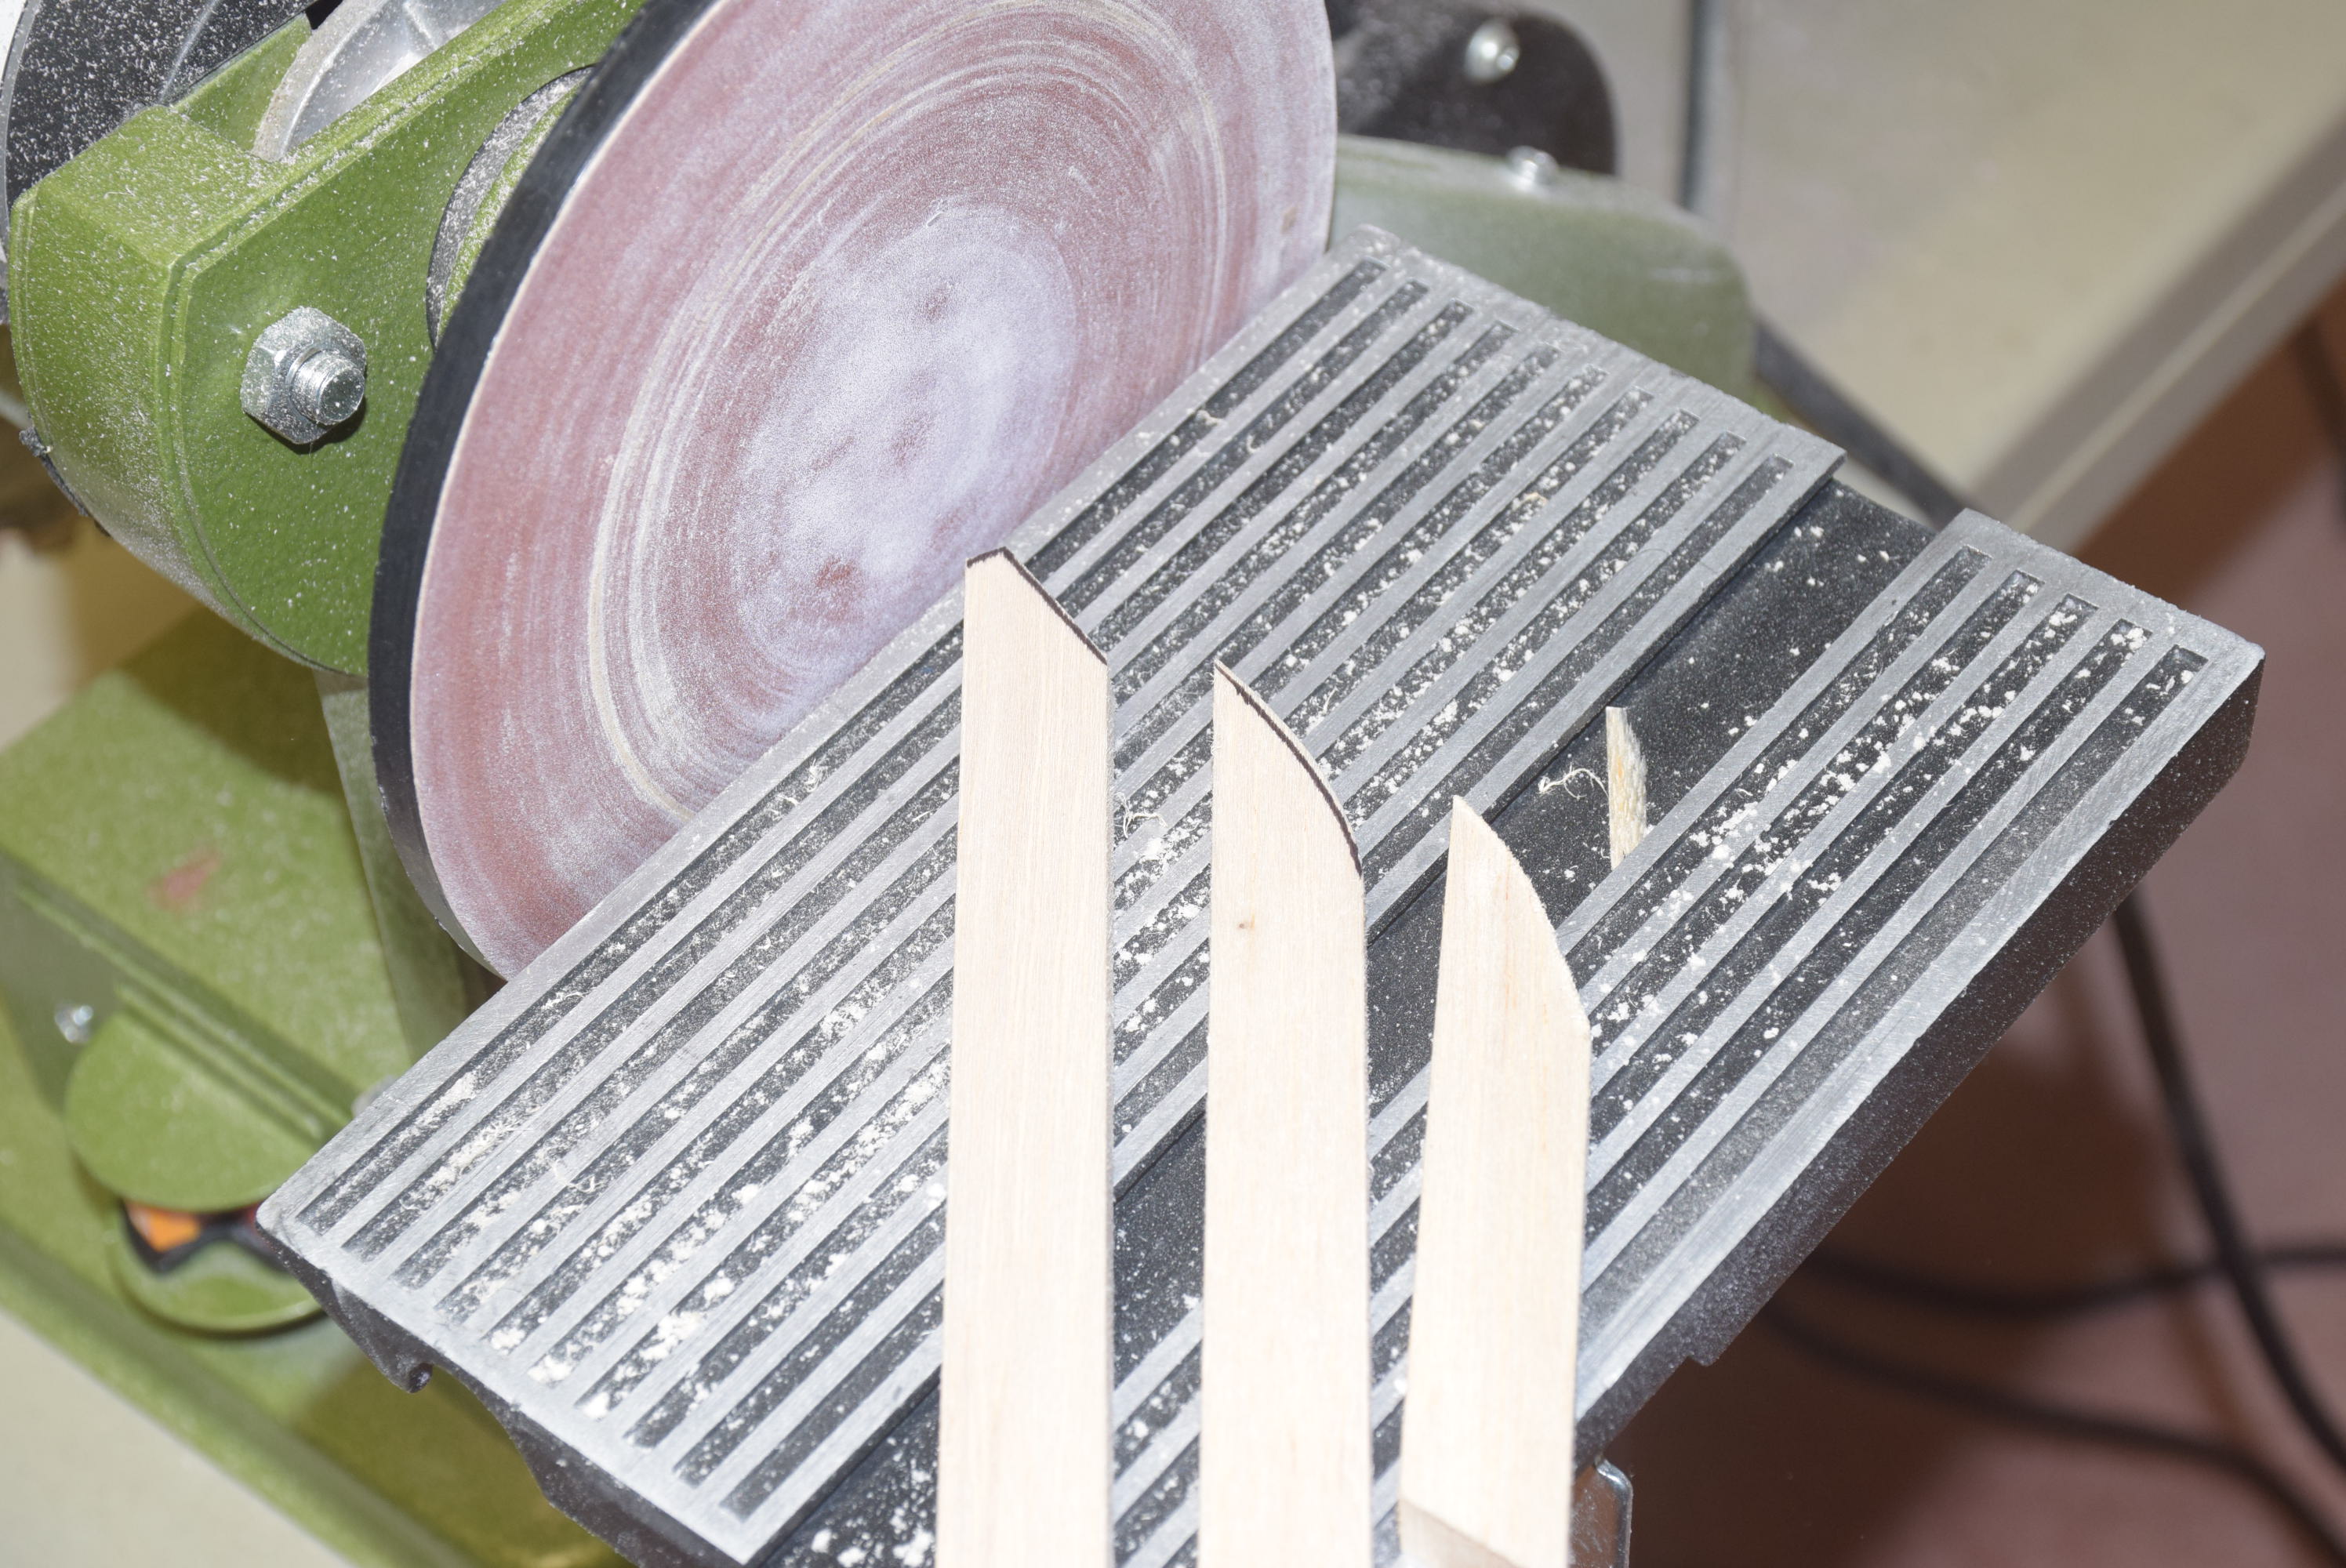
The best way to cut out the printed parts is to use a small bench-top band saw and cut them to within 1/16th inch of the printed black line. Then shape the pieces accurately to the line using a disc sander. Some shaping by hand will need to be done on some of the inside curves. Again, take your time here – a lot of test fitting over the plans to make sure everything is within the lines!
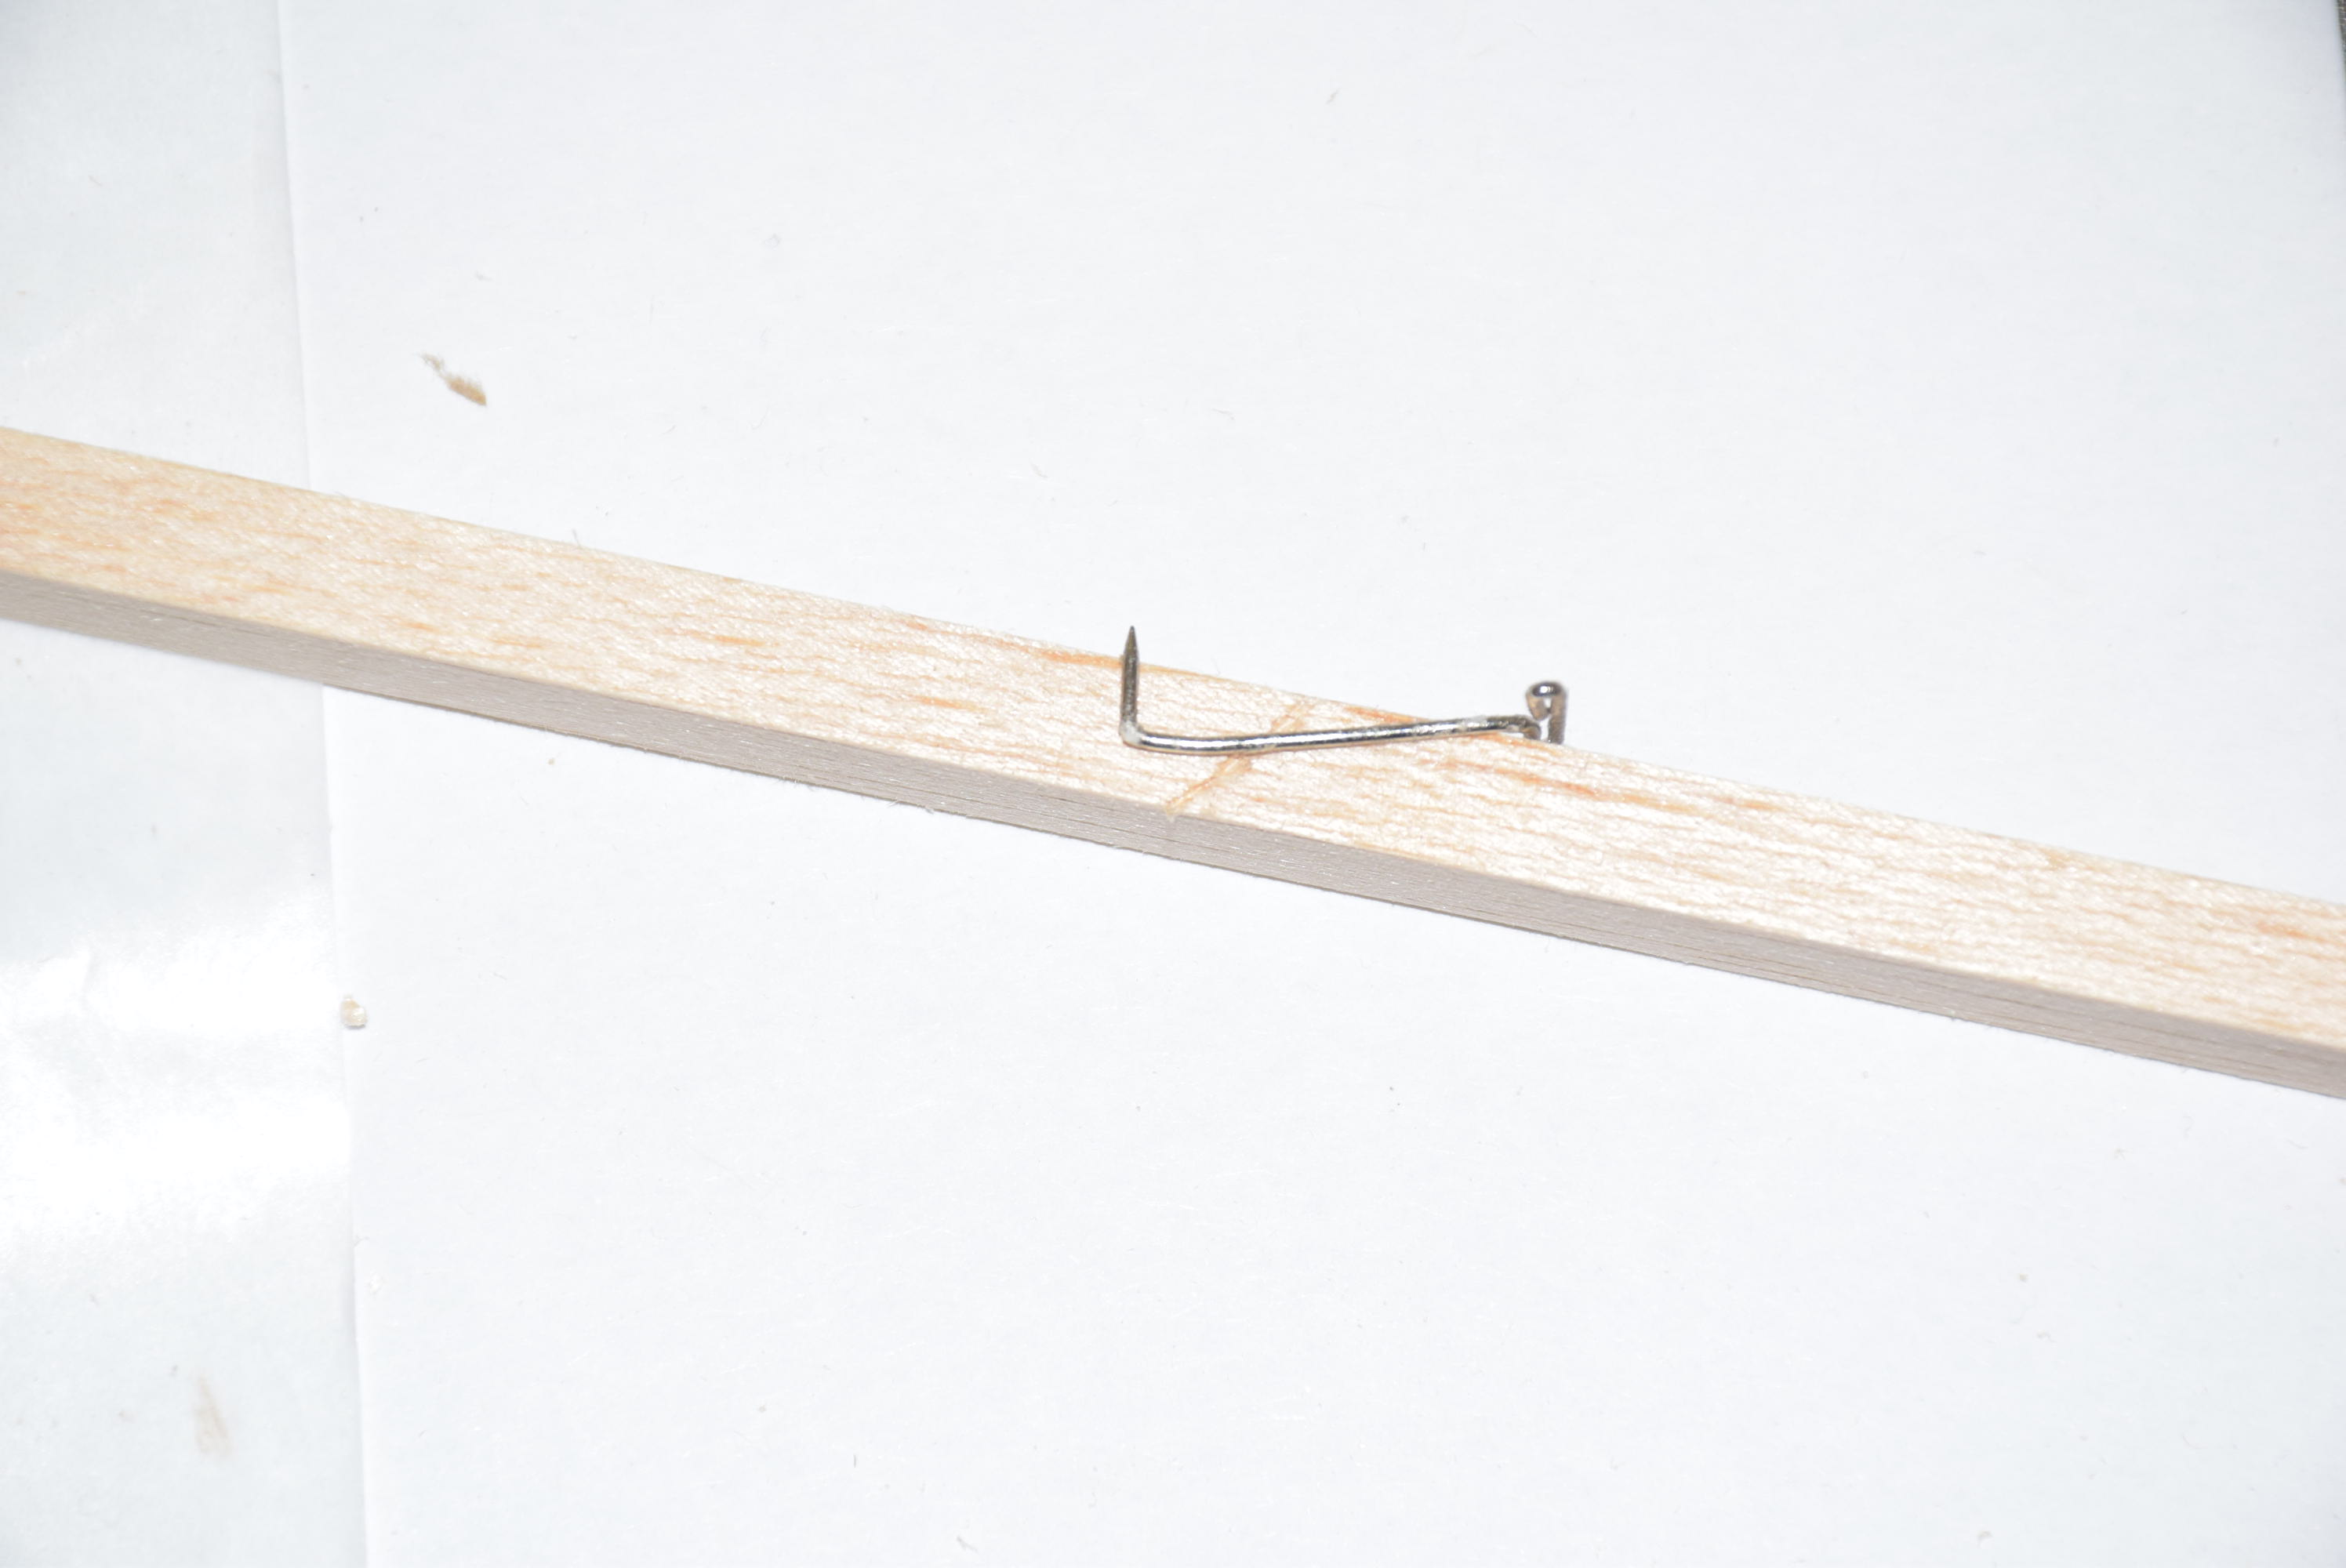
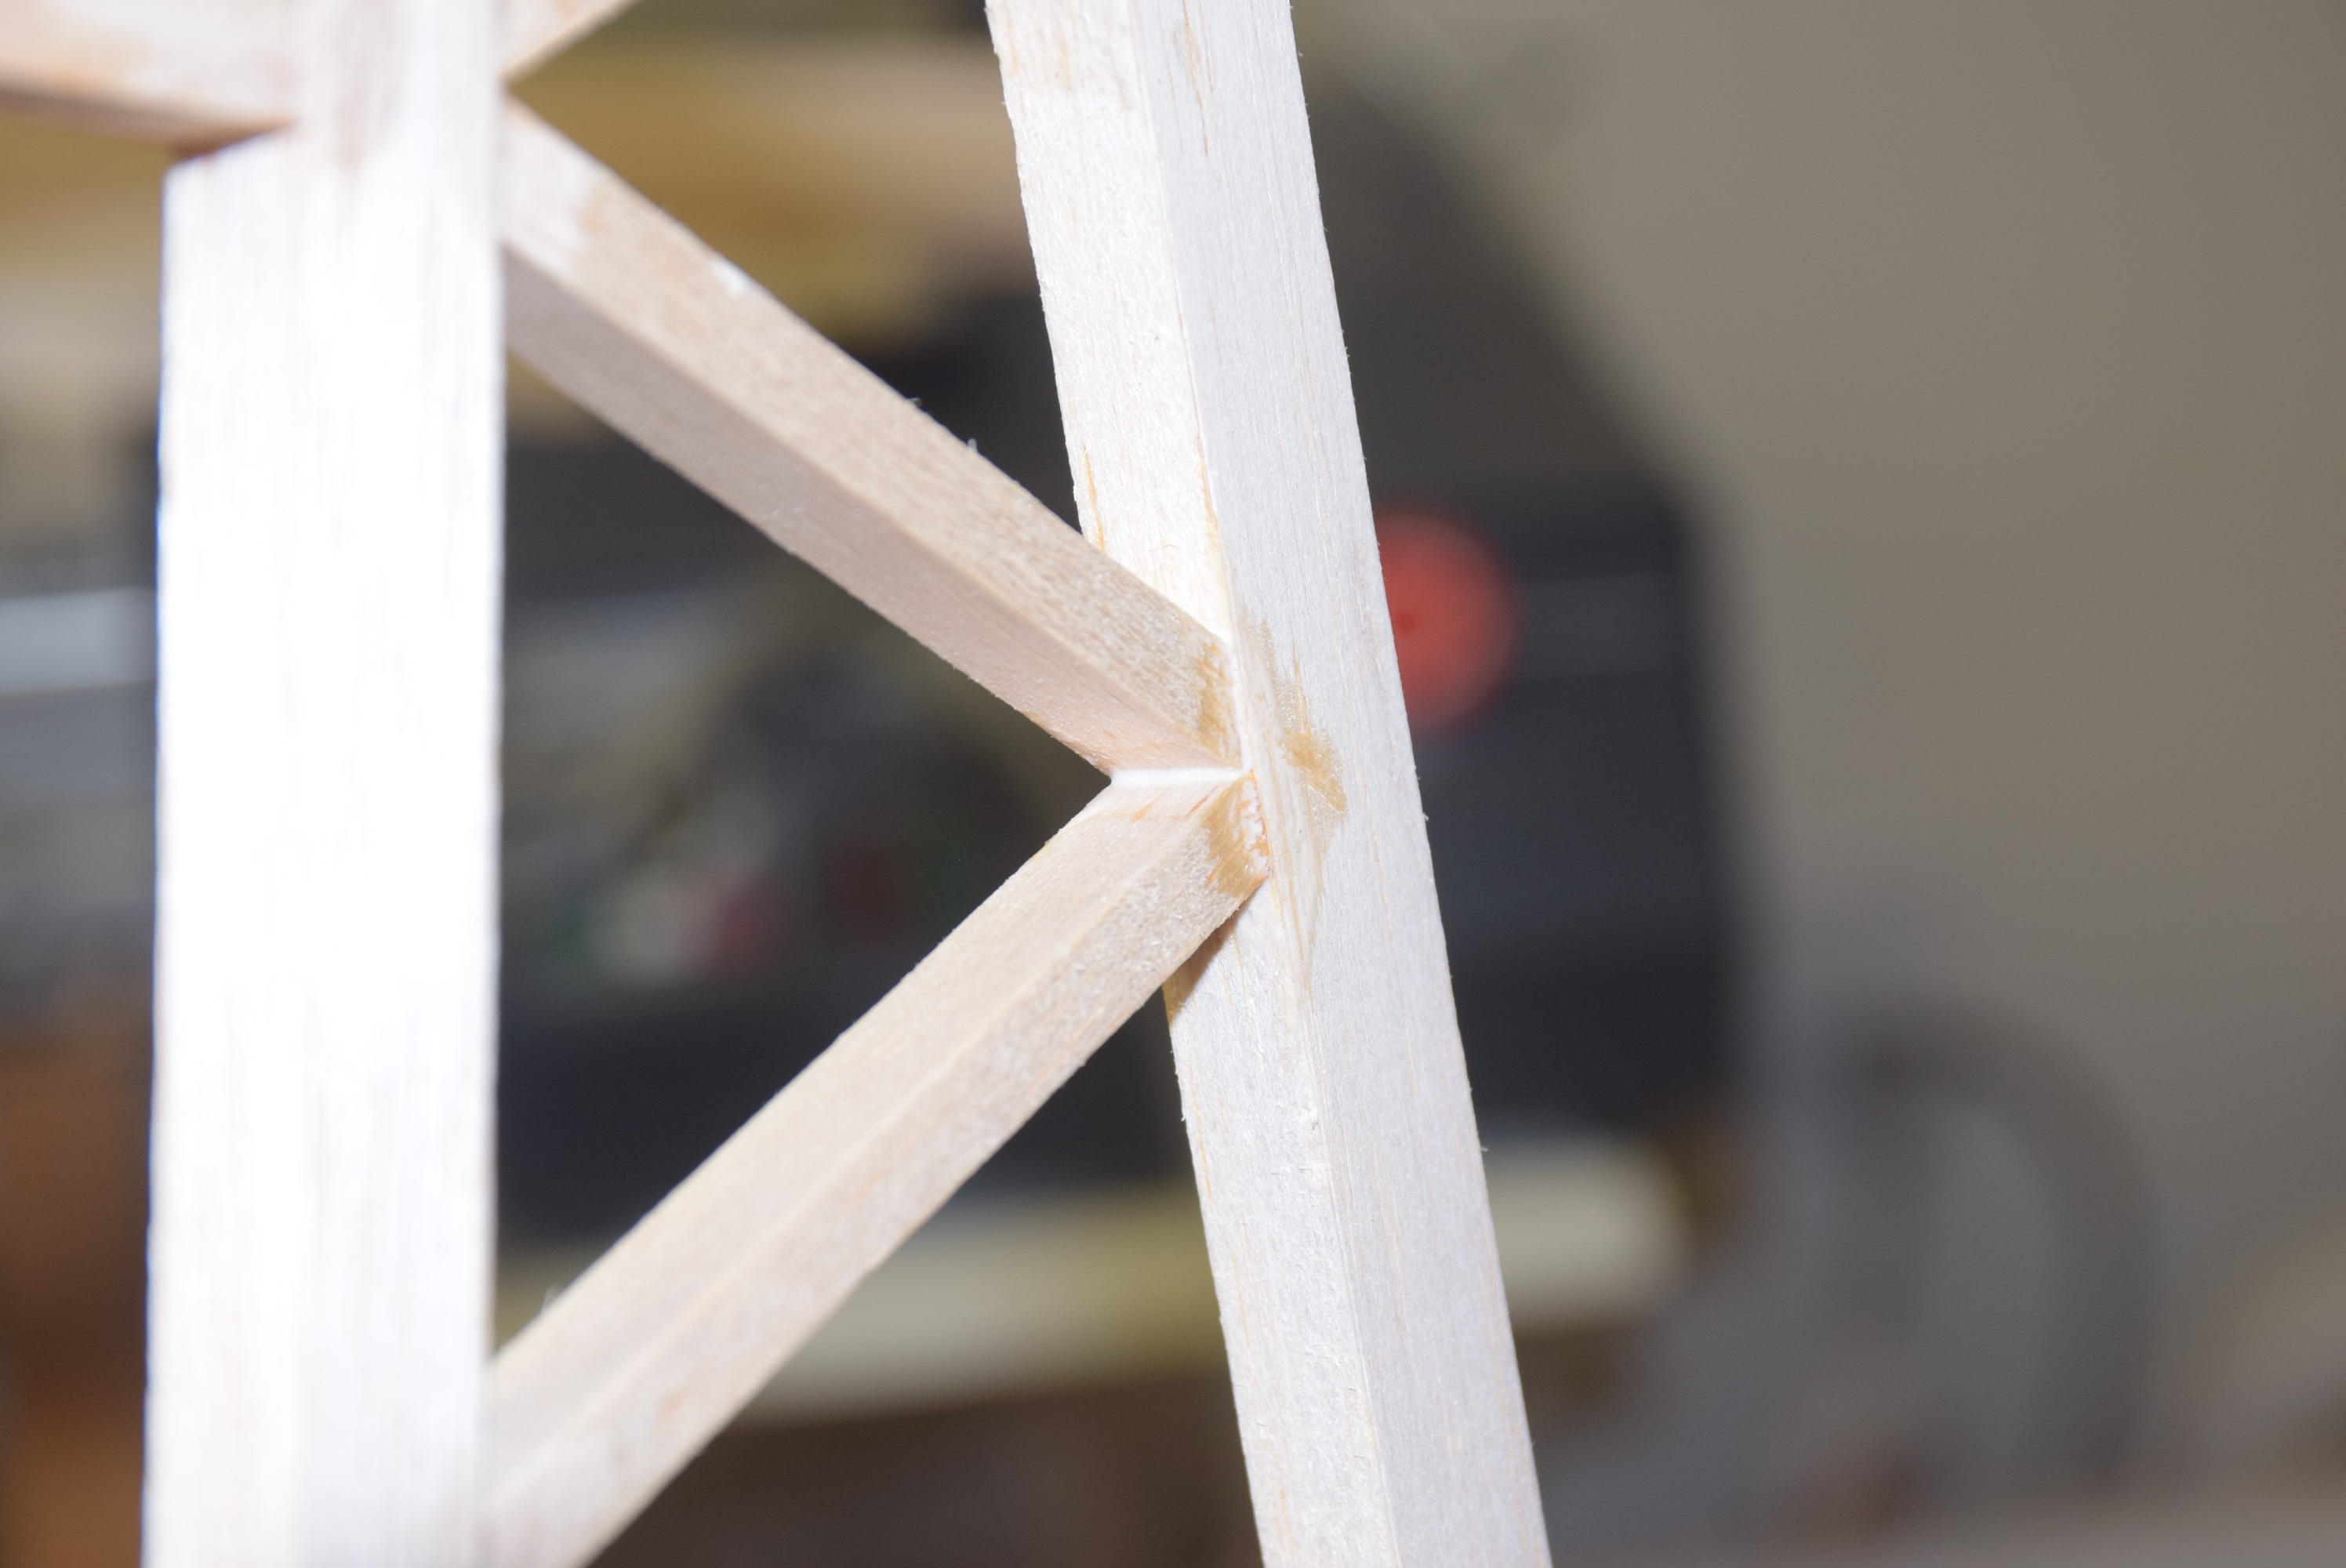
Once all the parts are cut out, lay them over the plans to test the fit. Once you are satisfied with the fit of the parts, I like to tack them together using thin CA. Use a magnetic building board or pins to hold the parts securely as they are glued in place. Once the main parts are in place, work on the inner framing. To ensure that the angles are accurate, you can use a bent T-pin to score the under side of the stock to mark the angle it needs to be cut at on both ends. Next, cut it close to the line using a razor saw and then finish for a nice snug fit with a disc sander or sanding block. A disc sander will help to ensure the angle is square along it’s entire face.

-
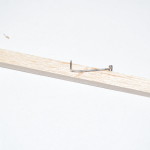
- Score underside of stock with a pin
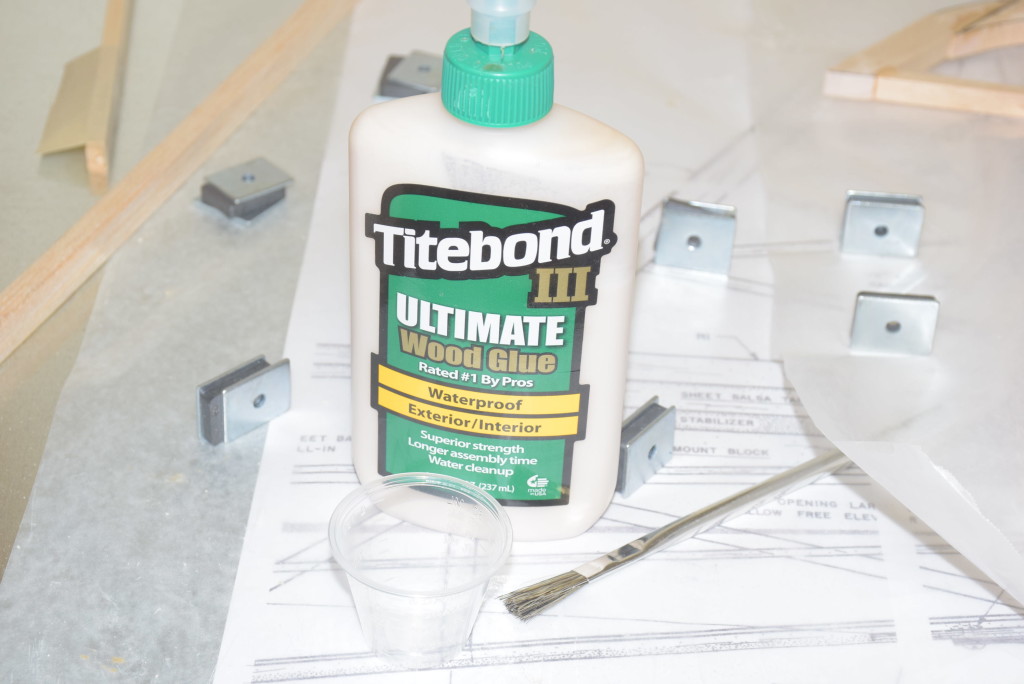
Once all the framing is completed, I like to use my favorite wood glue and brush a small amount into any gaps that need filling. Some final sanding will be needed to finish the part for final assembly.
Stay tuned for Part 3!