Sig J-3 1/4 Scale Cub Build Series – Part 5 – Gluing Rear Fuselage Together
Category : Model Airplane Building
In part 5 we will look at gluing the rear parts of the fuselage together and completing the rest of the truss frame work.
Start with securing the top view portion of the plans to your work bench and cover with plastic. Make sure it is as flat as possible. Next, position the front of the fuselage over the plans matching up the positions of where the main formers are shown on the plans to where they are located in the fuselage.
Once the front of the fuselage is securely in position, you can begin to shape the tail end of each fuselage side as shown below. To get a perfect angle while sanding, transfer the angle from the plans to each fuselage side. I used a 2×4 sanding block that had been squared on all for sides and using a piece of wax paper, slowly sanded the angle to the line I had transferred from the plans.
Keep testing fitting the tail ends together as you sand to the line. You may mind that one piece is slightly longer than the other. The most important part of this process is that the tail ends of the fuselage are lined up as accurately as possible and match what is shown on the plans.
Glue the ends together using wood glue and small clamps.
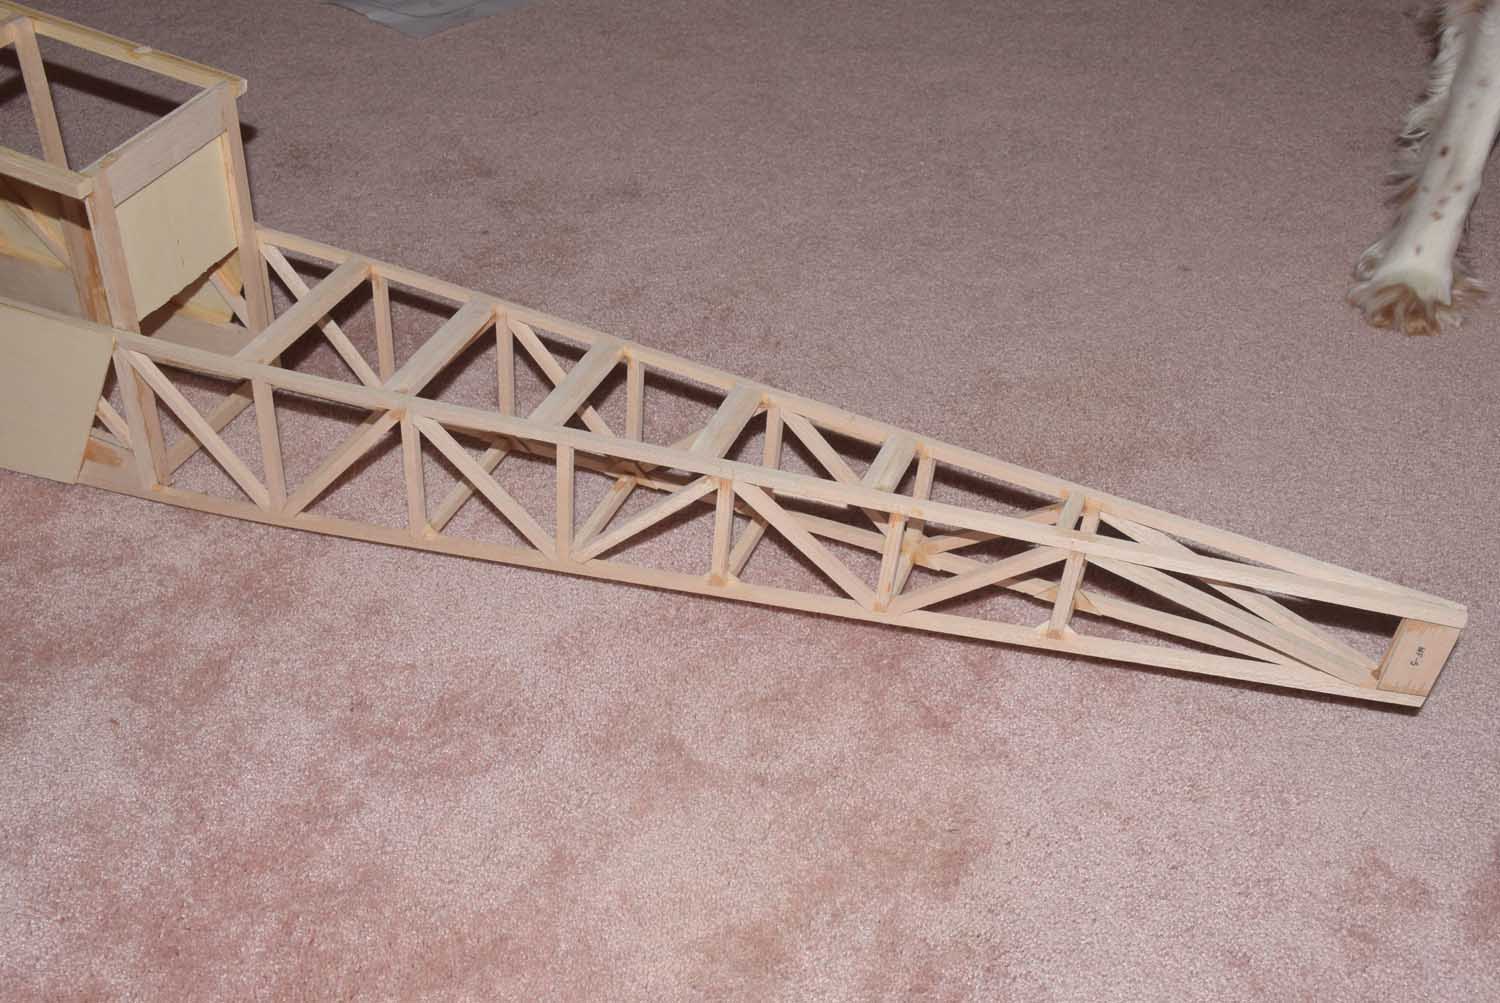
Once the tail pieces are dry you can begin filling in the rest of the truss framework. In the manual they recommend starting from the tail end and working forward toward the nose. Since we installed gussets in part 4 of this series, we can simply cut and fit the 5/16 square stock pieces and slide them in place where the gussets are positioned. I used thin CA to tack the pieces in place and then later brushed over the joints with wood glue. (One note, when cutting the bottom pieces that are placed into the gussets, cut a second piece at that time that’s exactly the same for use on the top portion of the fuselage side.)
For the top portion of the fuselage sides, the process is pretty much the same. When gluing in the top portions of the square stock, I placed a construction square at each side of the fuselage at the glue point. This will help ensure that your fuselage remains square as you glue the pieces in place.!
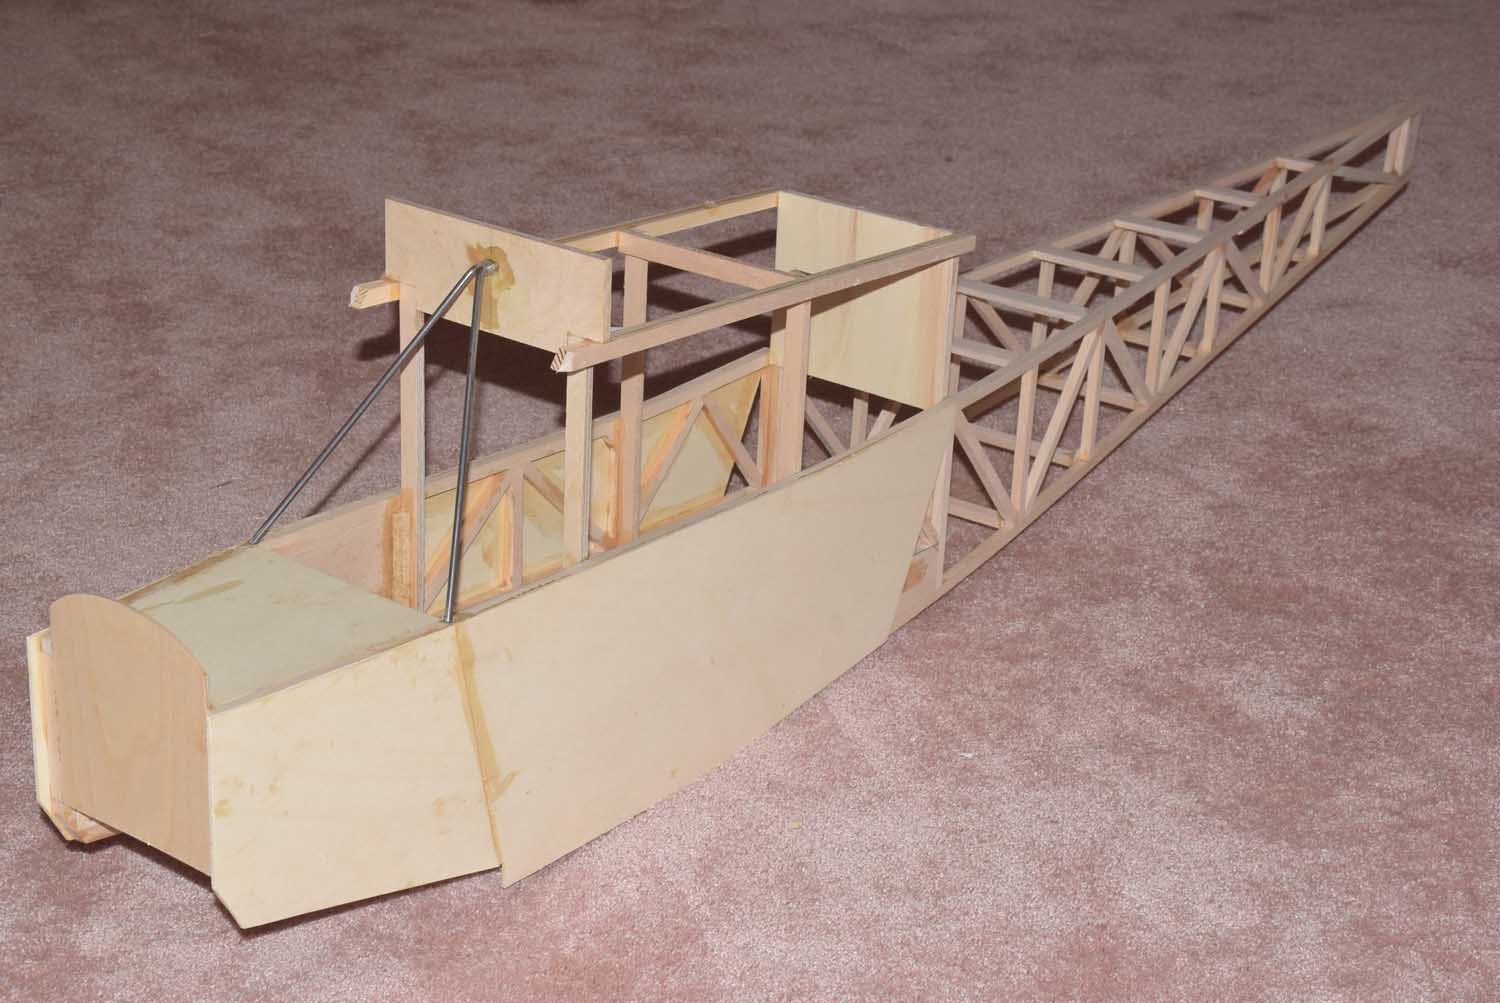
You will also notice, I added in some additional 3/16 balsa filler in front of the 5/16 square balsa pieces. This will be used for some additional bracing when we glue in the rear formers in the next step. This won’t add very much weight but will help increase the gluing surface when installing the rear formers F8 – F13.
Once everything has been tacked in place with thin CA, brush over the joints with some wood glue and let dry overnight.
In Part 6 of this build series we will be installing the rear formers and top stringers!