Sig J-3 1/4 Scale Cub Build Series – Part 6 – Nose Section & Securing to Fuselage
Category : Model Airplane Building , Uncategorized
In part 6 of the Sig J-3 Cub 1/4 Scale Build series we will be taking a look at constructing the nose section and firewall. Also we will be securing the nose section to the rest of the nearly completed fuselage.
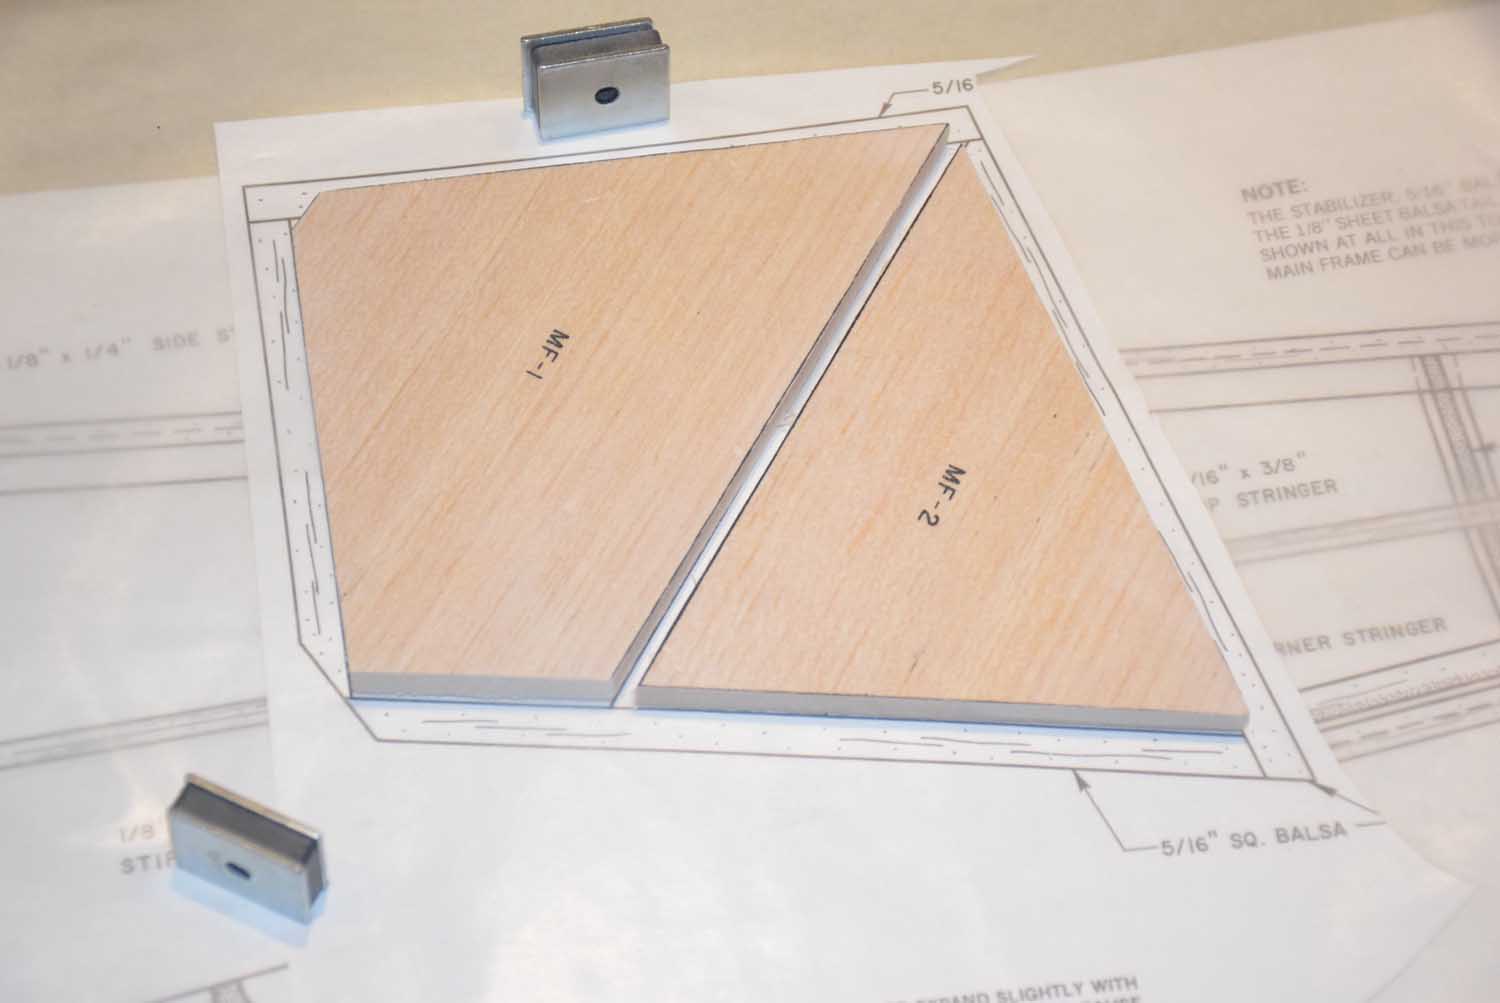
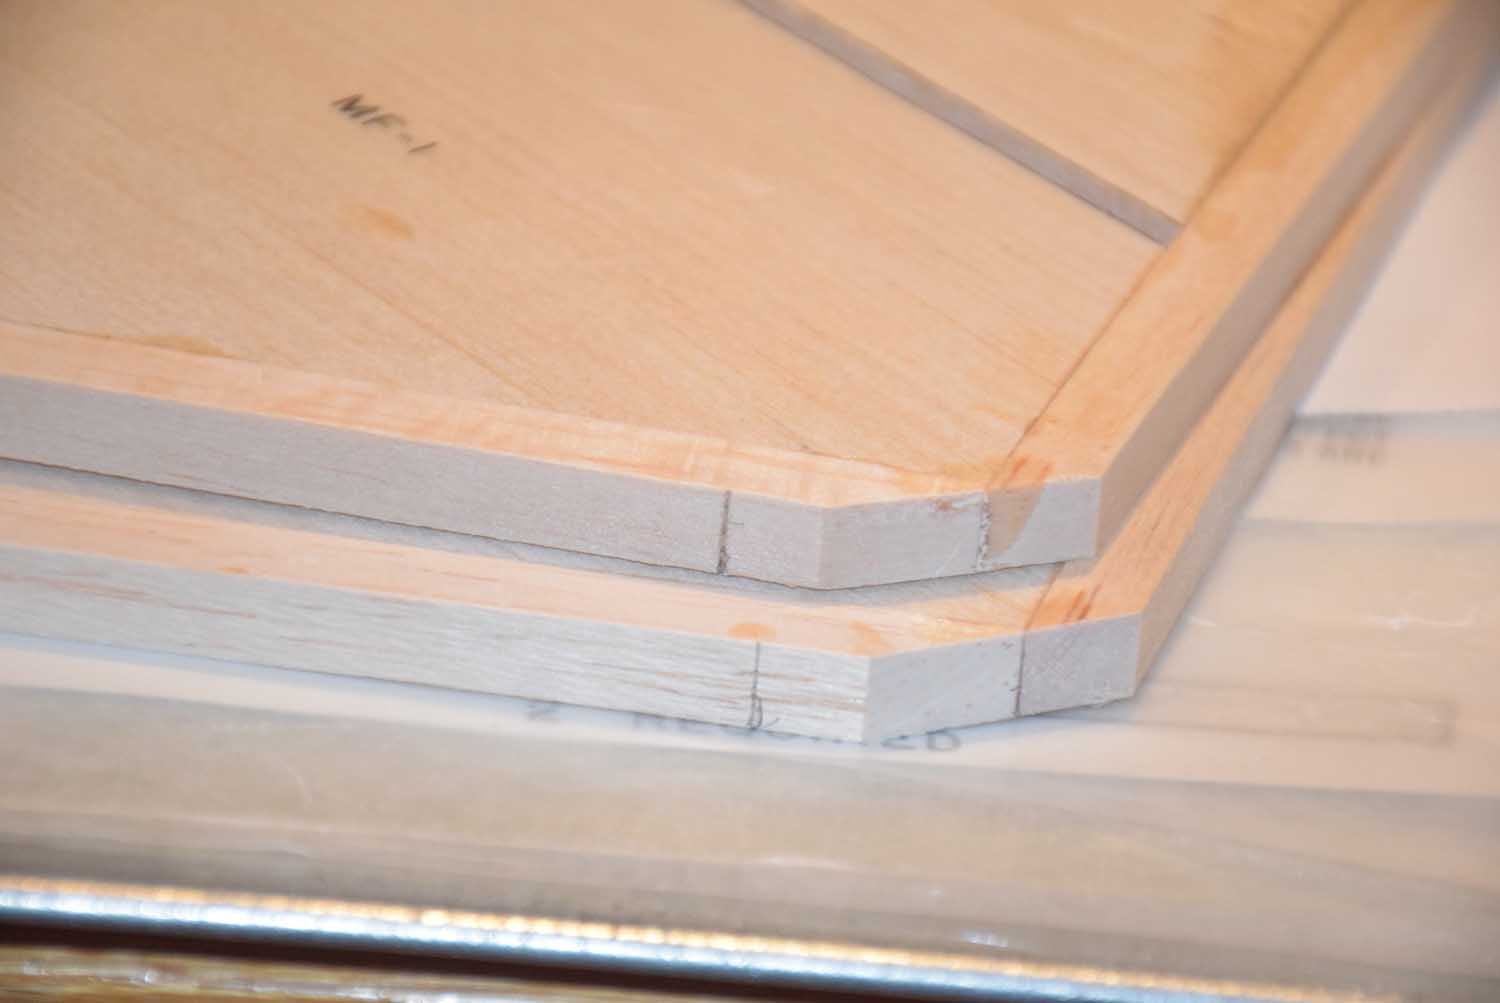
Start by locating the printed balsa sheets containing parts MF-1 and MF-2. You will need two of each part. The framing for parts MF-1 and MF-2 will be constructed using some 5/16 square balsa stock included with the kit. Build the framing directly over the plans and then fit in the pieces MF-1 and MF-2 as shown in the photos below.
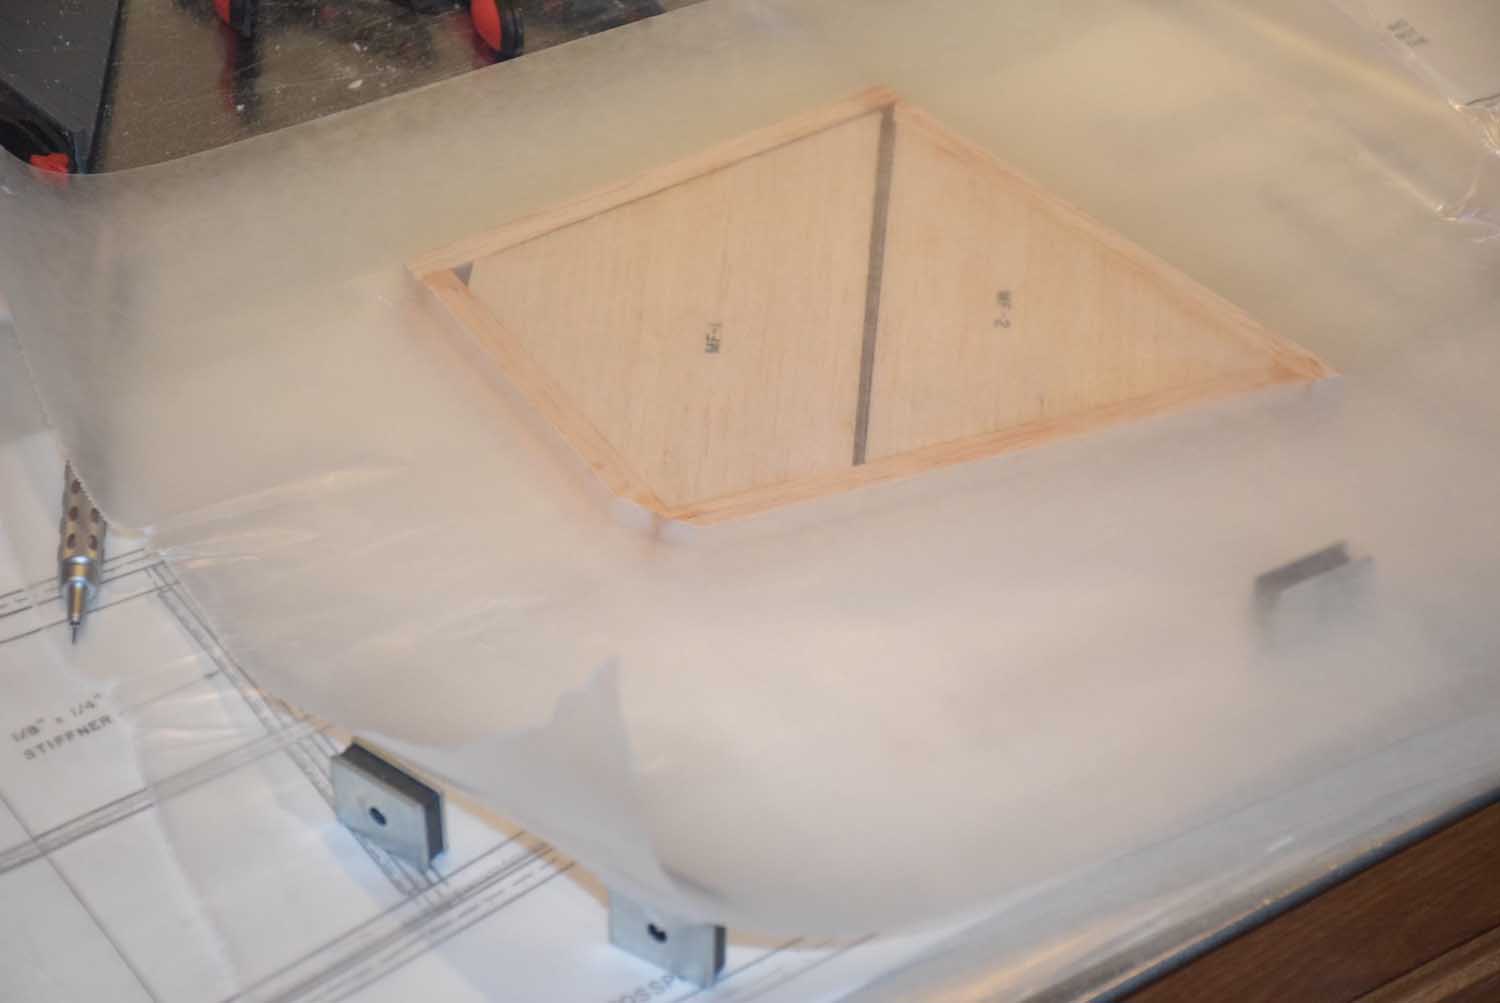
Set aside to dry.
Once the two sides of the nose are completed, make sure they are of equal dimension by squaring up any long sides using a disc sander or sanding block. Also mark out for the location of the bottom of the 1/8 ply firewall that will be installed later.
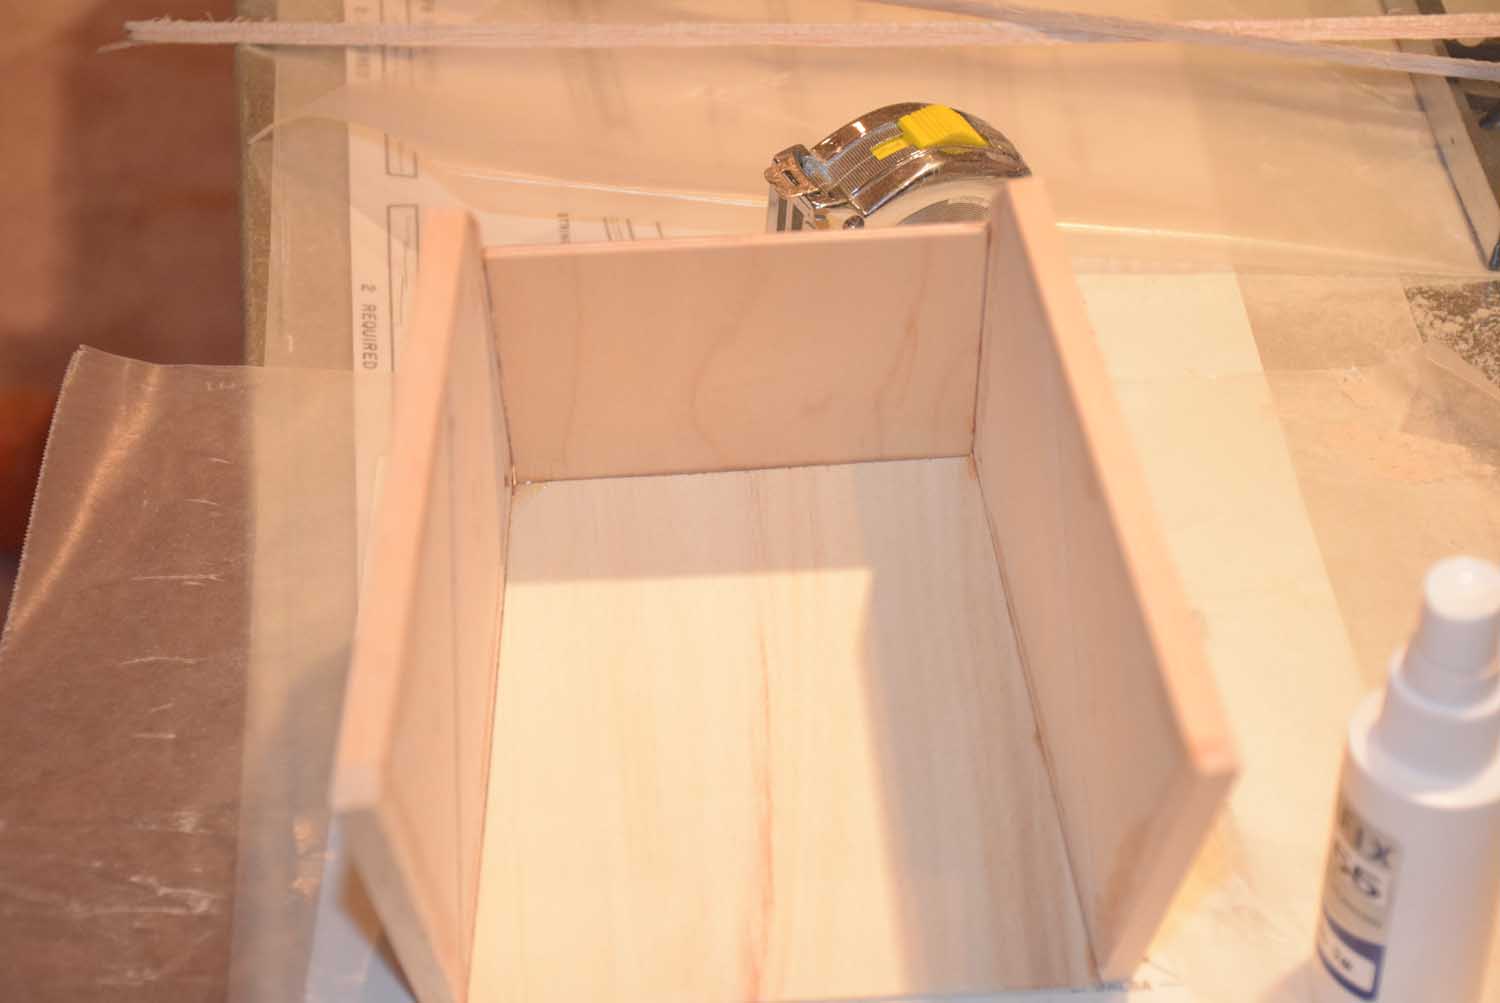
With the two sides of the nose of equal dimension, find the pieces of the firewall and the top portion of the nose section from the included die-cut 1/8 plywood sheet. These pieces are not labeled but are easily identifiable by referring to the plans. Glue up the pieces as shown in the following photo.
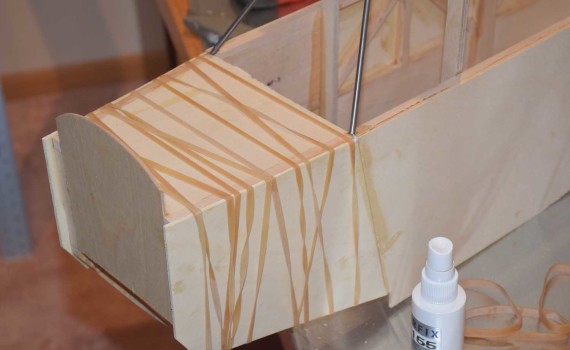
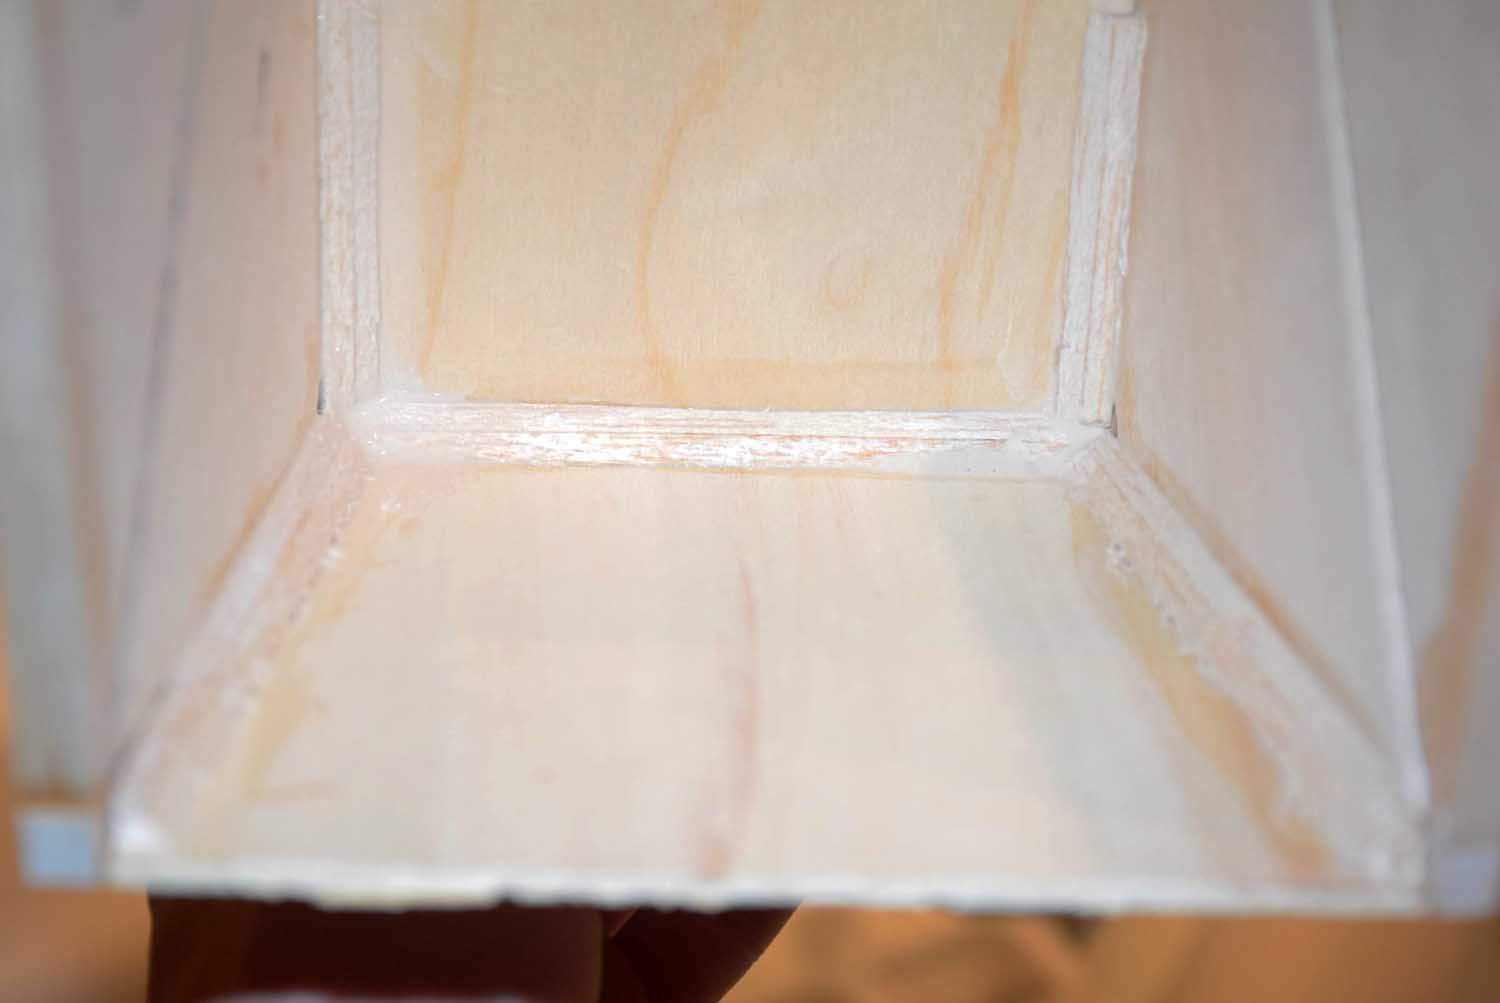
The manual and the plans do not call for adding in the triangle balsa shown in the next photo but I think it’s a good idea and will add some extra strength in the nose without adding to much weight.
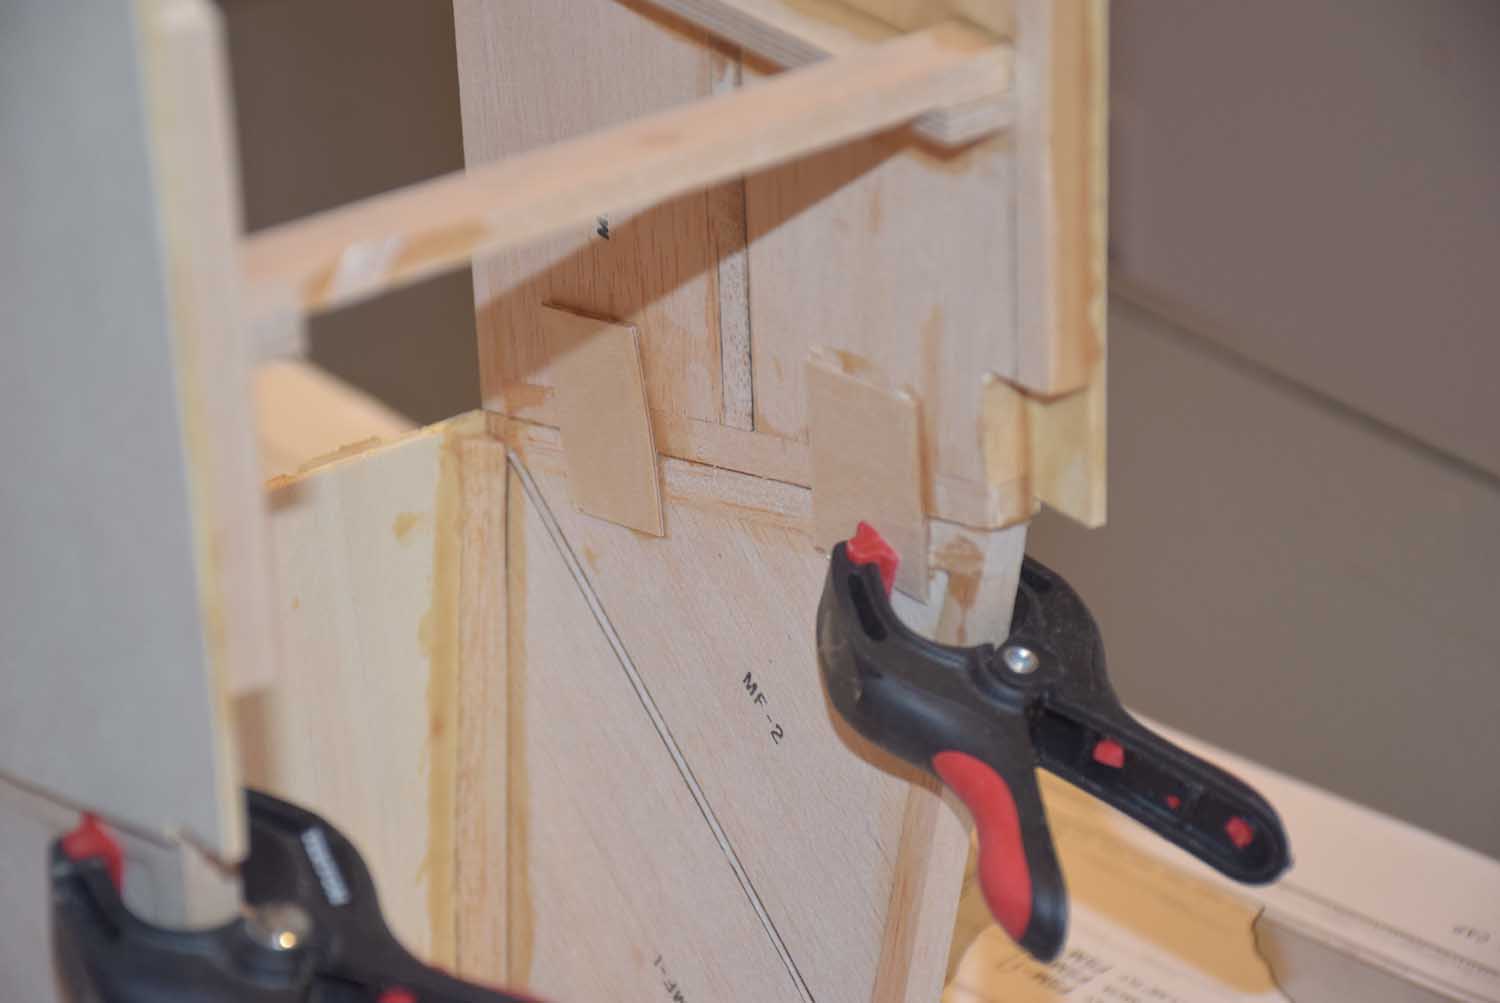
Once the nose portion is fully dry, it’s time to begin securing it to the main fuselage. See the photo below for how I used some plywood tabs (1/16th thickness) to help provide more gluing area instead of using a butt joint.
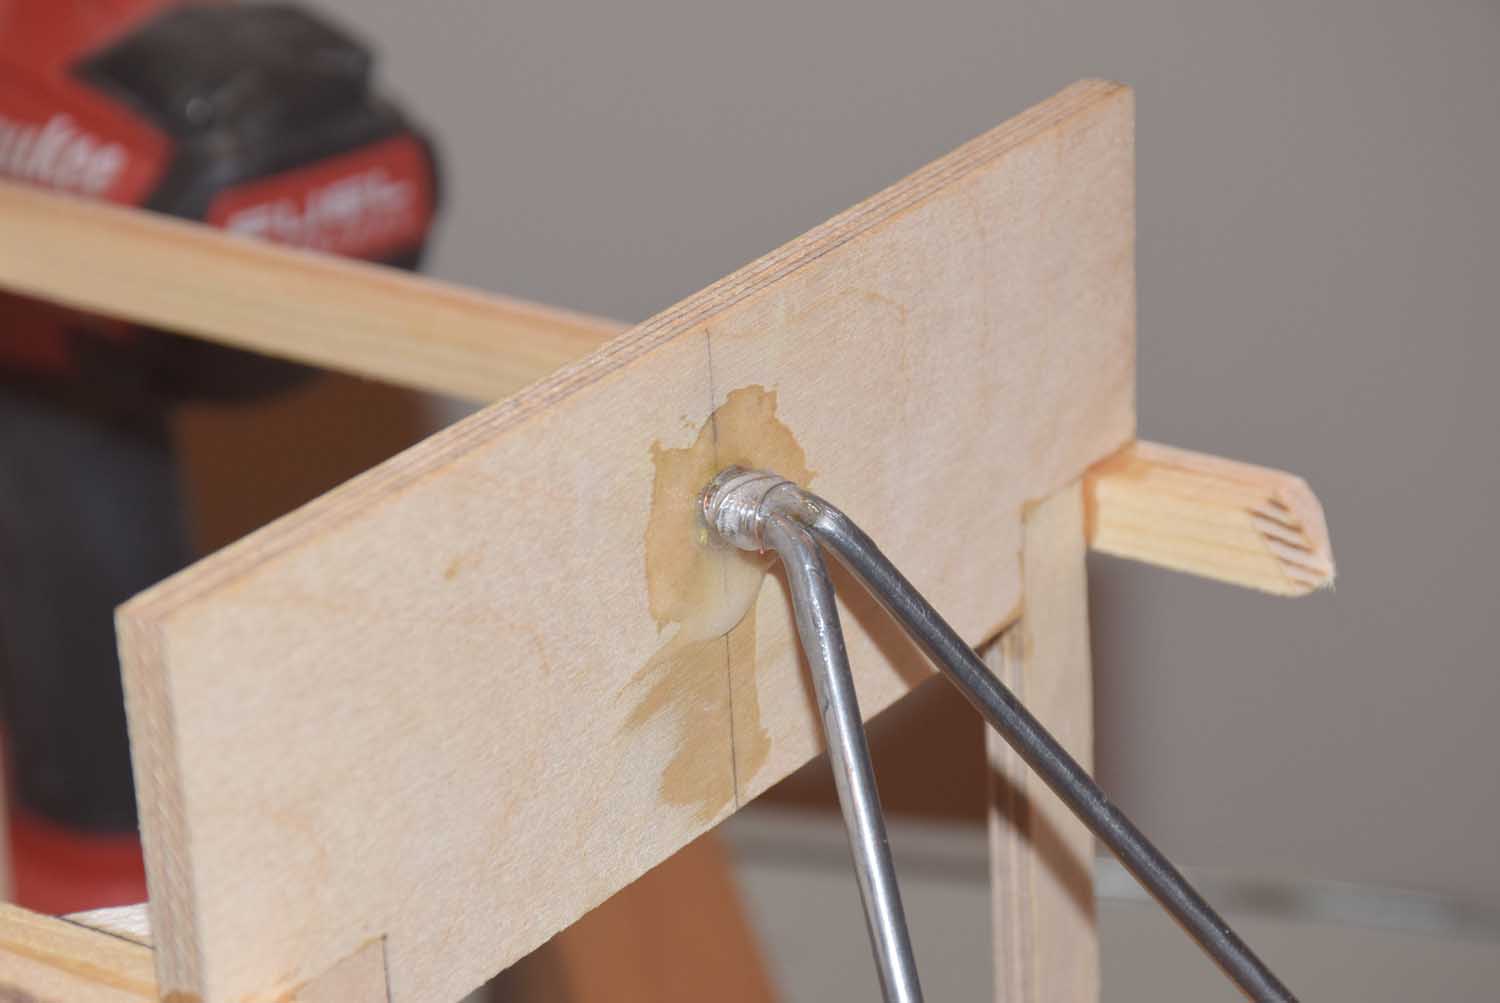
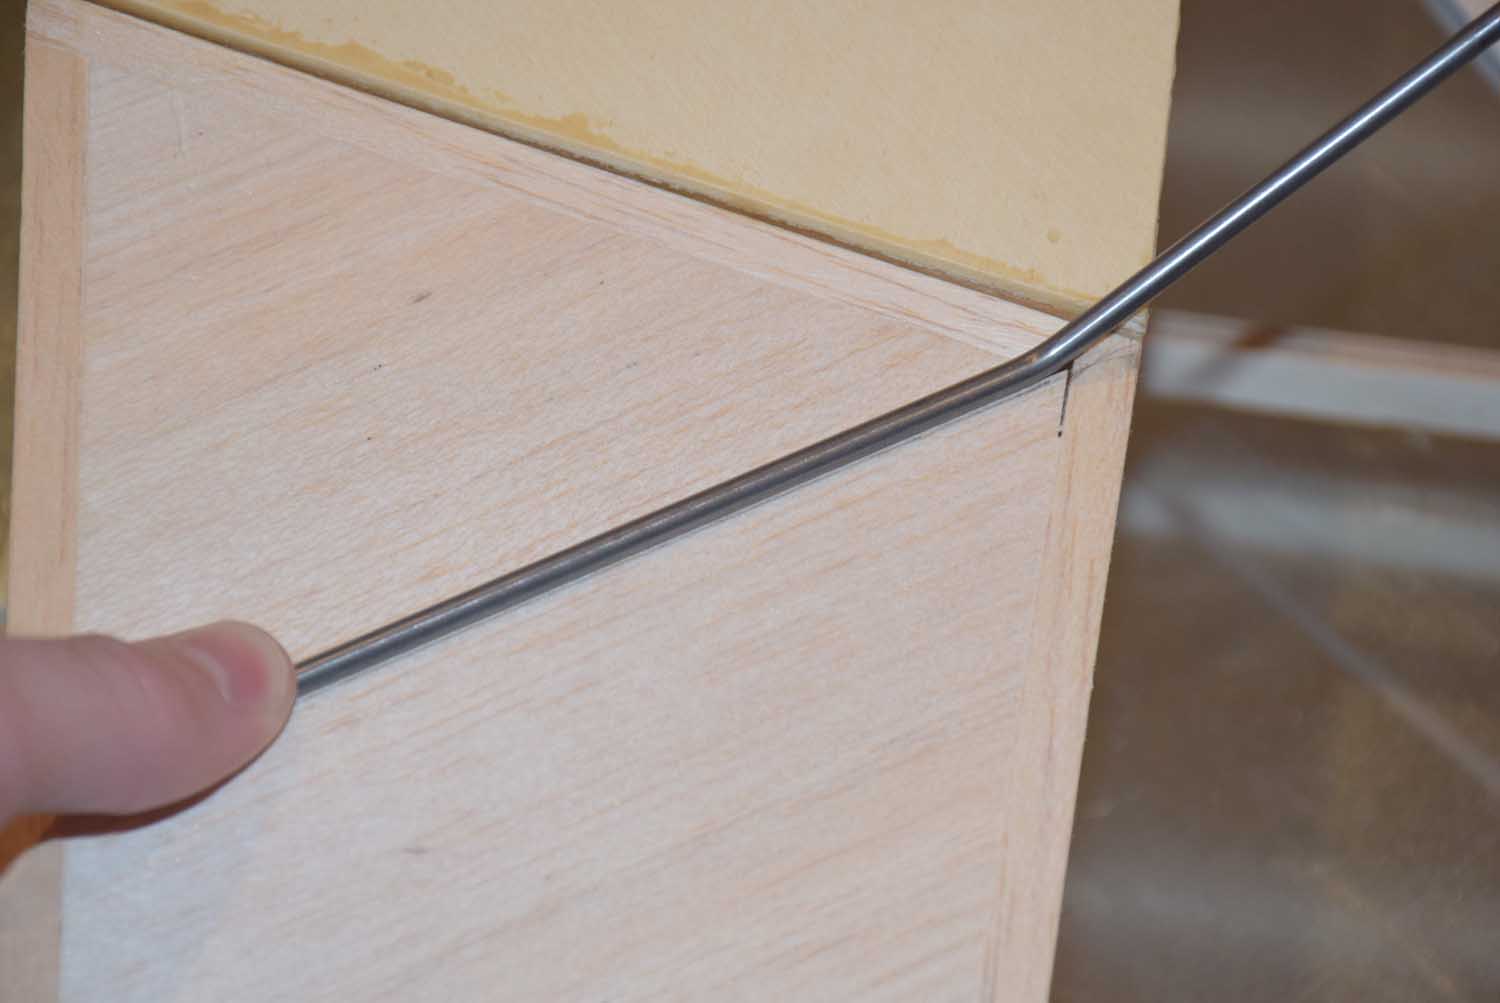
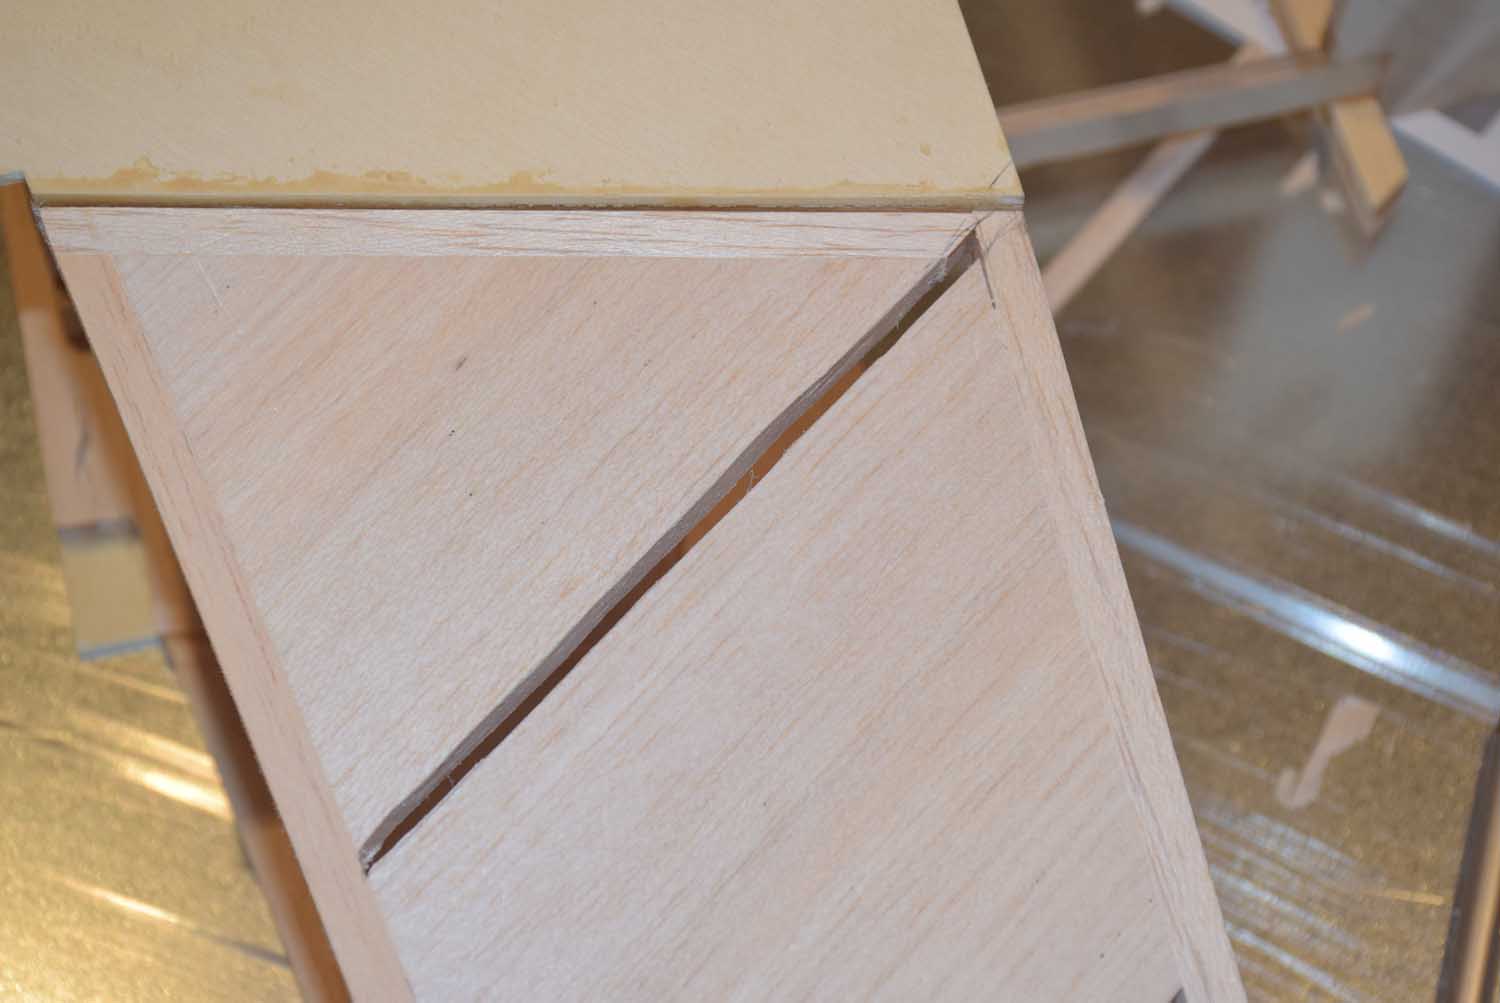
Once the nose has been glued on to the front of the main fuselage, you can now fit the pre-bent wire bracing that is included with the kit. This will fit in between the pieces MF-1 and MF-2. If the wire does not fit in the gap provided, simply place the wire in position over the nose section and draw a line on either side. Remove the extra balsa with an Xacto. This doesn’t have to be pretty as it will be covered with a 1/8 ply side and filled with epoxy.
Rough up the ends of the pre-bent wire and wipe clean with alcohol. This will help the epoxy stick better.
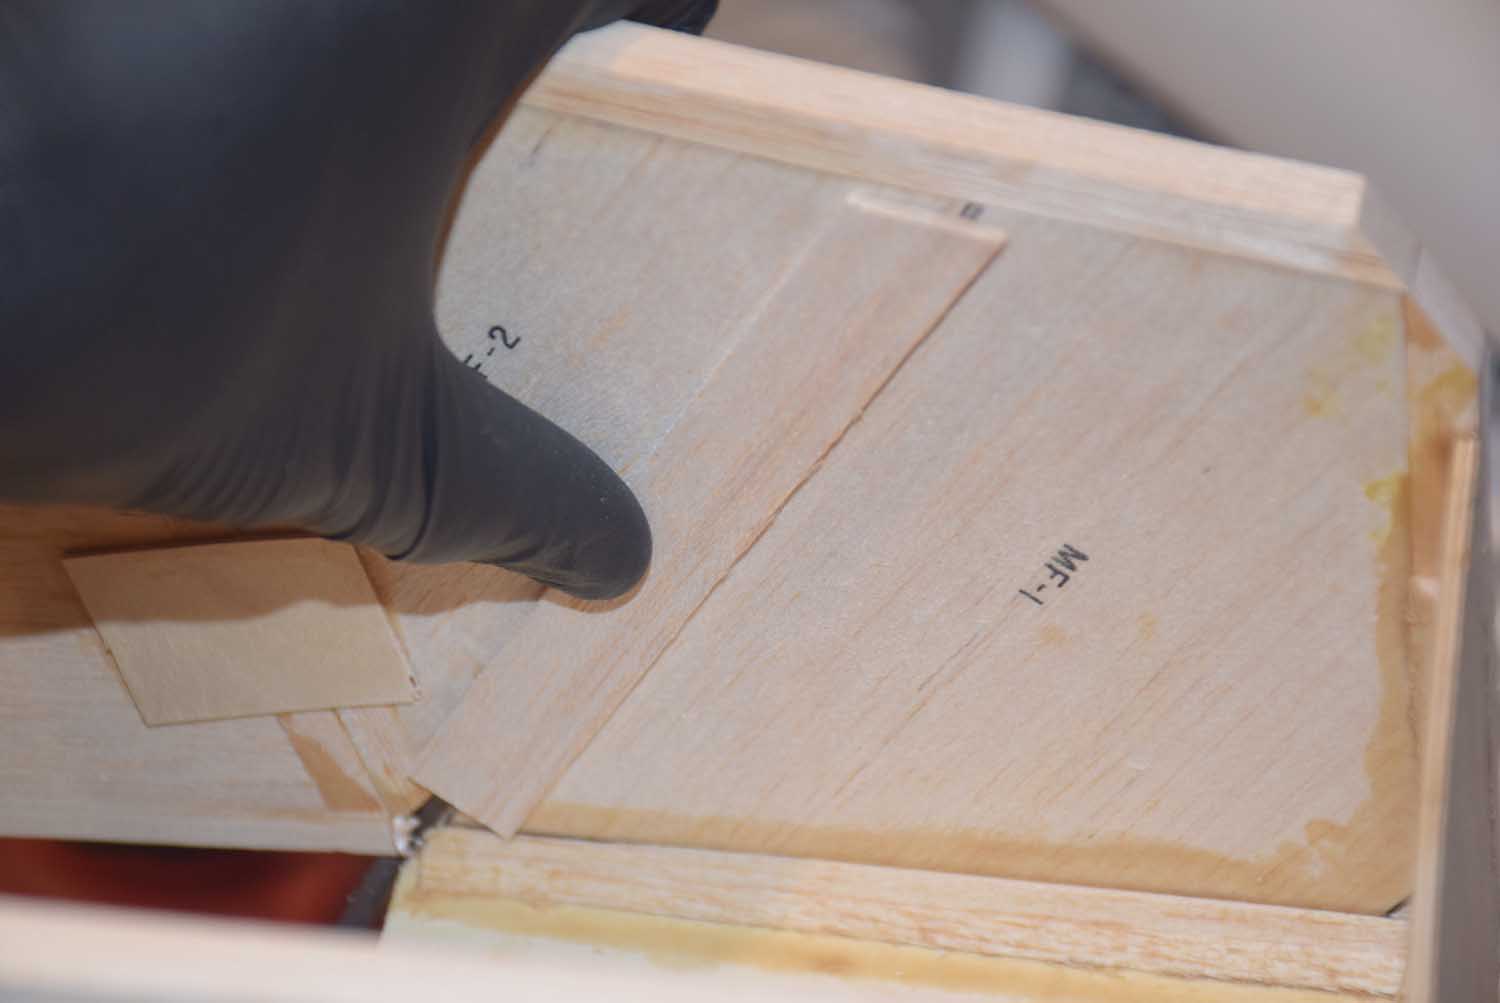
Inside the nose section I filled the slot for the pre-bent wire with epoxy and then covered the inside portion as shown below with a thin sheet of balsa. This will help hold the epoxy in position as it dries.
Before gluing the nose wire fully in place be sure to drill the two holes as shown on the plans.

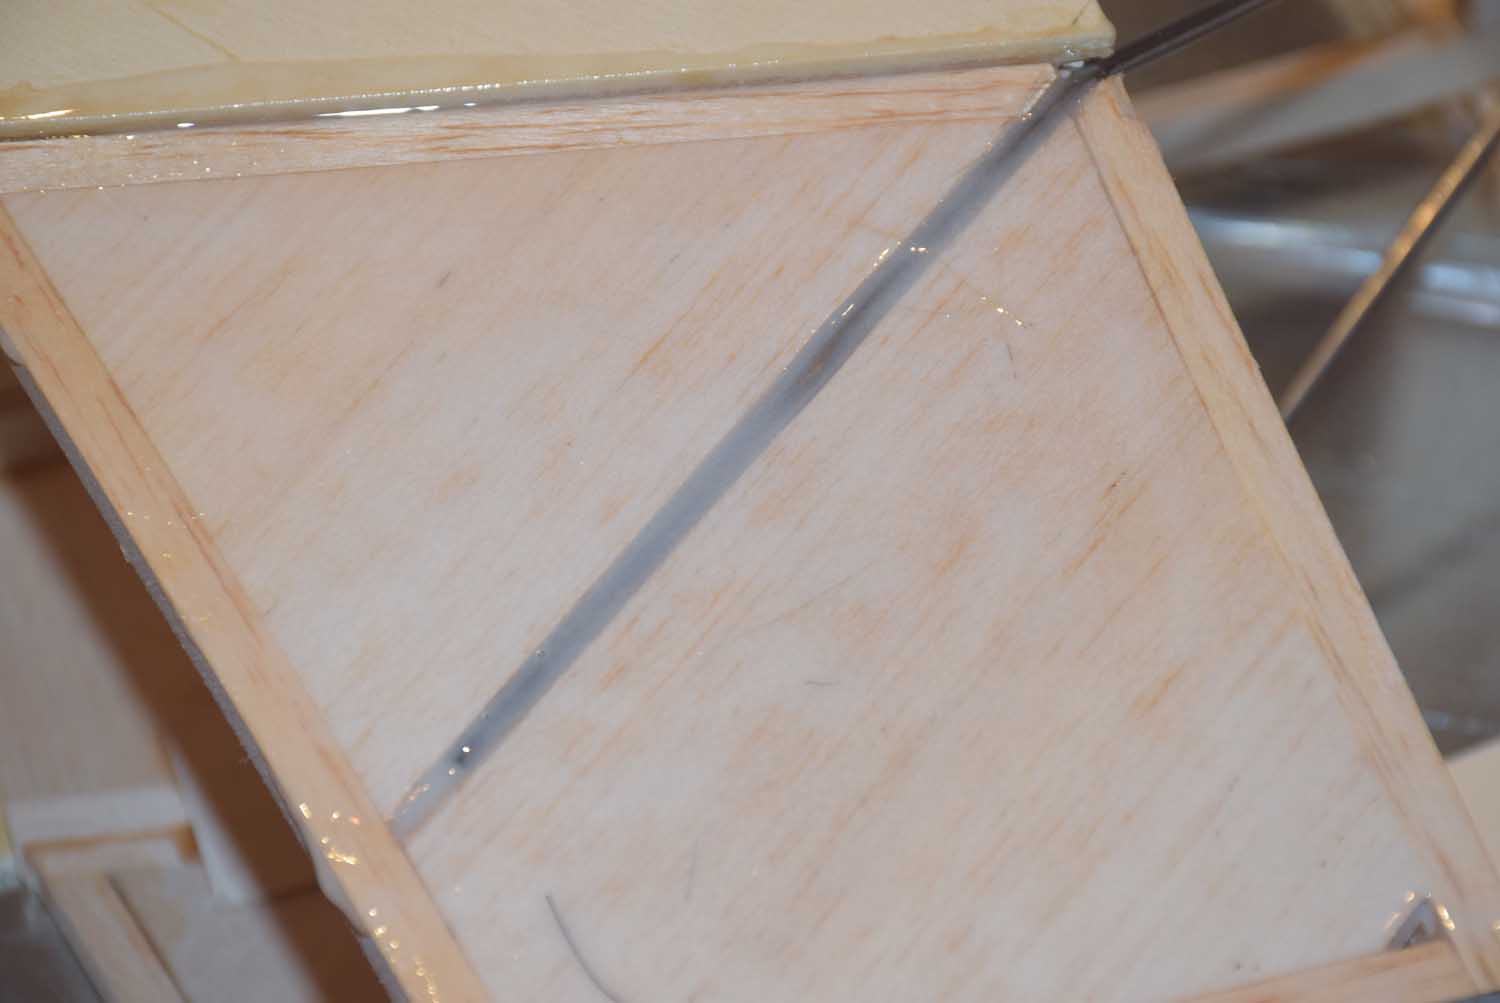
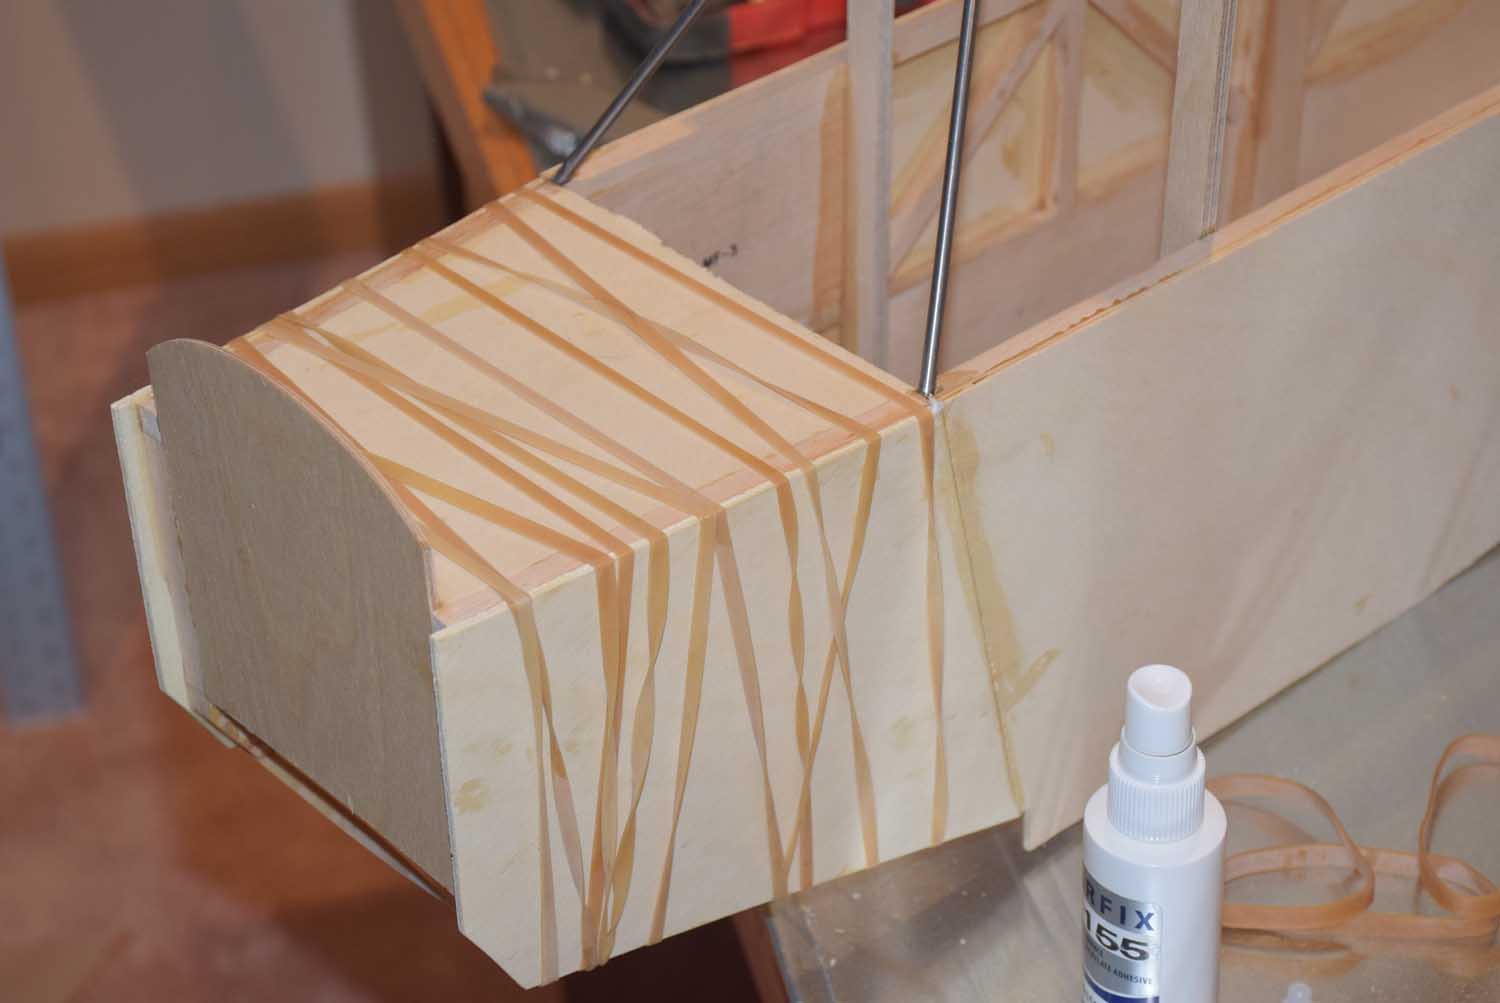
Once the wire has been glued in place it should look like the photo below: DSC_7442 The nose sides will get covered with 1/8 plywood. If you have some epoxy already mixed up, now would be a good time to glue those sides in place as shown below:
Once satisfied with the placement secure with rubber bands.
Finally solder the main nose wire bracing as described in the manual and cover the joint with a blob of epoxy.