Sig J-3 1/4 Scale Cub Build Series – Part 7 – Nose Section Formers, Firewall & DLE 40 Twin Motor Mount
Category : Model Airplane Building
In part 7 we will be installing the nose formers and sheeting, the engine firewall and making a motor mount spacer for the DLE 40 twin cylinder gas engine.
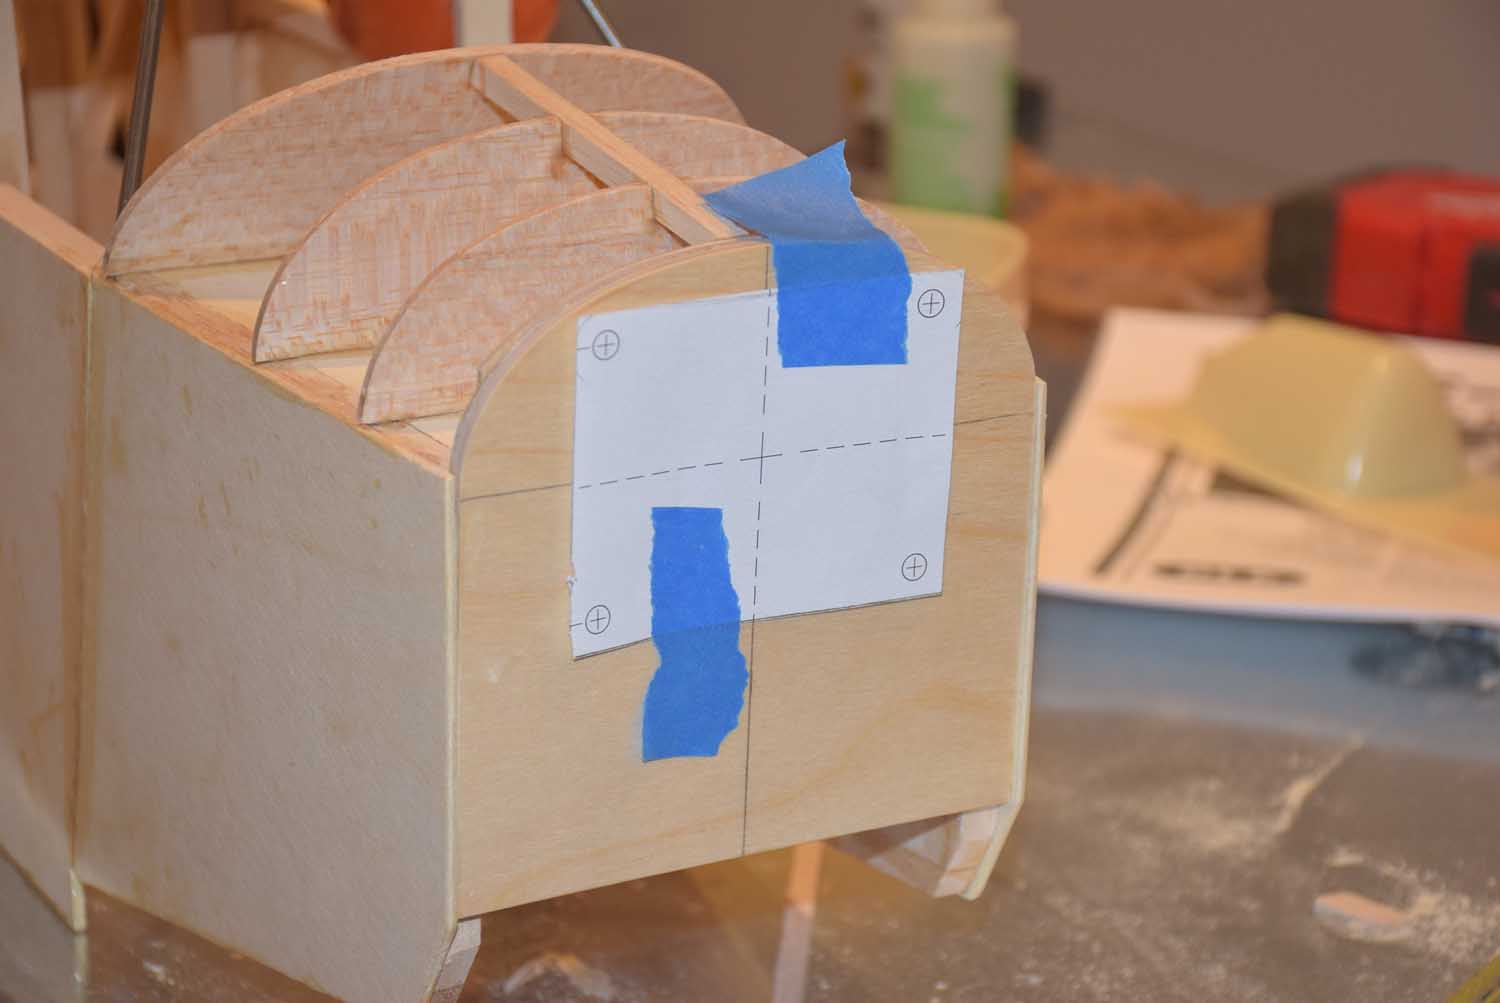
Start by finding the nose formers from the die cut balsa supplied with the Sig kit. Take measurements from the plans in order to properly place them on the nose section of the fuselage. You will need formers F2, F3, and F4.
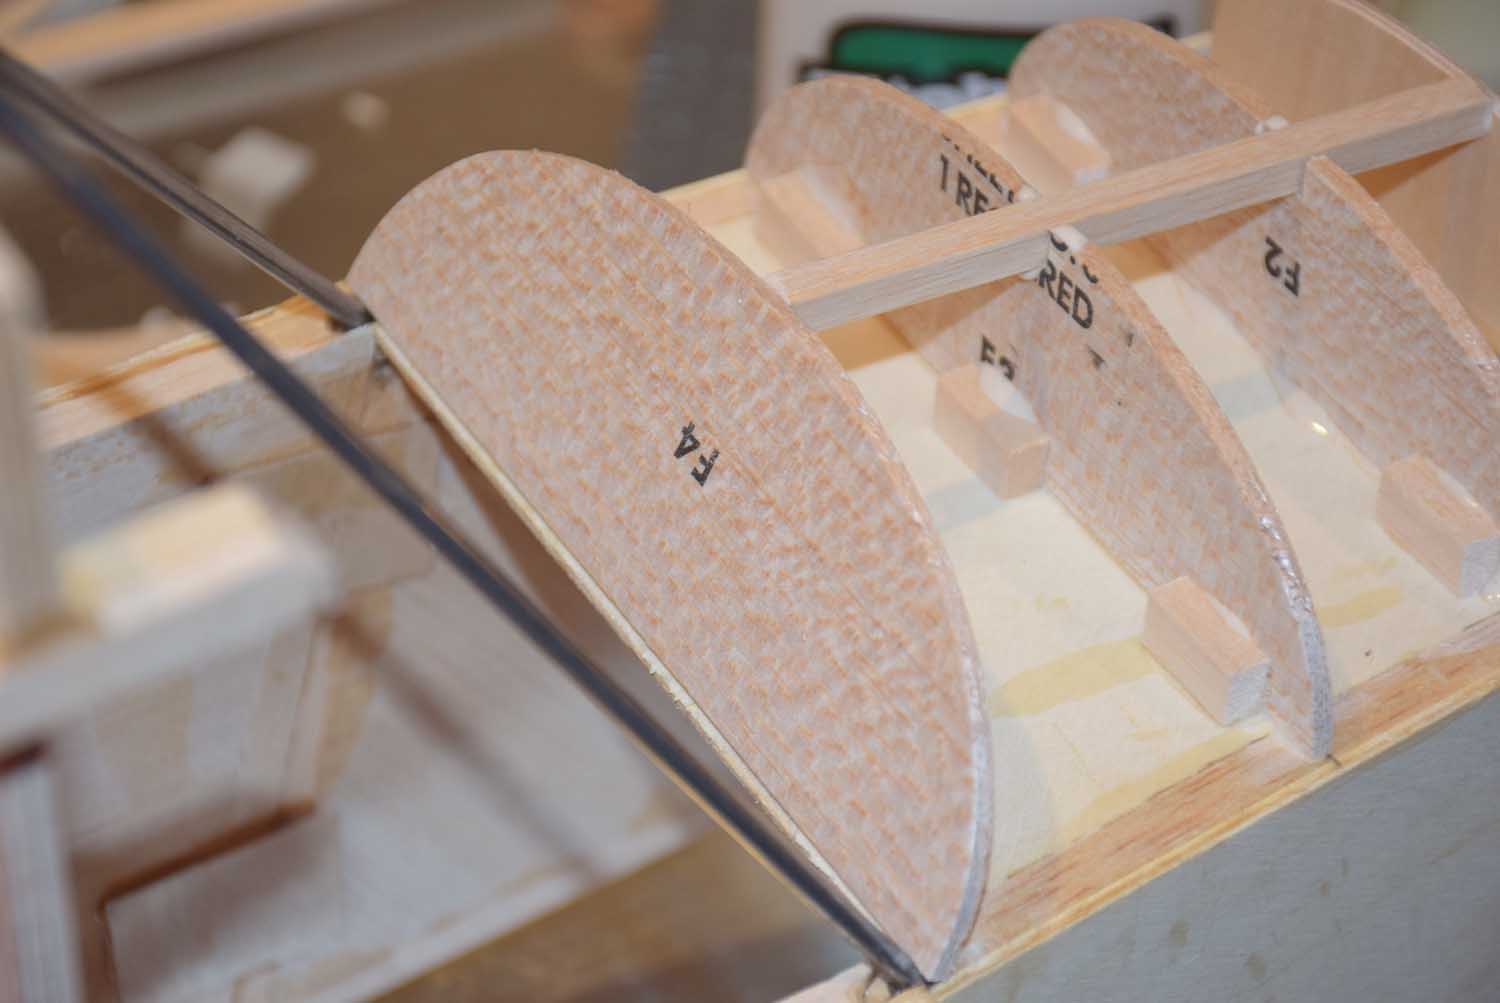
You will notice in the above photo I added some additional scrap pieces of balsa to help hold the formers in place as the glue dries. In the photo below, I also added a 3/8 piece of basswood just behind former F2, this will give the engine mount bolts a thicker piece of wood to bolt to.
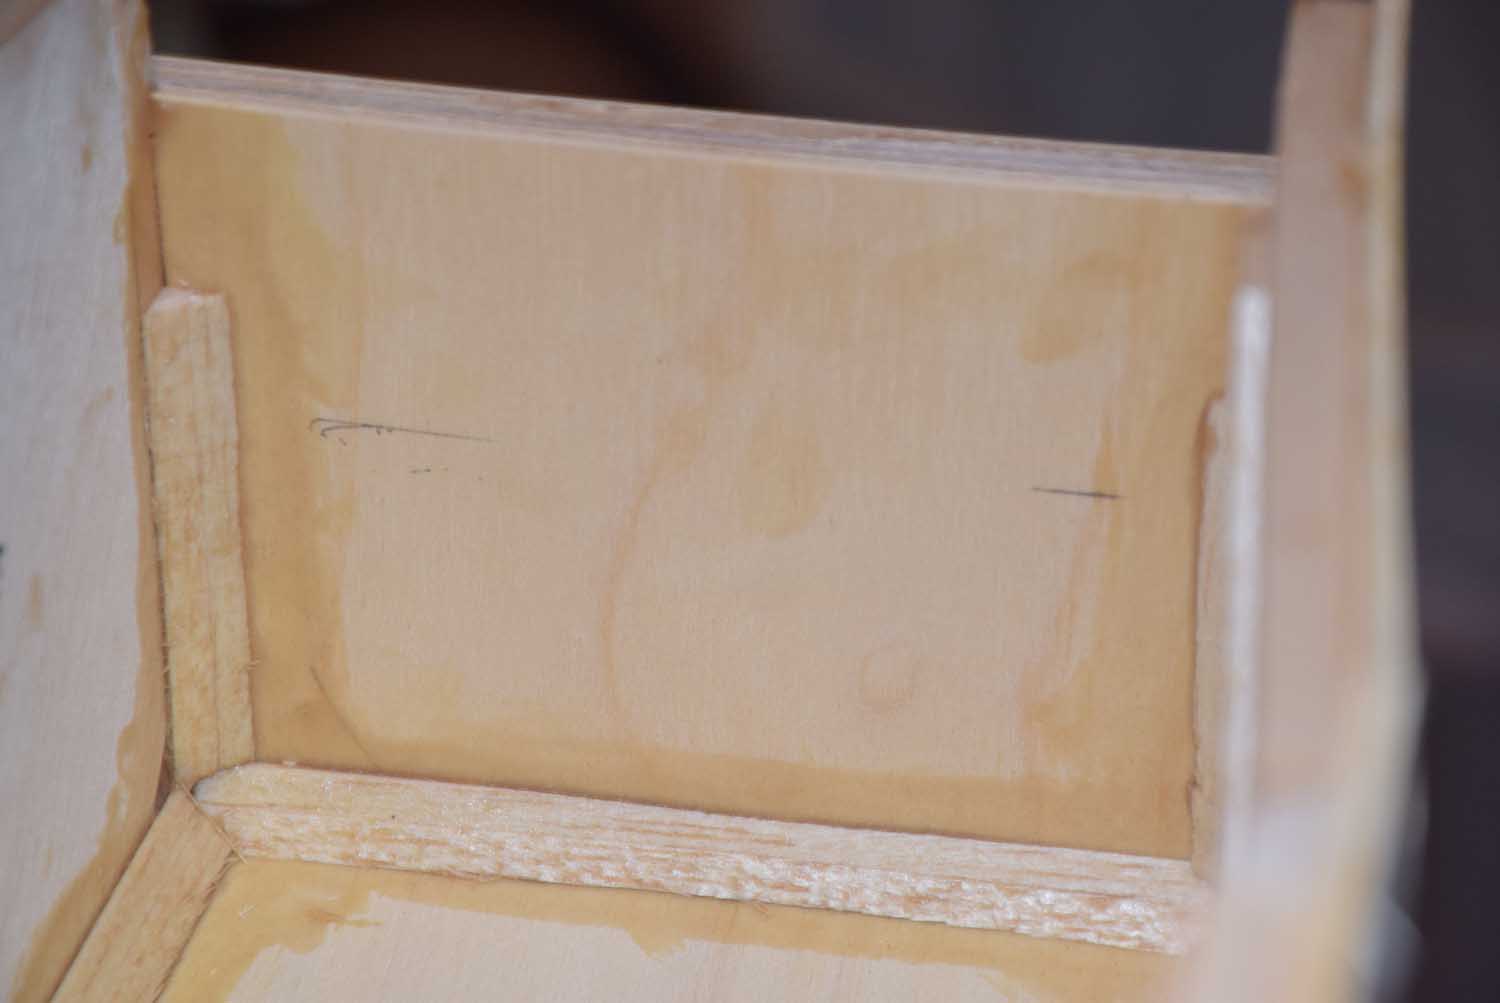
Also add a block of wood behind the firewall under the nose area inside the cabin.
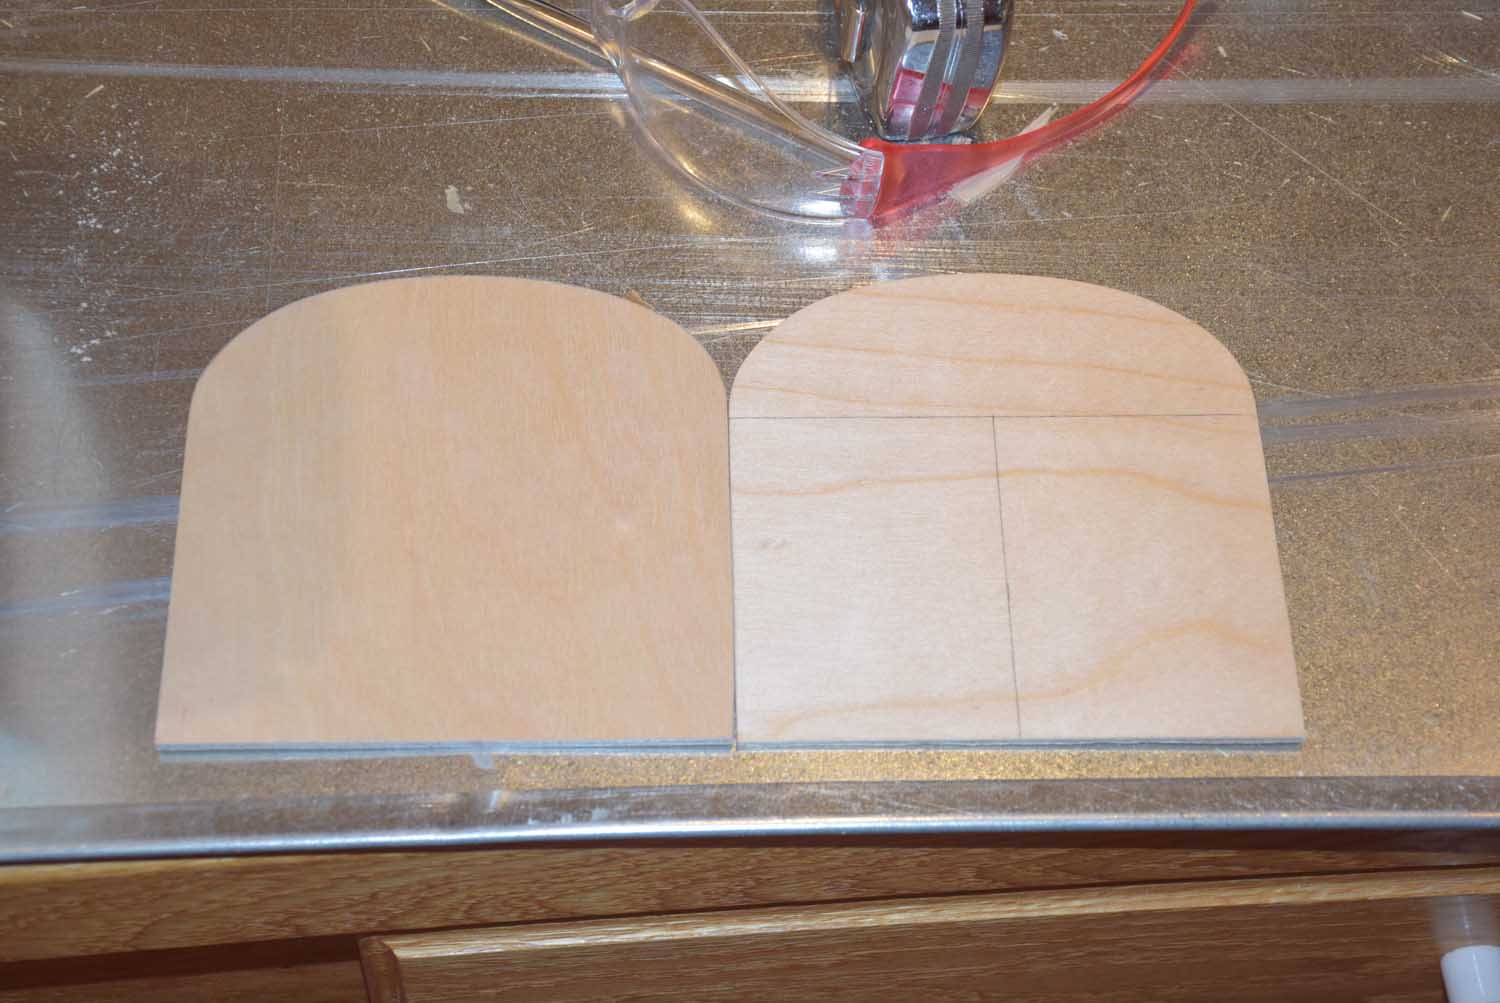
Glue together the two 1/8 inch thick die cut plywood firewall pieces together and allow to dry. Make sure you use a enough glue so it squeezes out of the edges, we want a good tight bond here! Wipe of any access as you add clamps around the edges. Set aside and allow to dry overnight.
The DLE engine manual provides a drilling template that helps determine the placement of the DLE twin cylinder engine on the firewall. Tape this in place on the firewall lining it up with the thrust lines you transferred from the plans.
Once the firewall is dry, you can now glue it to the main fuselage. Test fit and sand as need for a nice easy-snug fit. Once satisfied with the fit, use clamps and glue this in place.
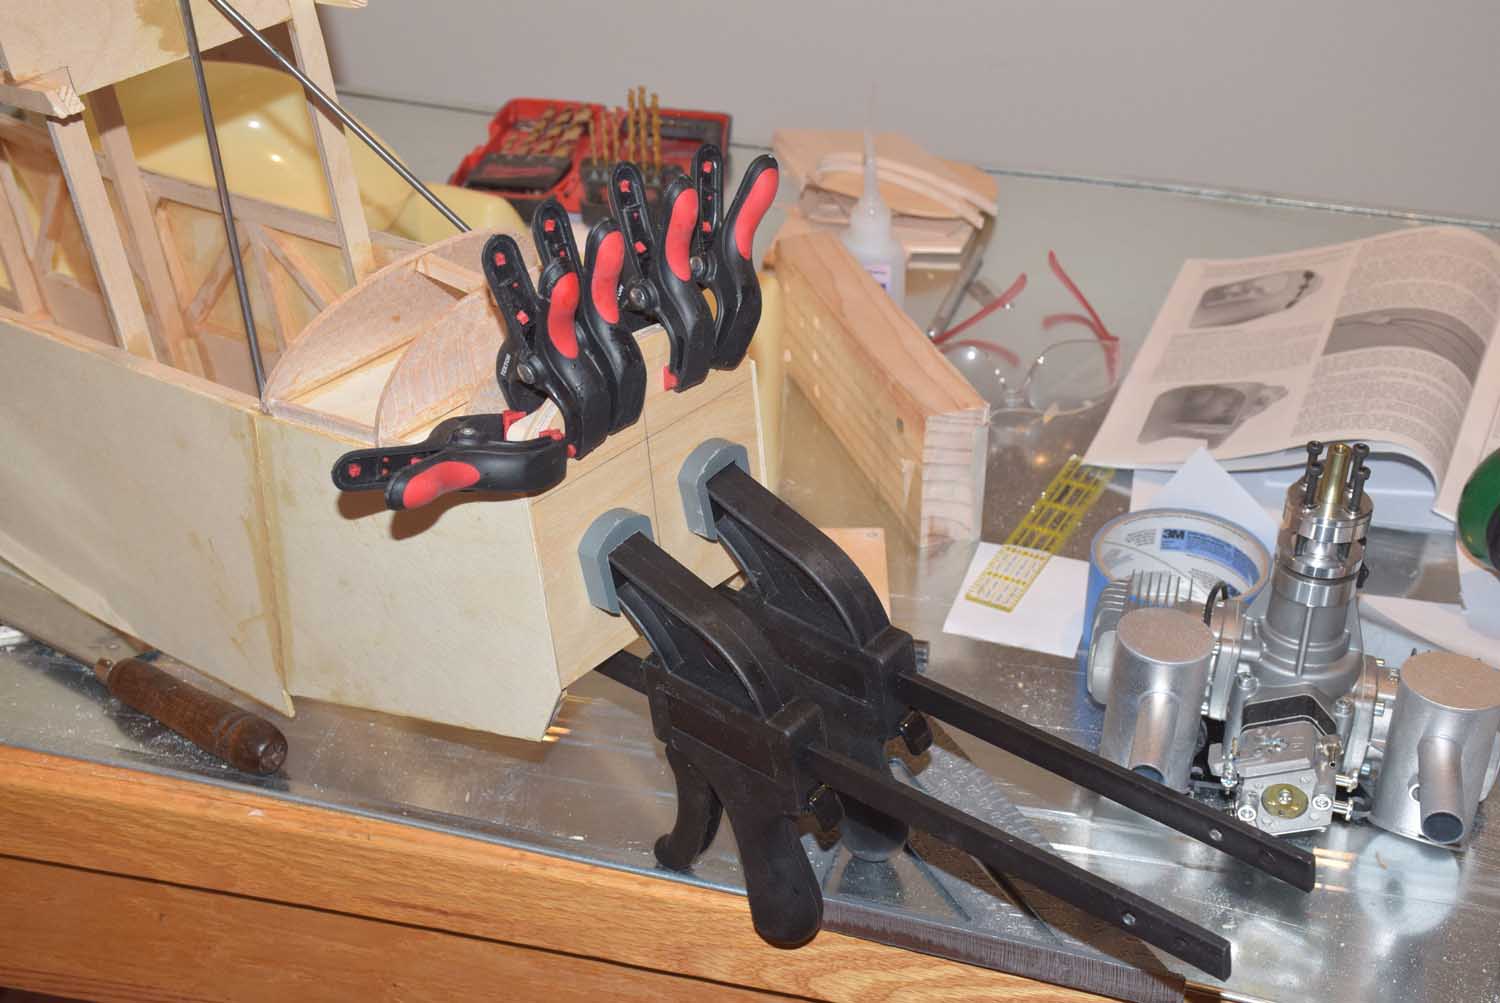
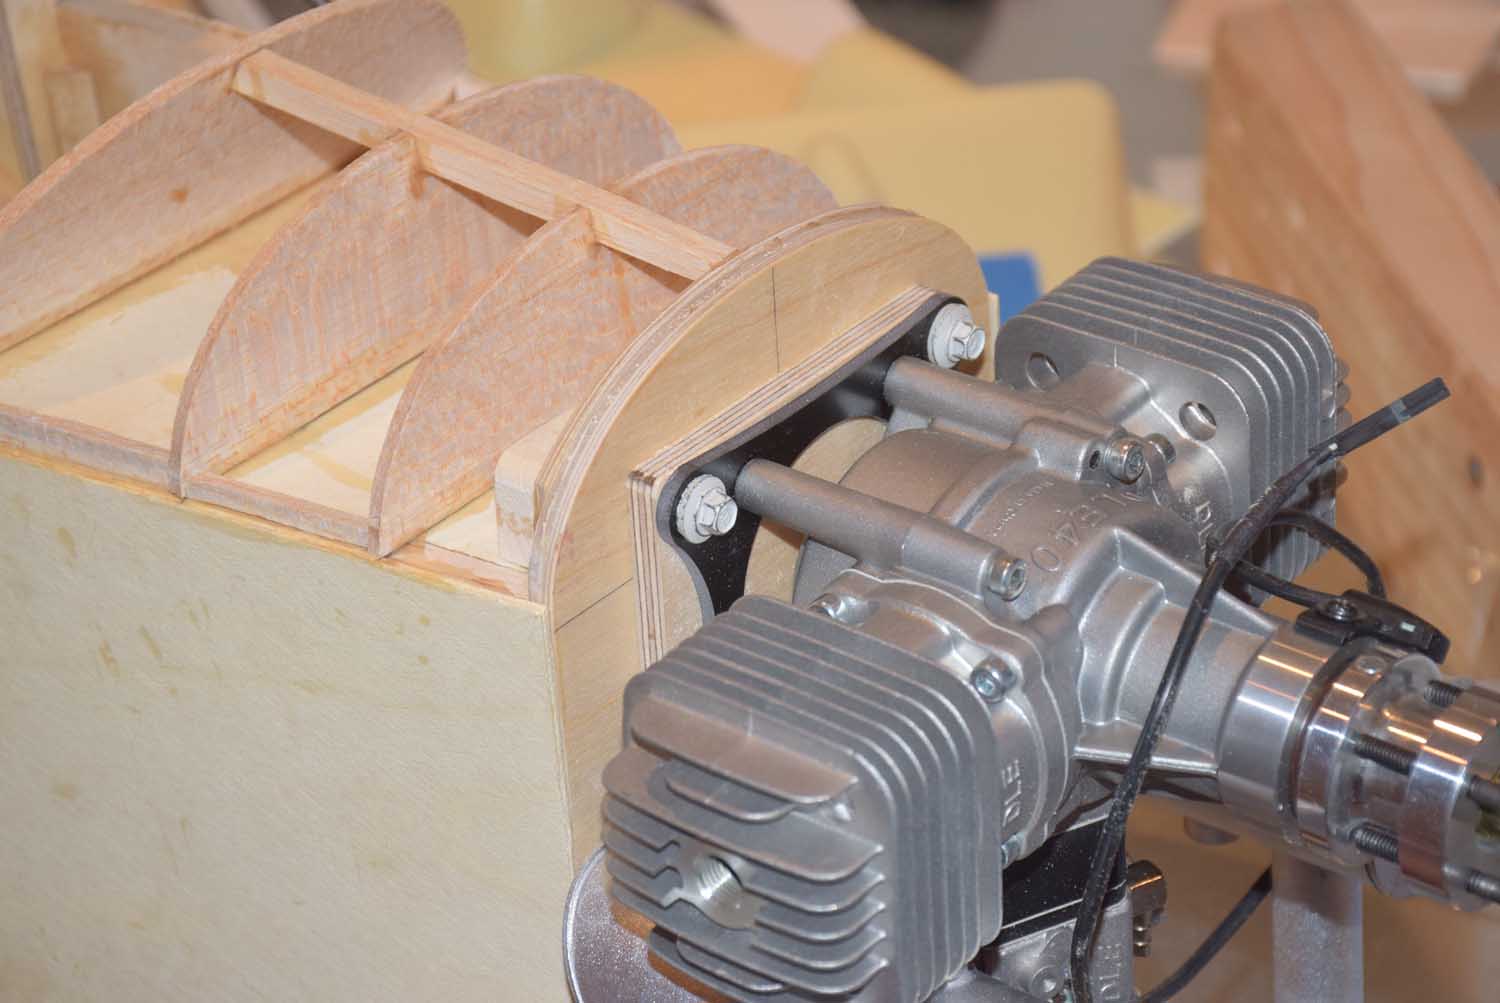
Once the firewall has been installed, we will need to make a couple of spacer blocks for the DLE 40 twin engine to allow enough clearance for the mufflers. Use the provided drill template to cut some spacer blocks and drill holes for the bolts you will be using large enough so they can slide through easily. Now is a good time to drill the holes on the firewall and test fit the engine. I ended up making two spacer blocks for just a little more clearance.
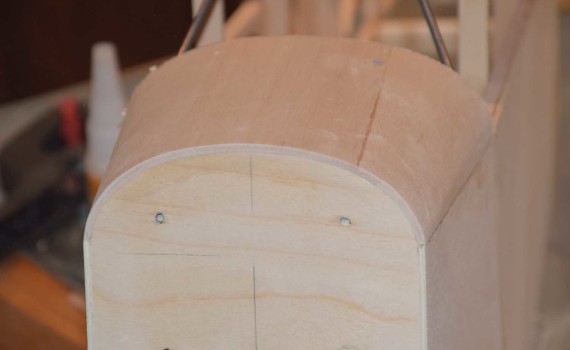
Once satisfied with the fitment of the engine, we can move on to sheeting the nose formers F2-F4. The kit supplies some 1/8 thick balsa for this. However, I found it easier to use two layers of 1/16 balsa. Use wood glue in between the layers. Use a number of rubber bands to hold the sheeting securely in place as it dries.
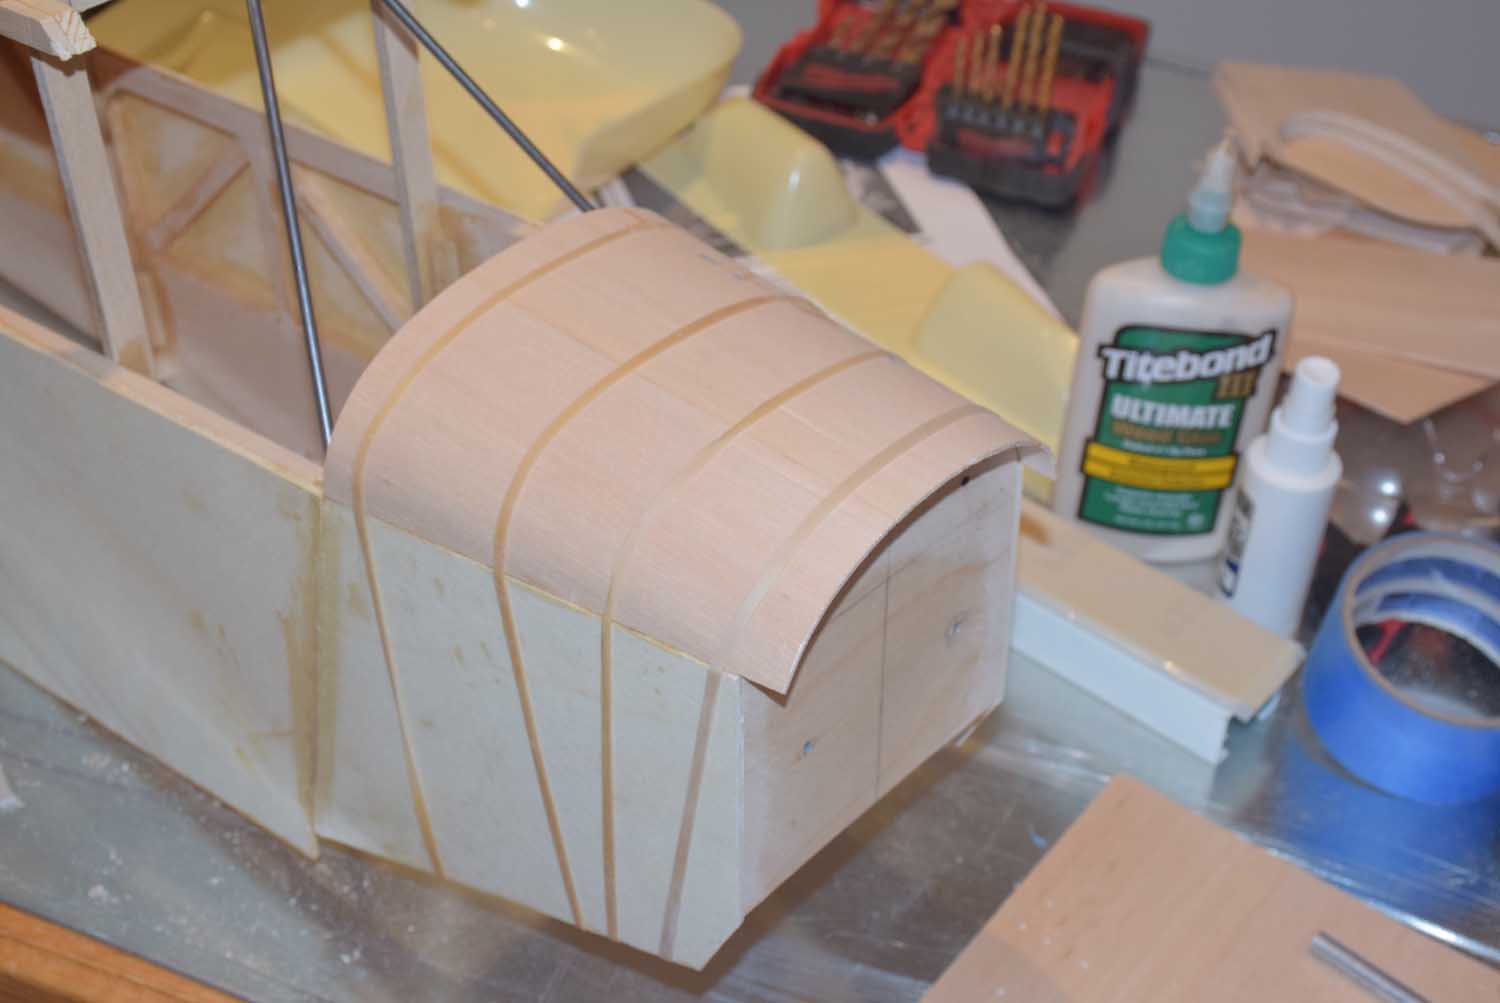

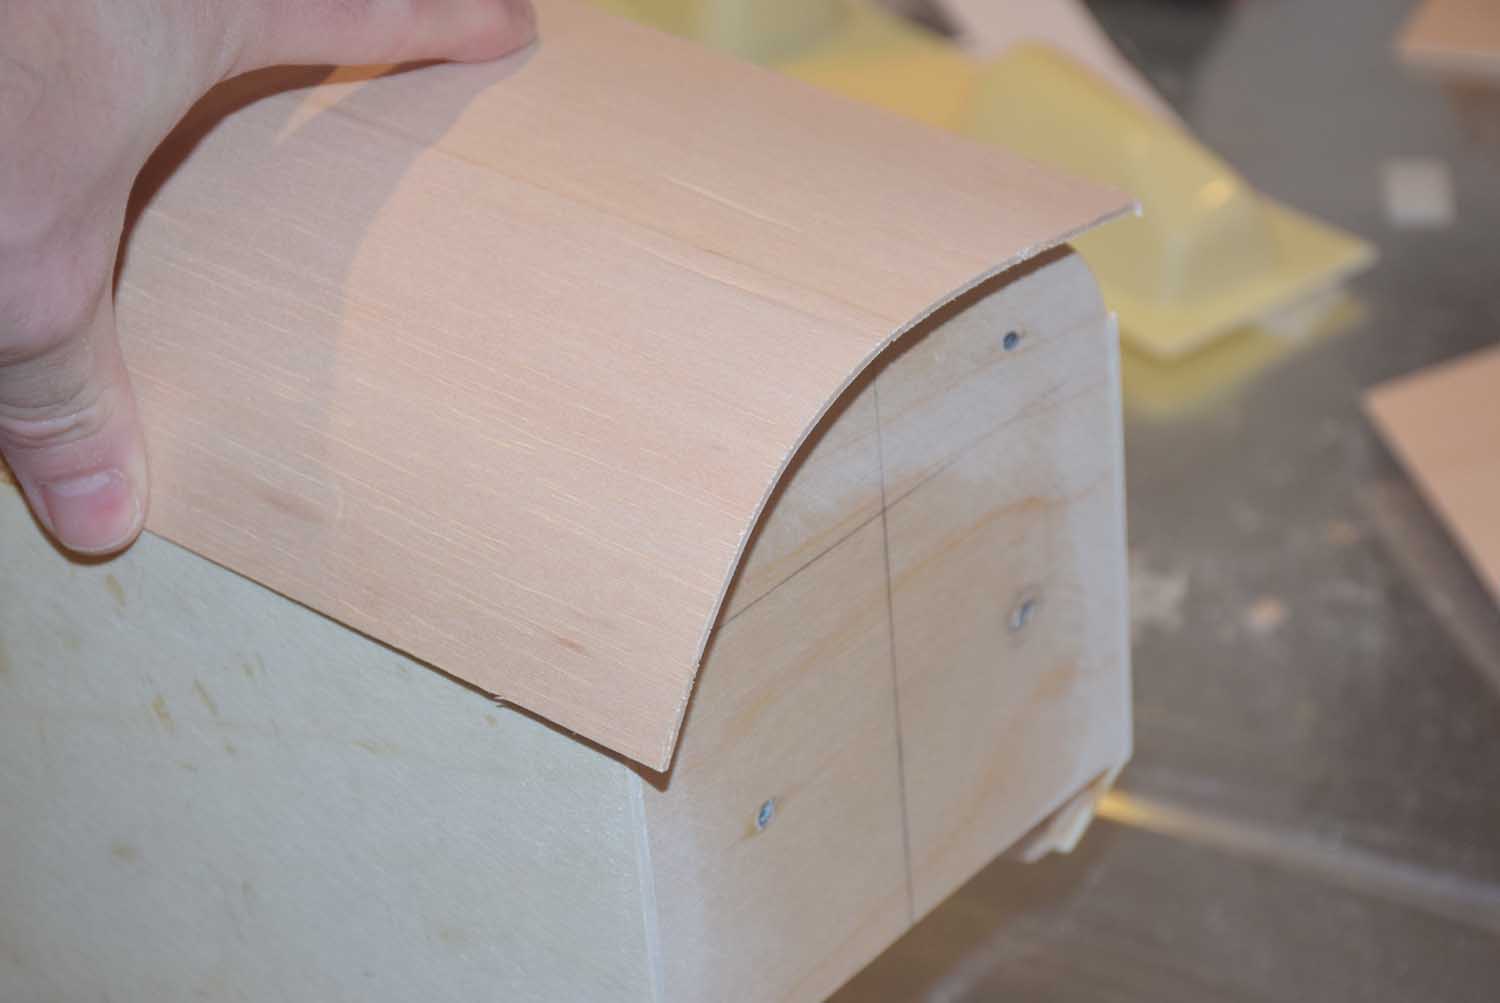
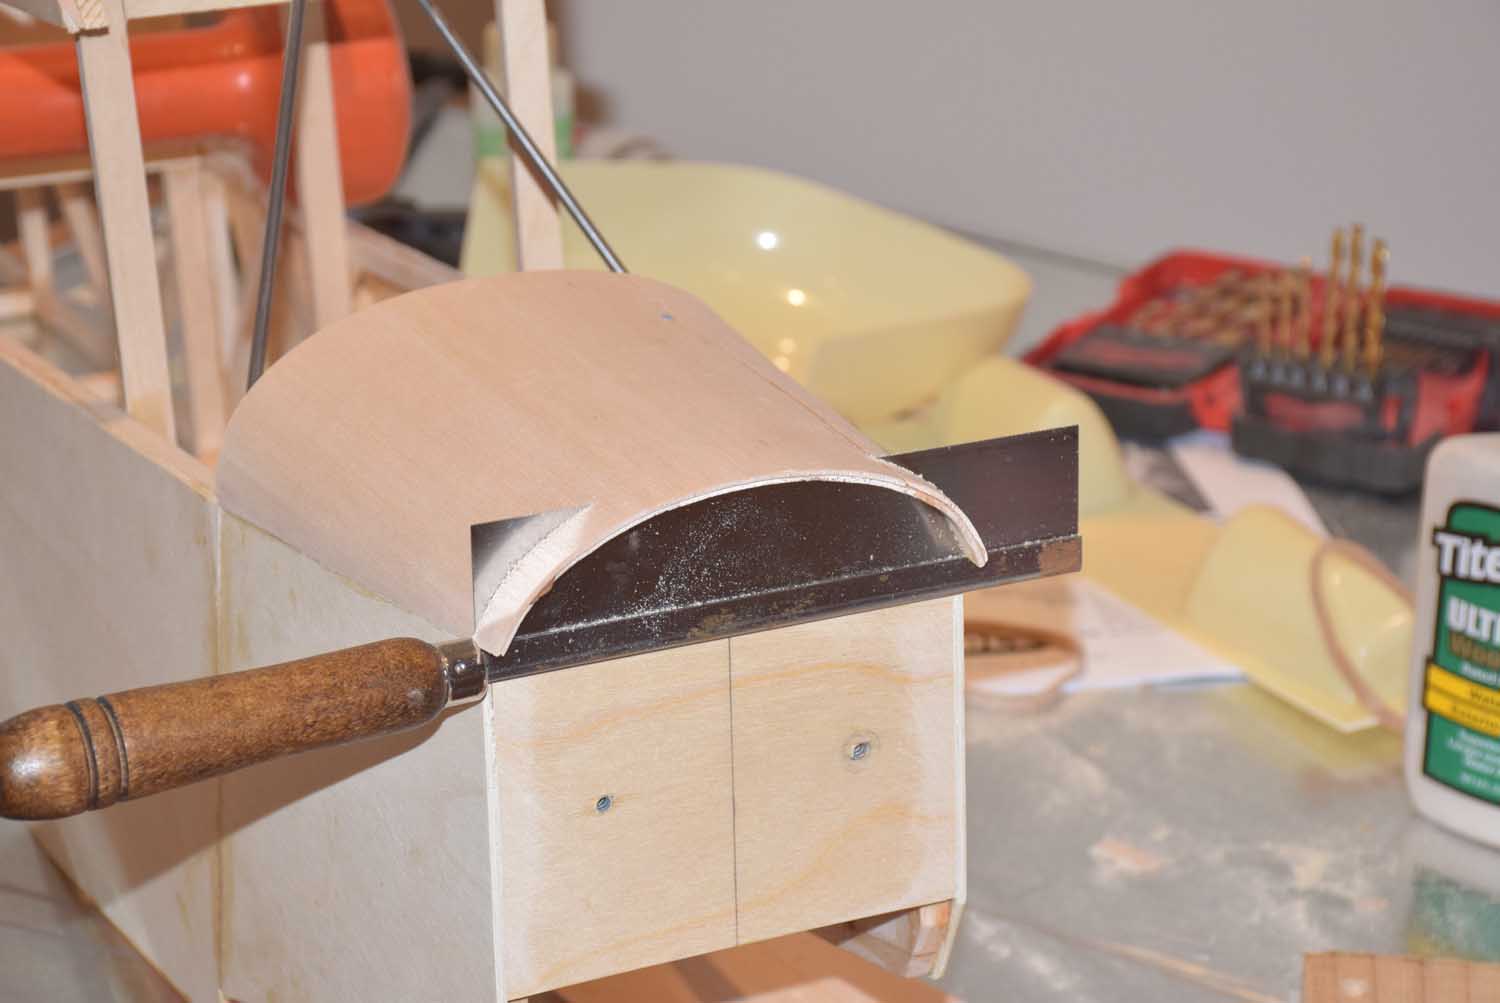
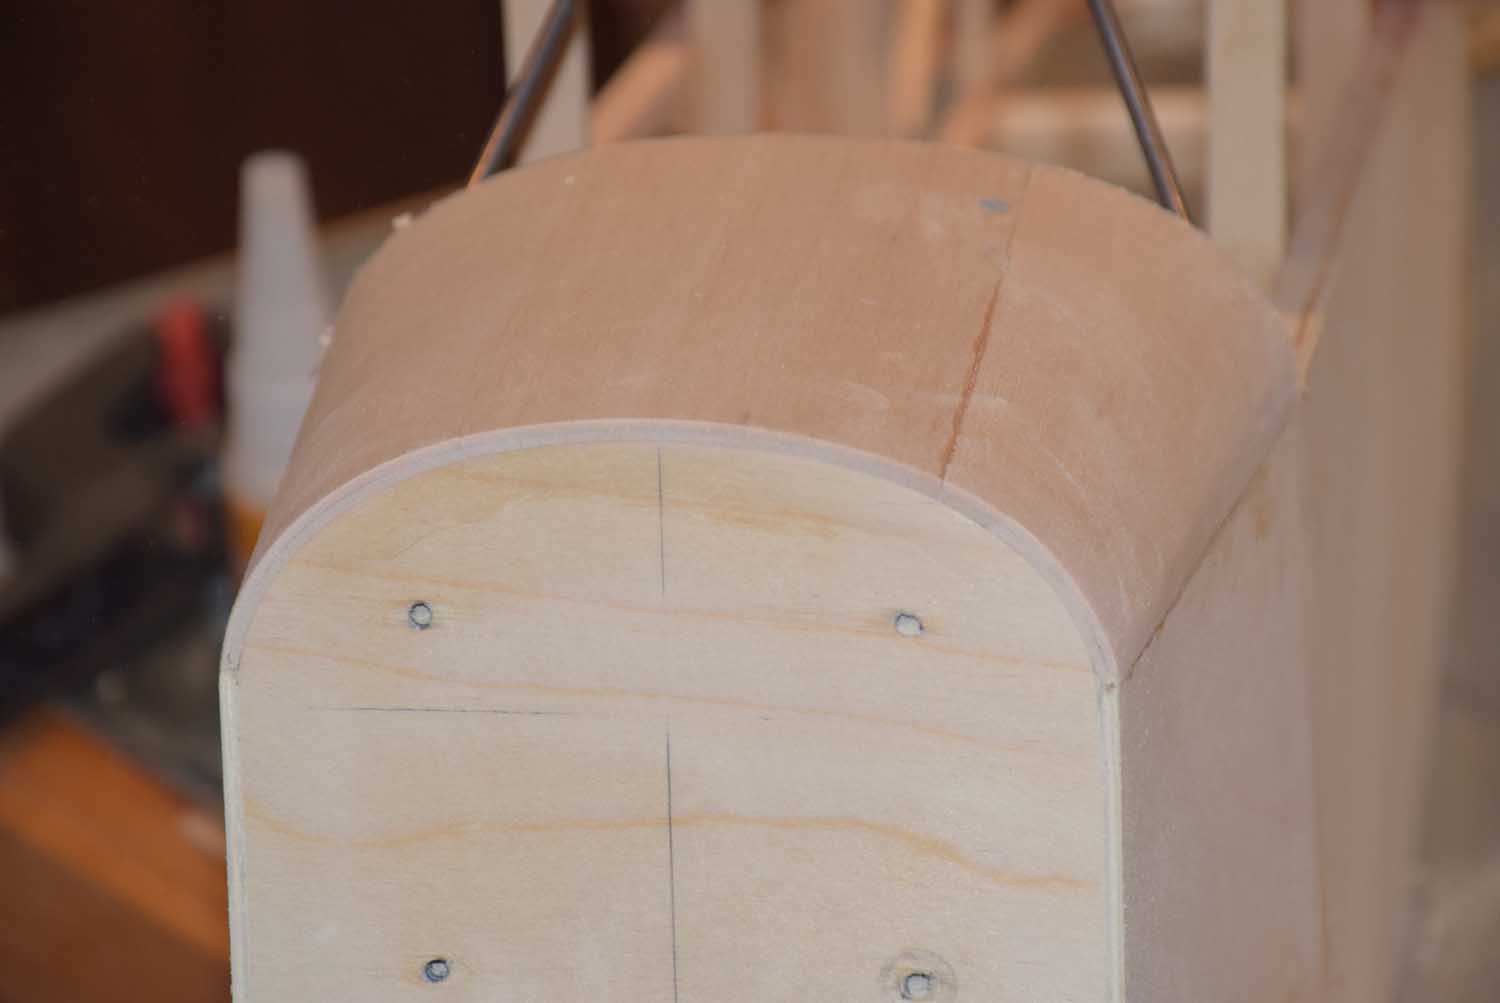
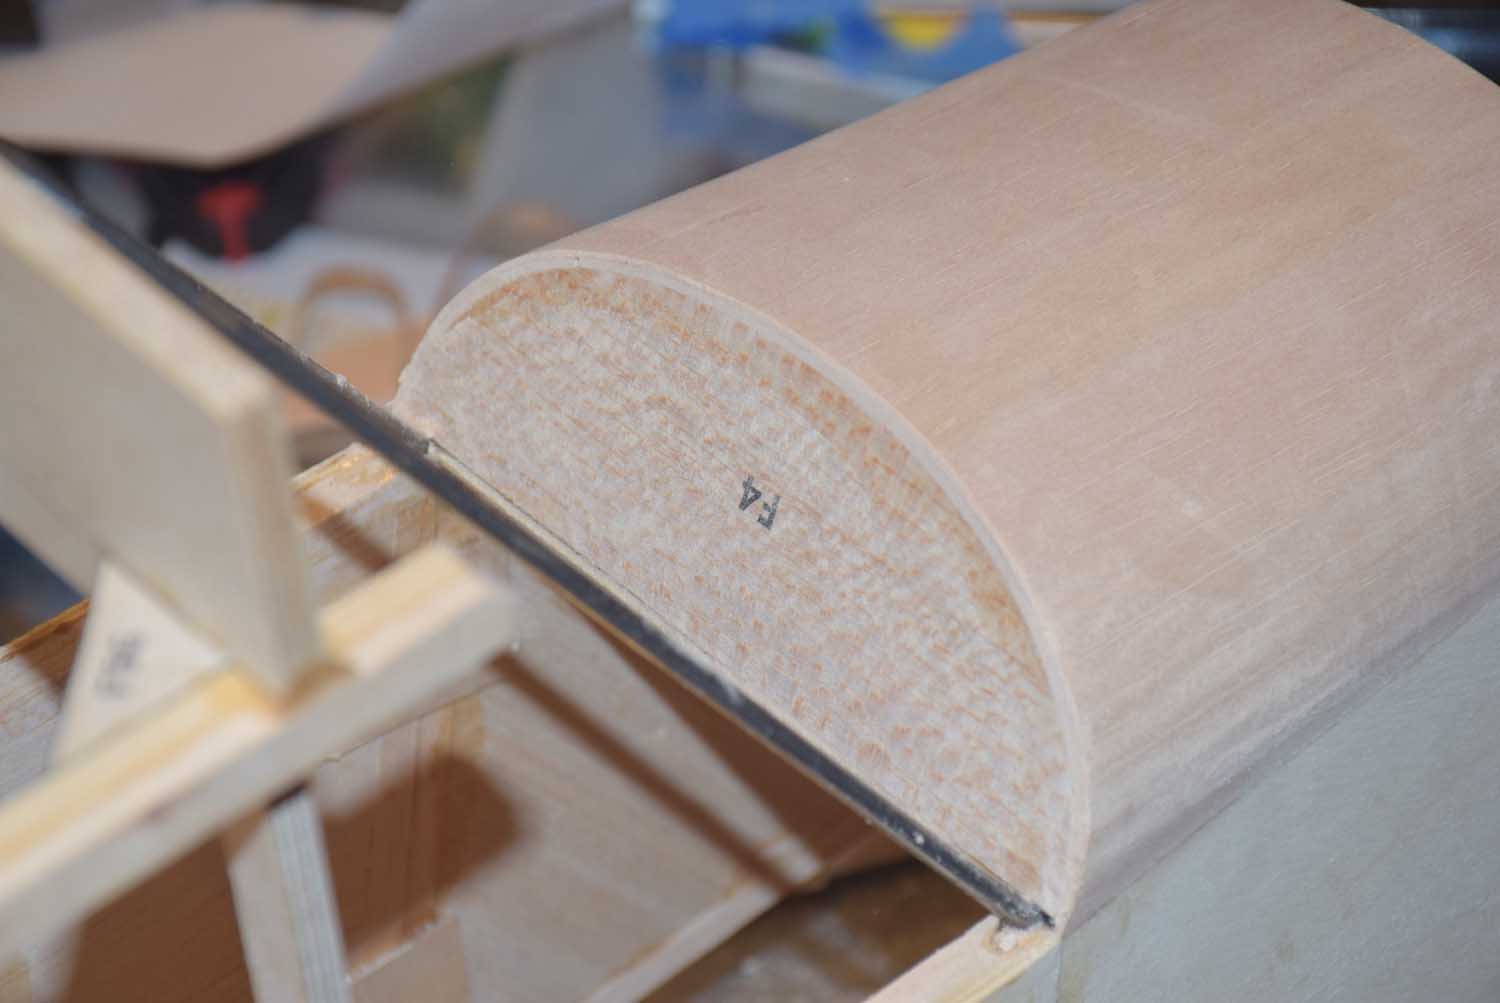
Once the sheeting is fully dry, trim the excess with a razor saw and sand smooth.
That’s it!
In part 8 we will be installing the rear formers! Things are really starting to take shape!