Taranis D4R-II Failsafe Setup
Category : FPV
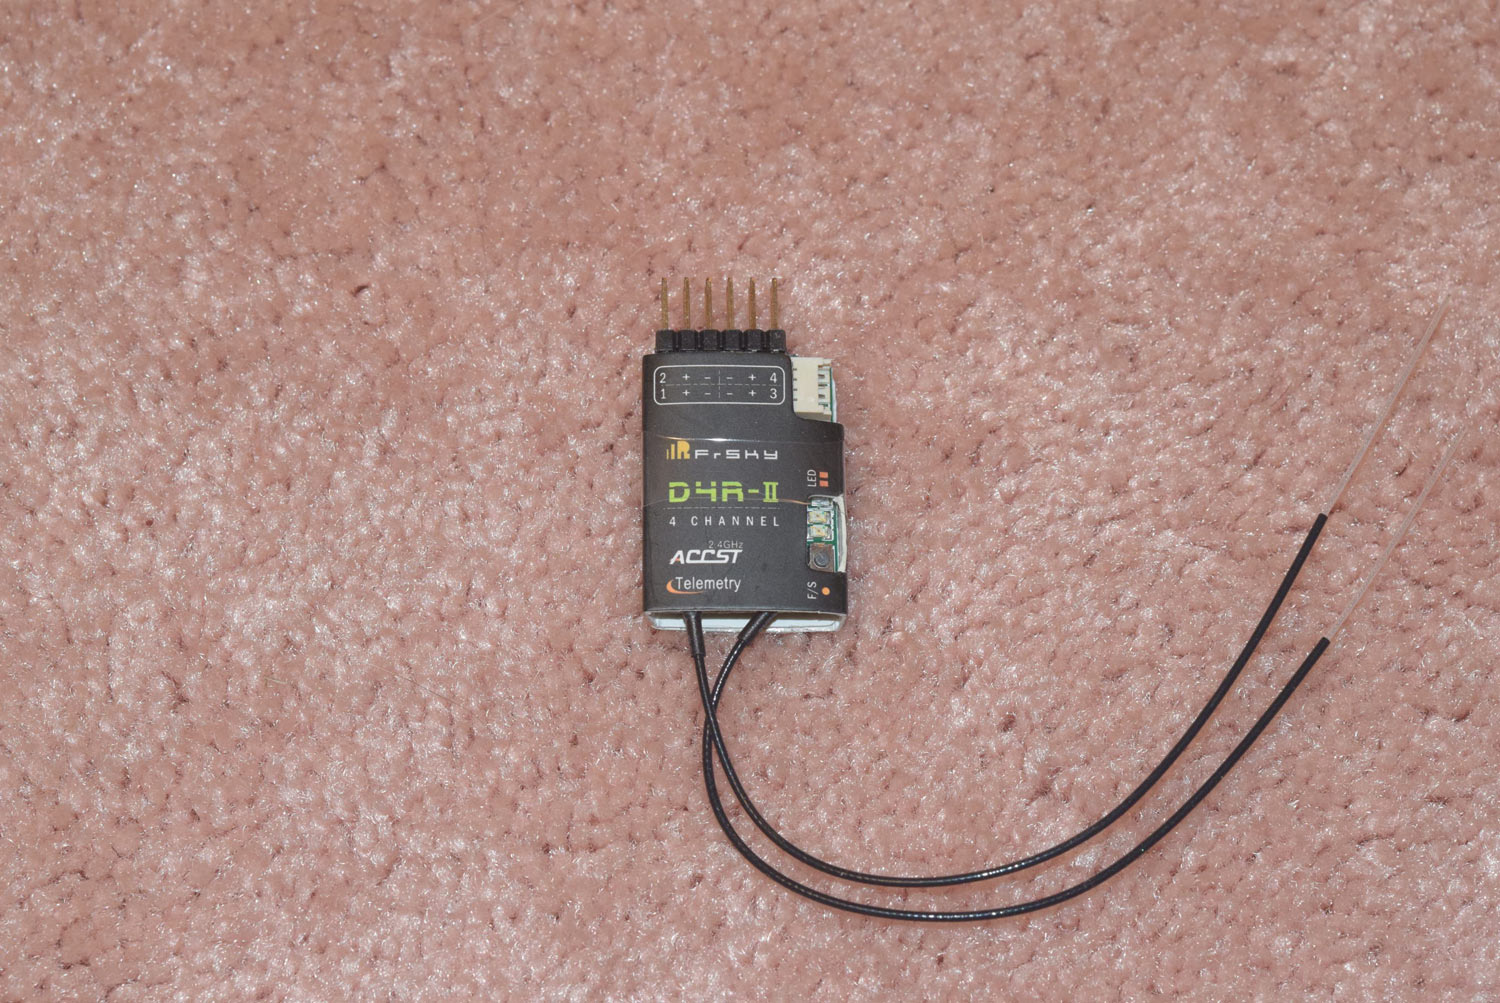
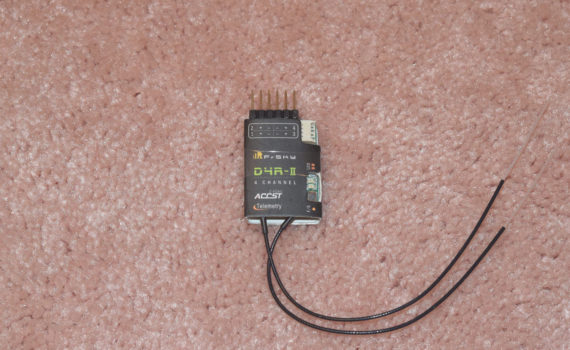
In Part 3 of the ZMR 250 4S upgrade conversion, we’ll take a look at how to setup failsafe on the Taranis D4R-II receiver! Failsafle is a very important item to setup on your quadcopter! If you were to lose signal at full throttle your FPV racing quad would mostly like continue it’s full throttle setting until the battery ran out. Who know’s where it would be by then!
There are a few steps that need to be followed precisely when setting up the failsafe on the D4R-II receiver. For this example I’m using the Taranis X9D Plus transmitter for this procedure, but the following steps should be similar to most Taranis transmitters.
- Put the Transmitter into BIND mode.
- Power on the transmitter
- press MENU once
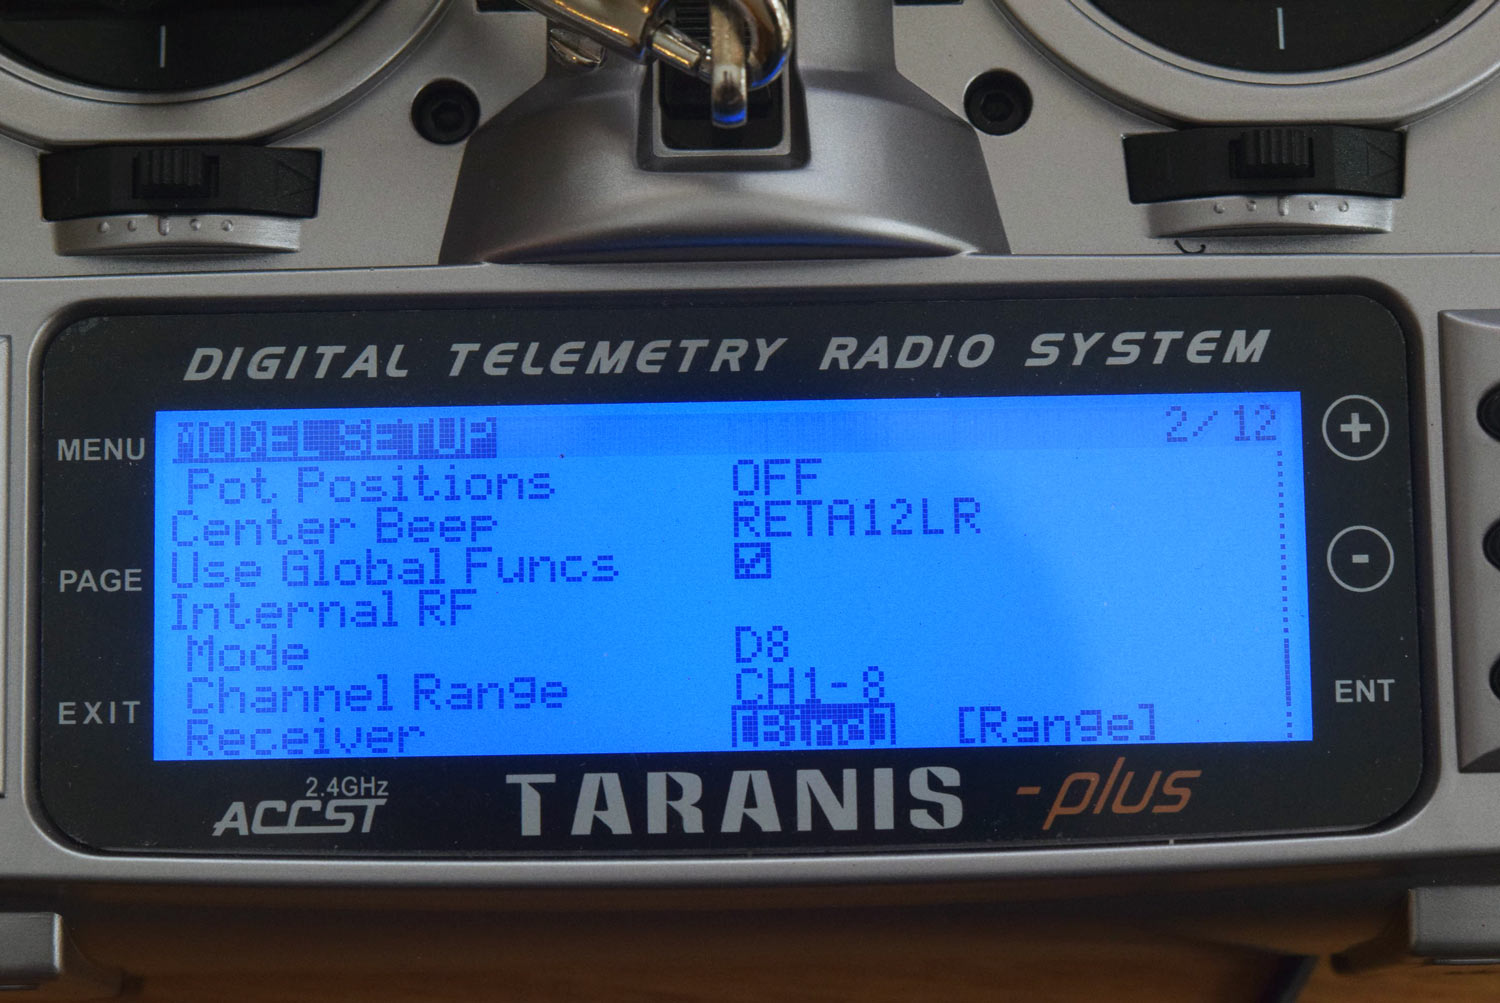
- press PAGE once (should now be in the MODEL SETUP screen)
- press the – (minus) button until the “[BIND]” word is highlighted.
- once highlighted, press the ENT button once.
- you should now be in bind mode and hear a “chirping” sound
- This step helps to have an extra setup of hands. Press AND HOLD the F/S button on the D4R-II receiver WHILE you power it up – continue to hold this button down for approximately three seconds.
- With the X9D still in bind mode, power off the transmitter – DO NOT POWER OF THE RECEIVER YET.
- Turn on the transmitter once again.
- Press the F/S button ONCE – just a quick press – don’t hold.
- Power off both the transmitter and the receiver.
Failsafe should now be set.
NOTE: the steps above assume that the throttle stick is at it’s lowest position during this entire process.